Background
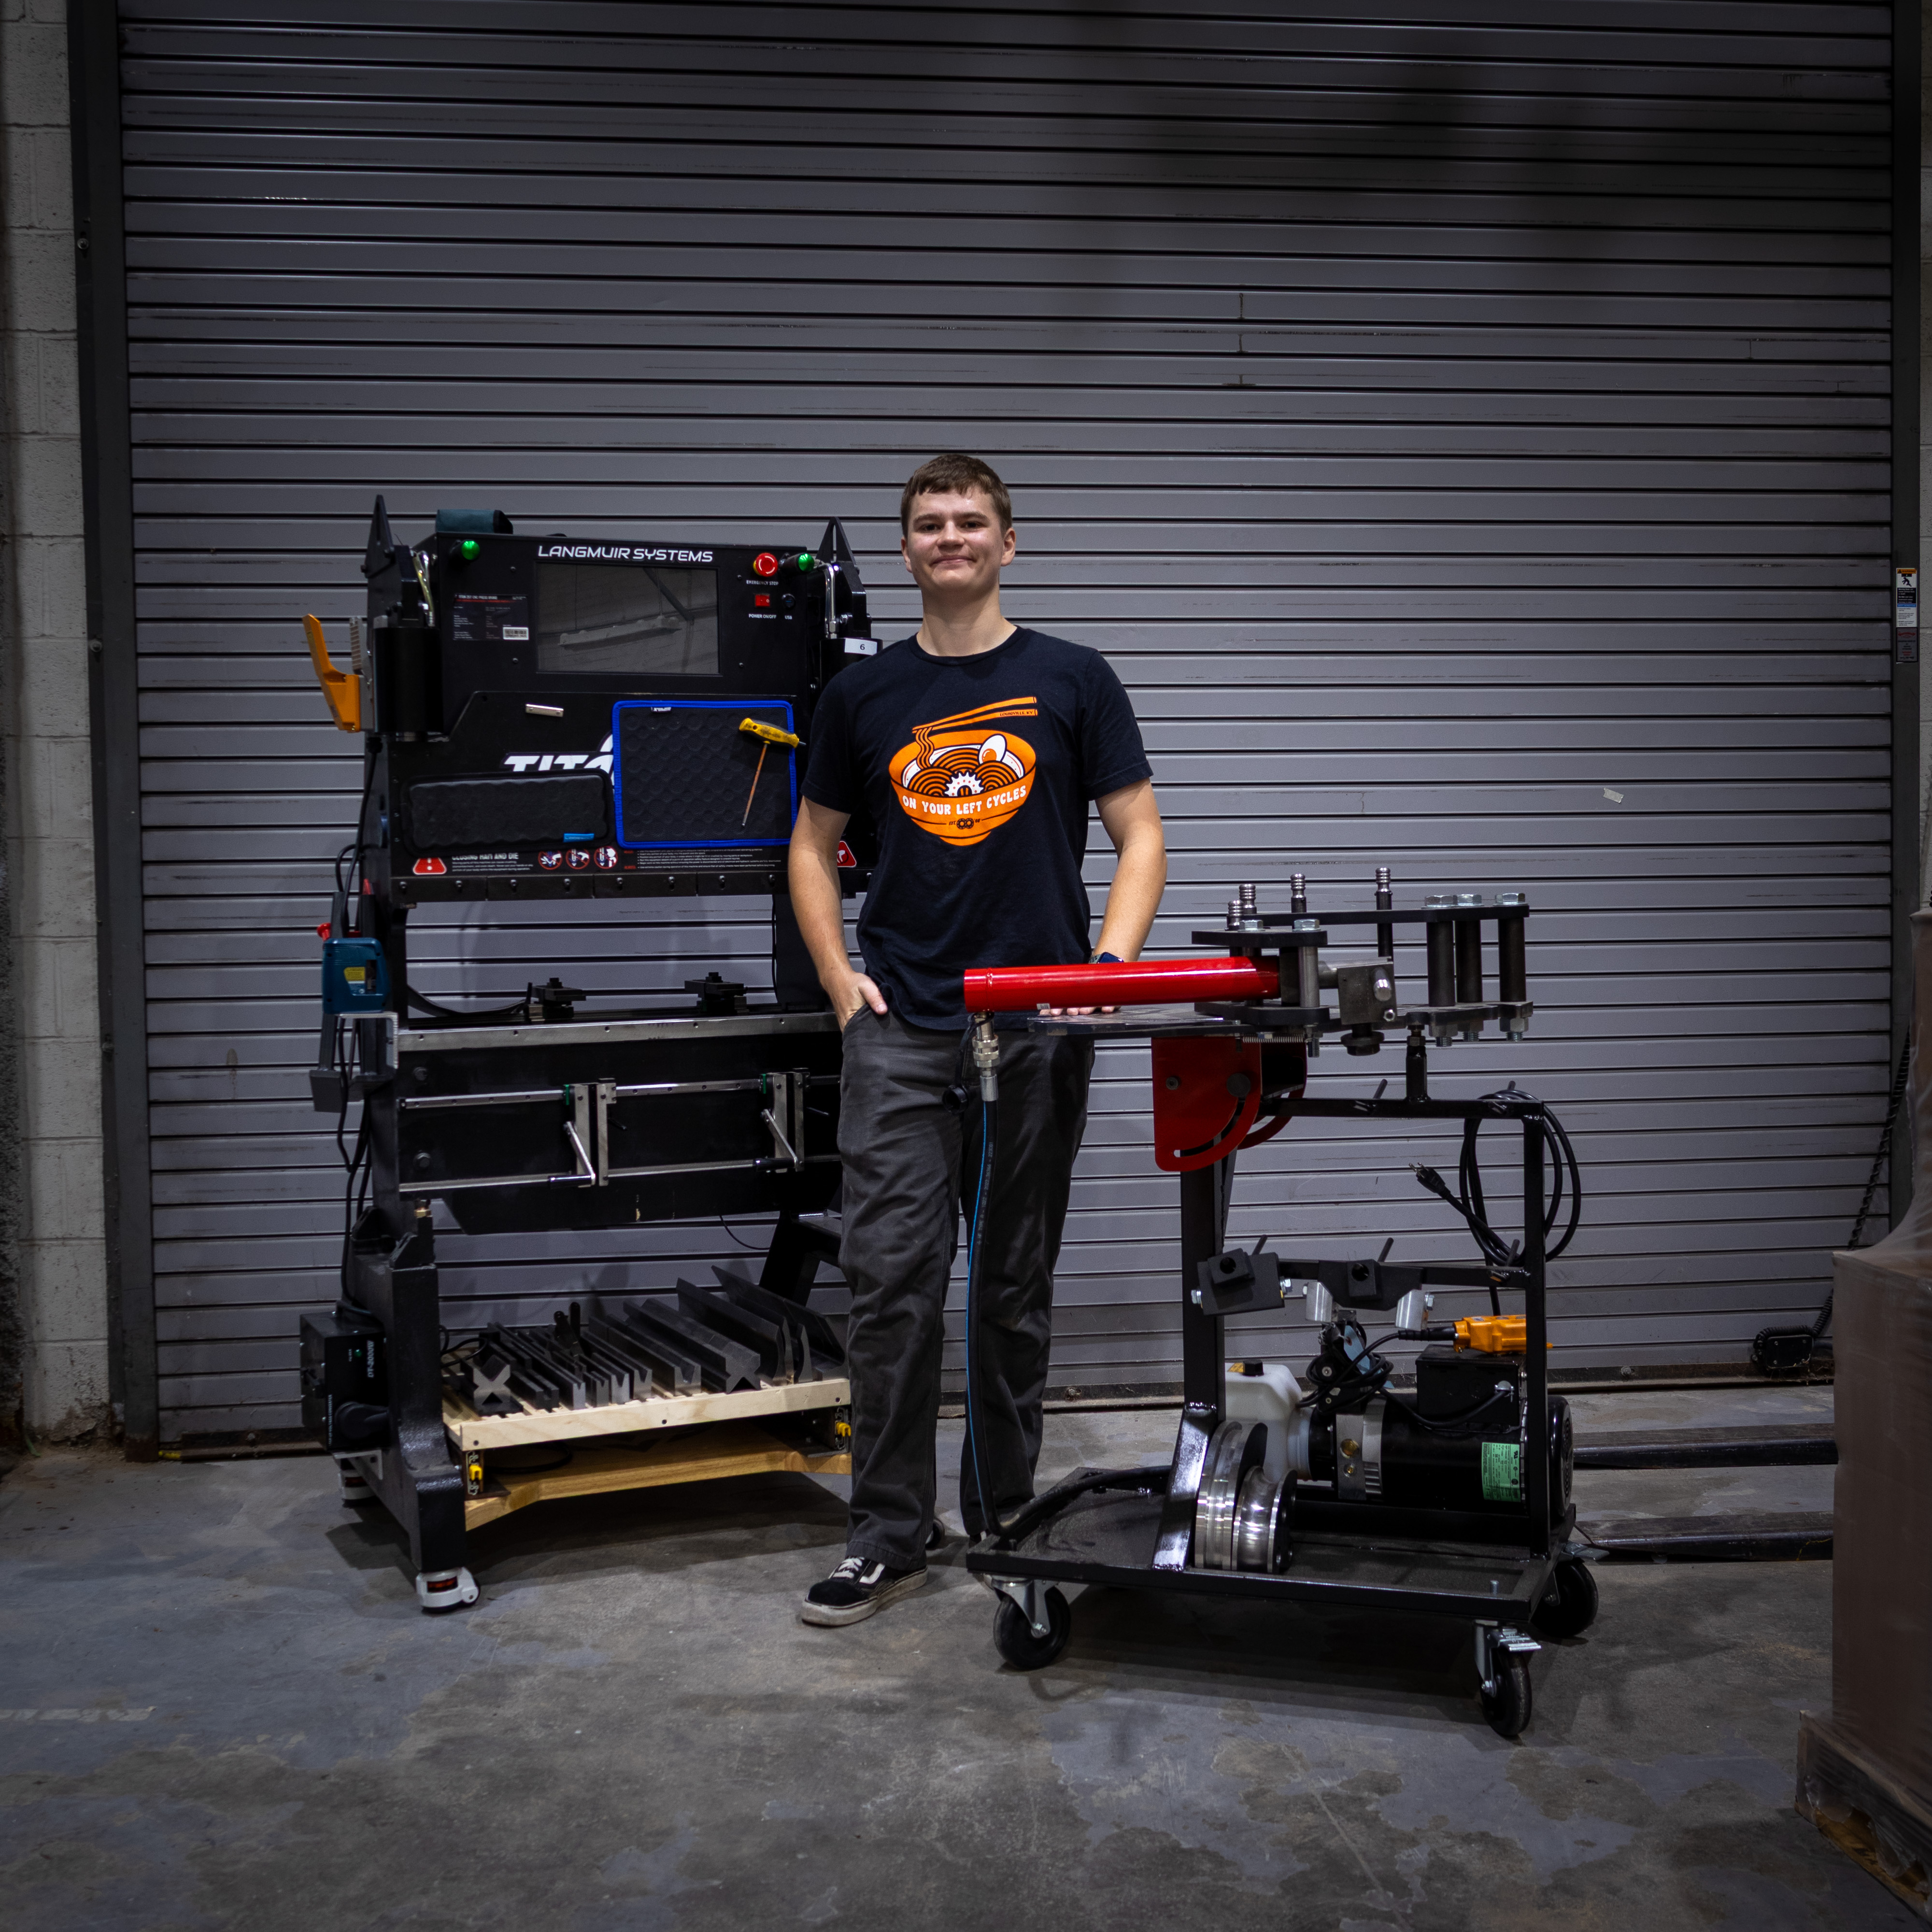
Starting immeadiately after I graduated high school, I started interning at the Carnegie Mellon University Robotics Institute in the Machine shop. I had the opportunity to learn many new skills including welding, design principles, shop optimiztion, and technical communication.
Featured below are some of the projects I worked on during my time at the Robotics Institute ranging from major design and manufacturing projects to advanced assembly and operations.
Tubing Bender Cart
The goal of this project was to replace the OEM stand that was designed to be bolted to the ground. Becuase of the nature of the RI shop, the Model 4 tubing bender needed to be portable and tuck away in a corner when not in use.
Project Requirements
- Support the weight of large steel tubing bender (~100lbs)
- Be transportable around the shop
- Have a relativly small footprint to reduce shop space required
- Purchase as few materials as possible, use availible resources
- Store multiple sets of tooling and dies
- Have mounting location for Hydrualic Pump
Process
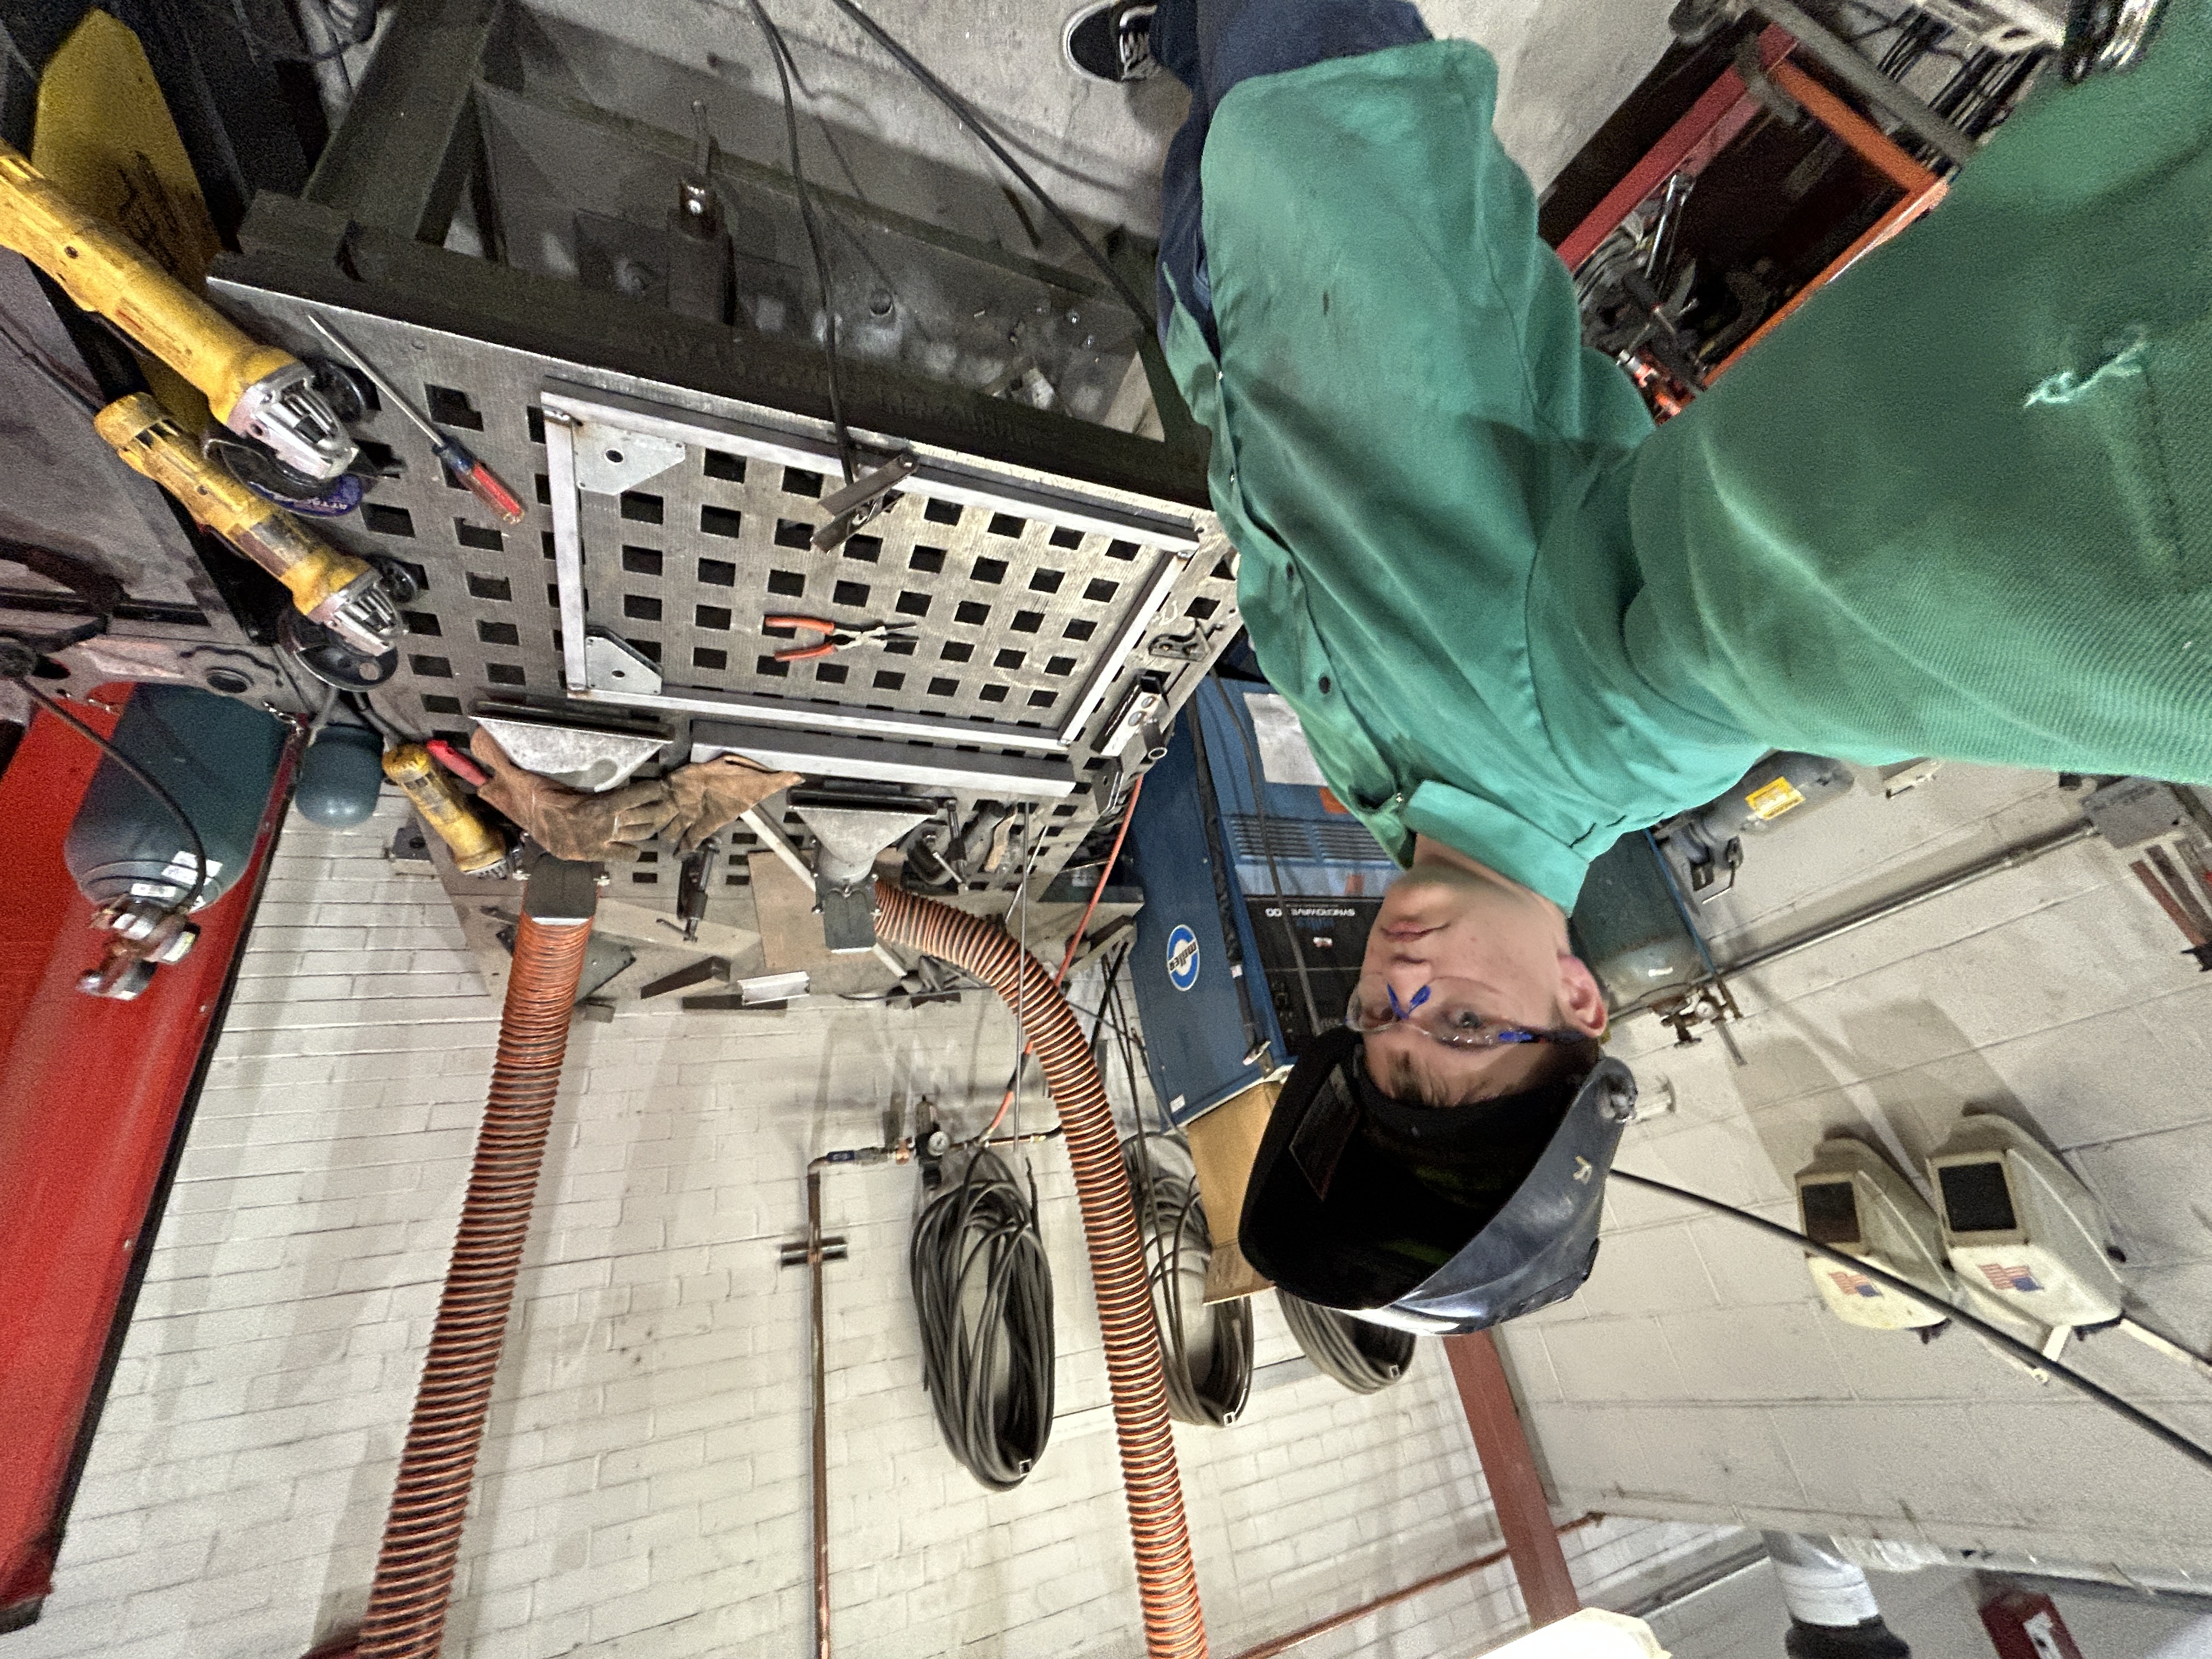
Main Frame
For my first time welding, my mentor taught me how to tack the frame together and attempt prevent it from warping. I somehow kept it square and flat when welding up this frame made of 1x1 inch mild steel square tube.
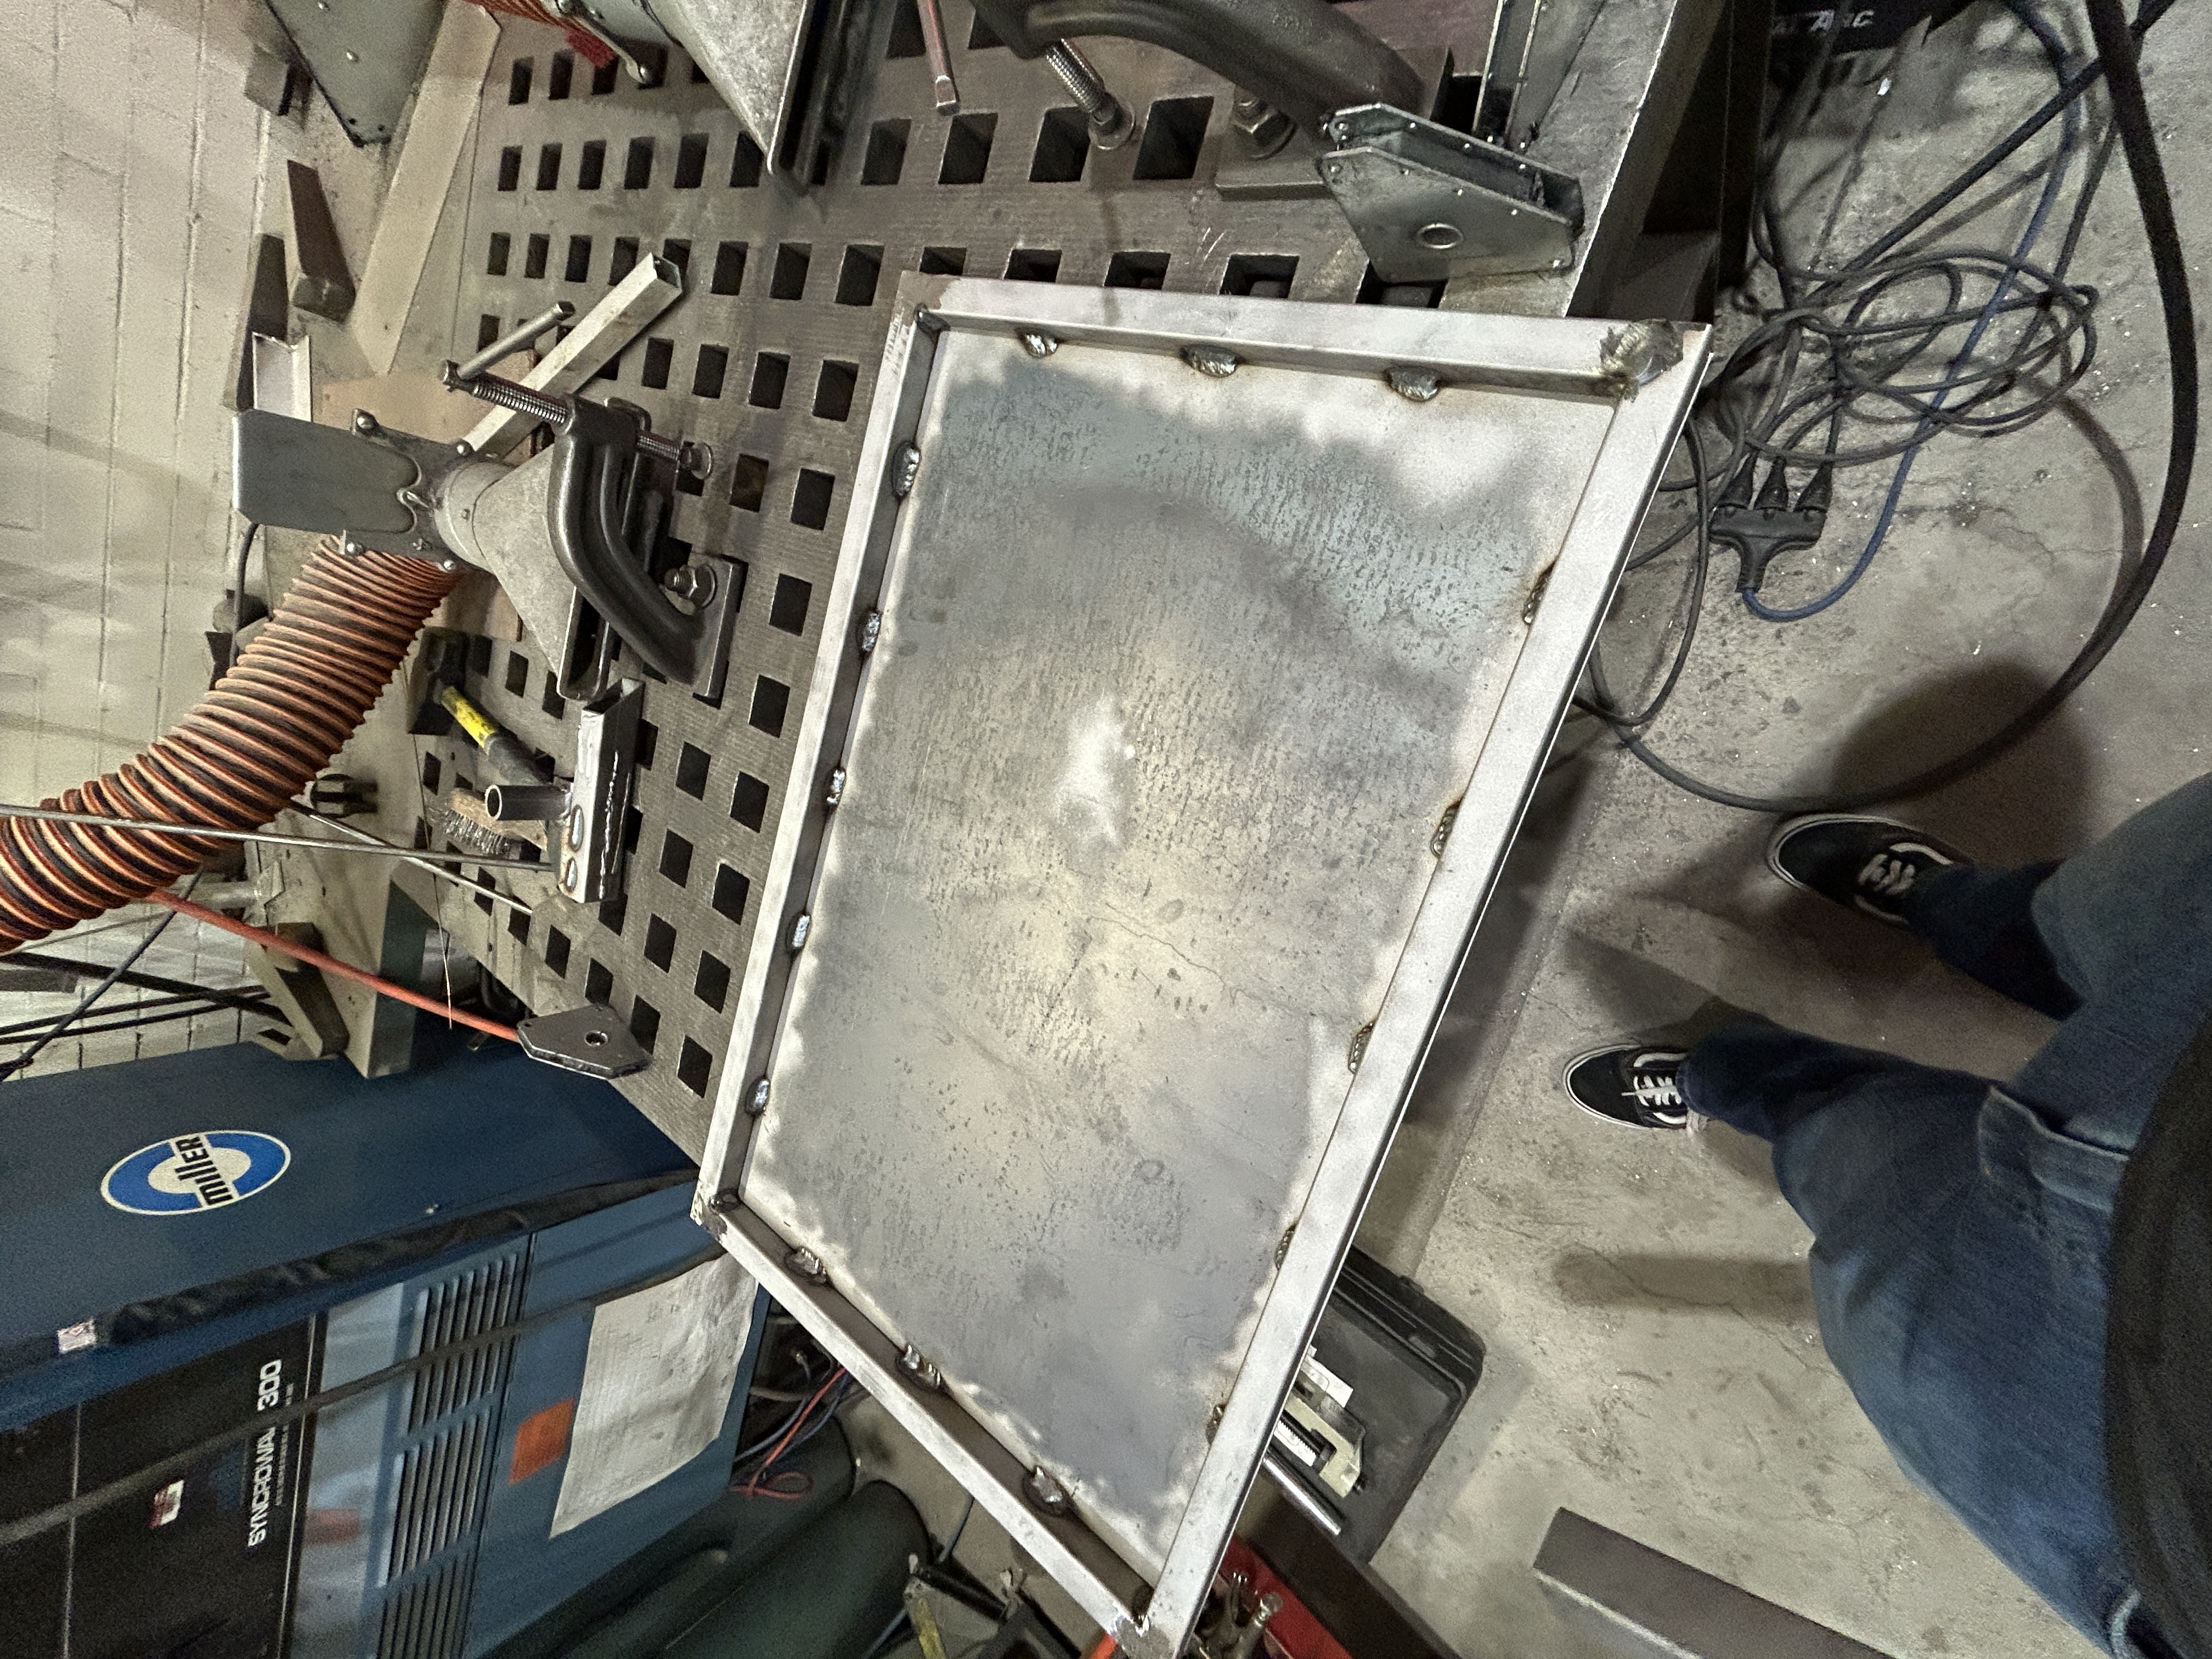
Belly Pan
After finishing the tube frame, I cut a sheet steel down to size using a metal circular saw and stitch welded the sheet to the frame.
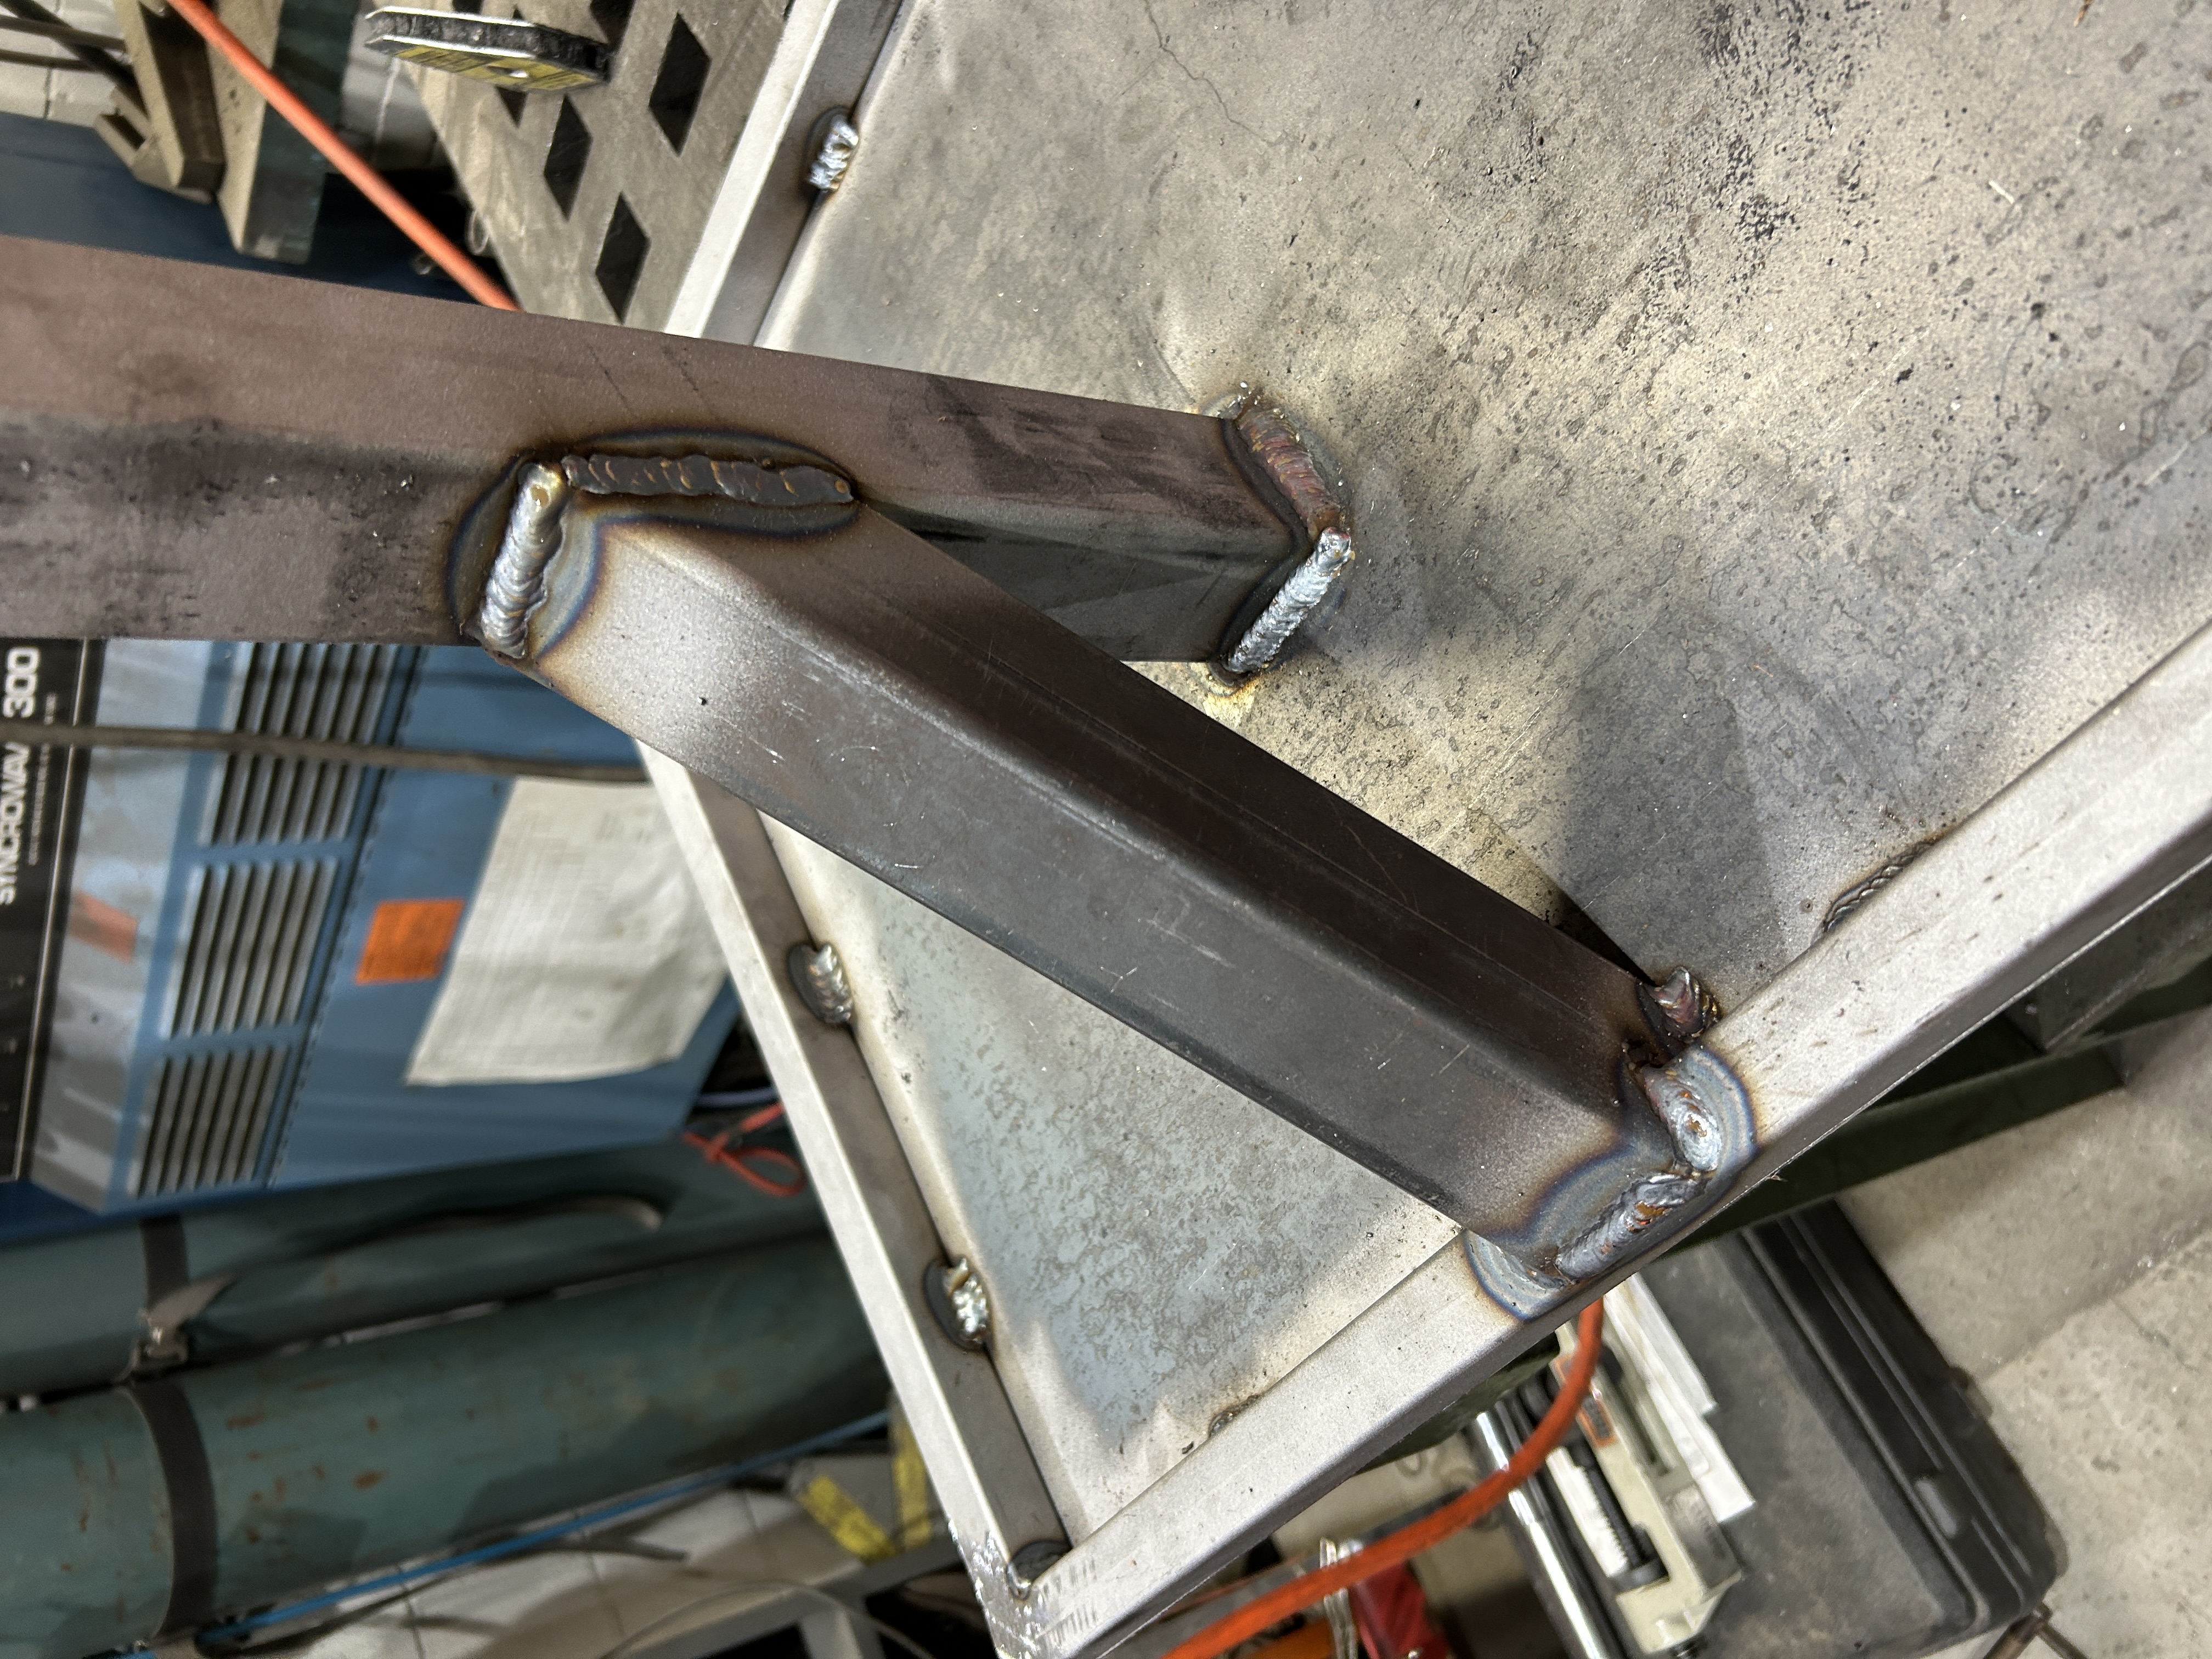
Main Support
Now that I had a solid base to work from, I cut a length of 2x2 steel tube to the correct height and set it in the correct spot on the frame. When welding it on, I made sure to keep it square and make a good weld. After that I made angled cuts and notched in a short 2x2 tube to create the main support to the upright.
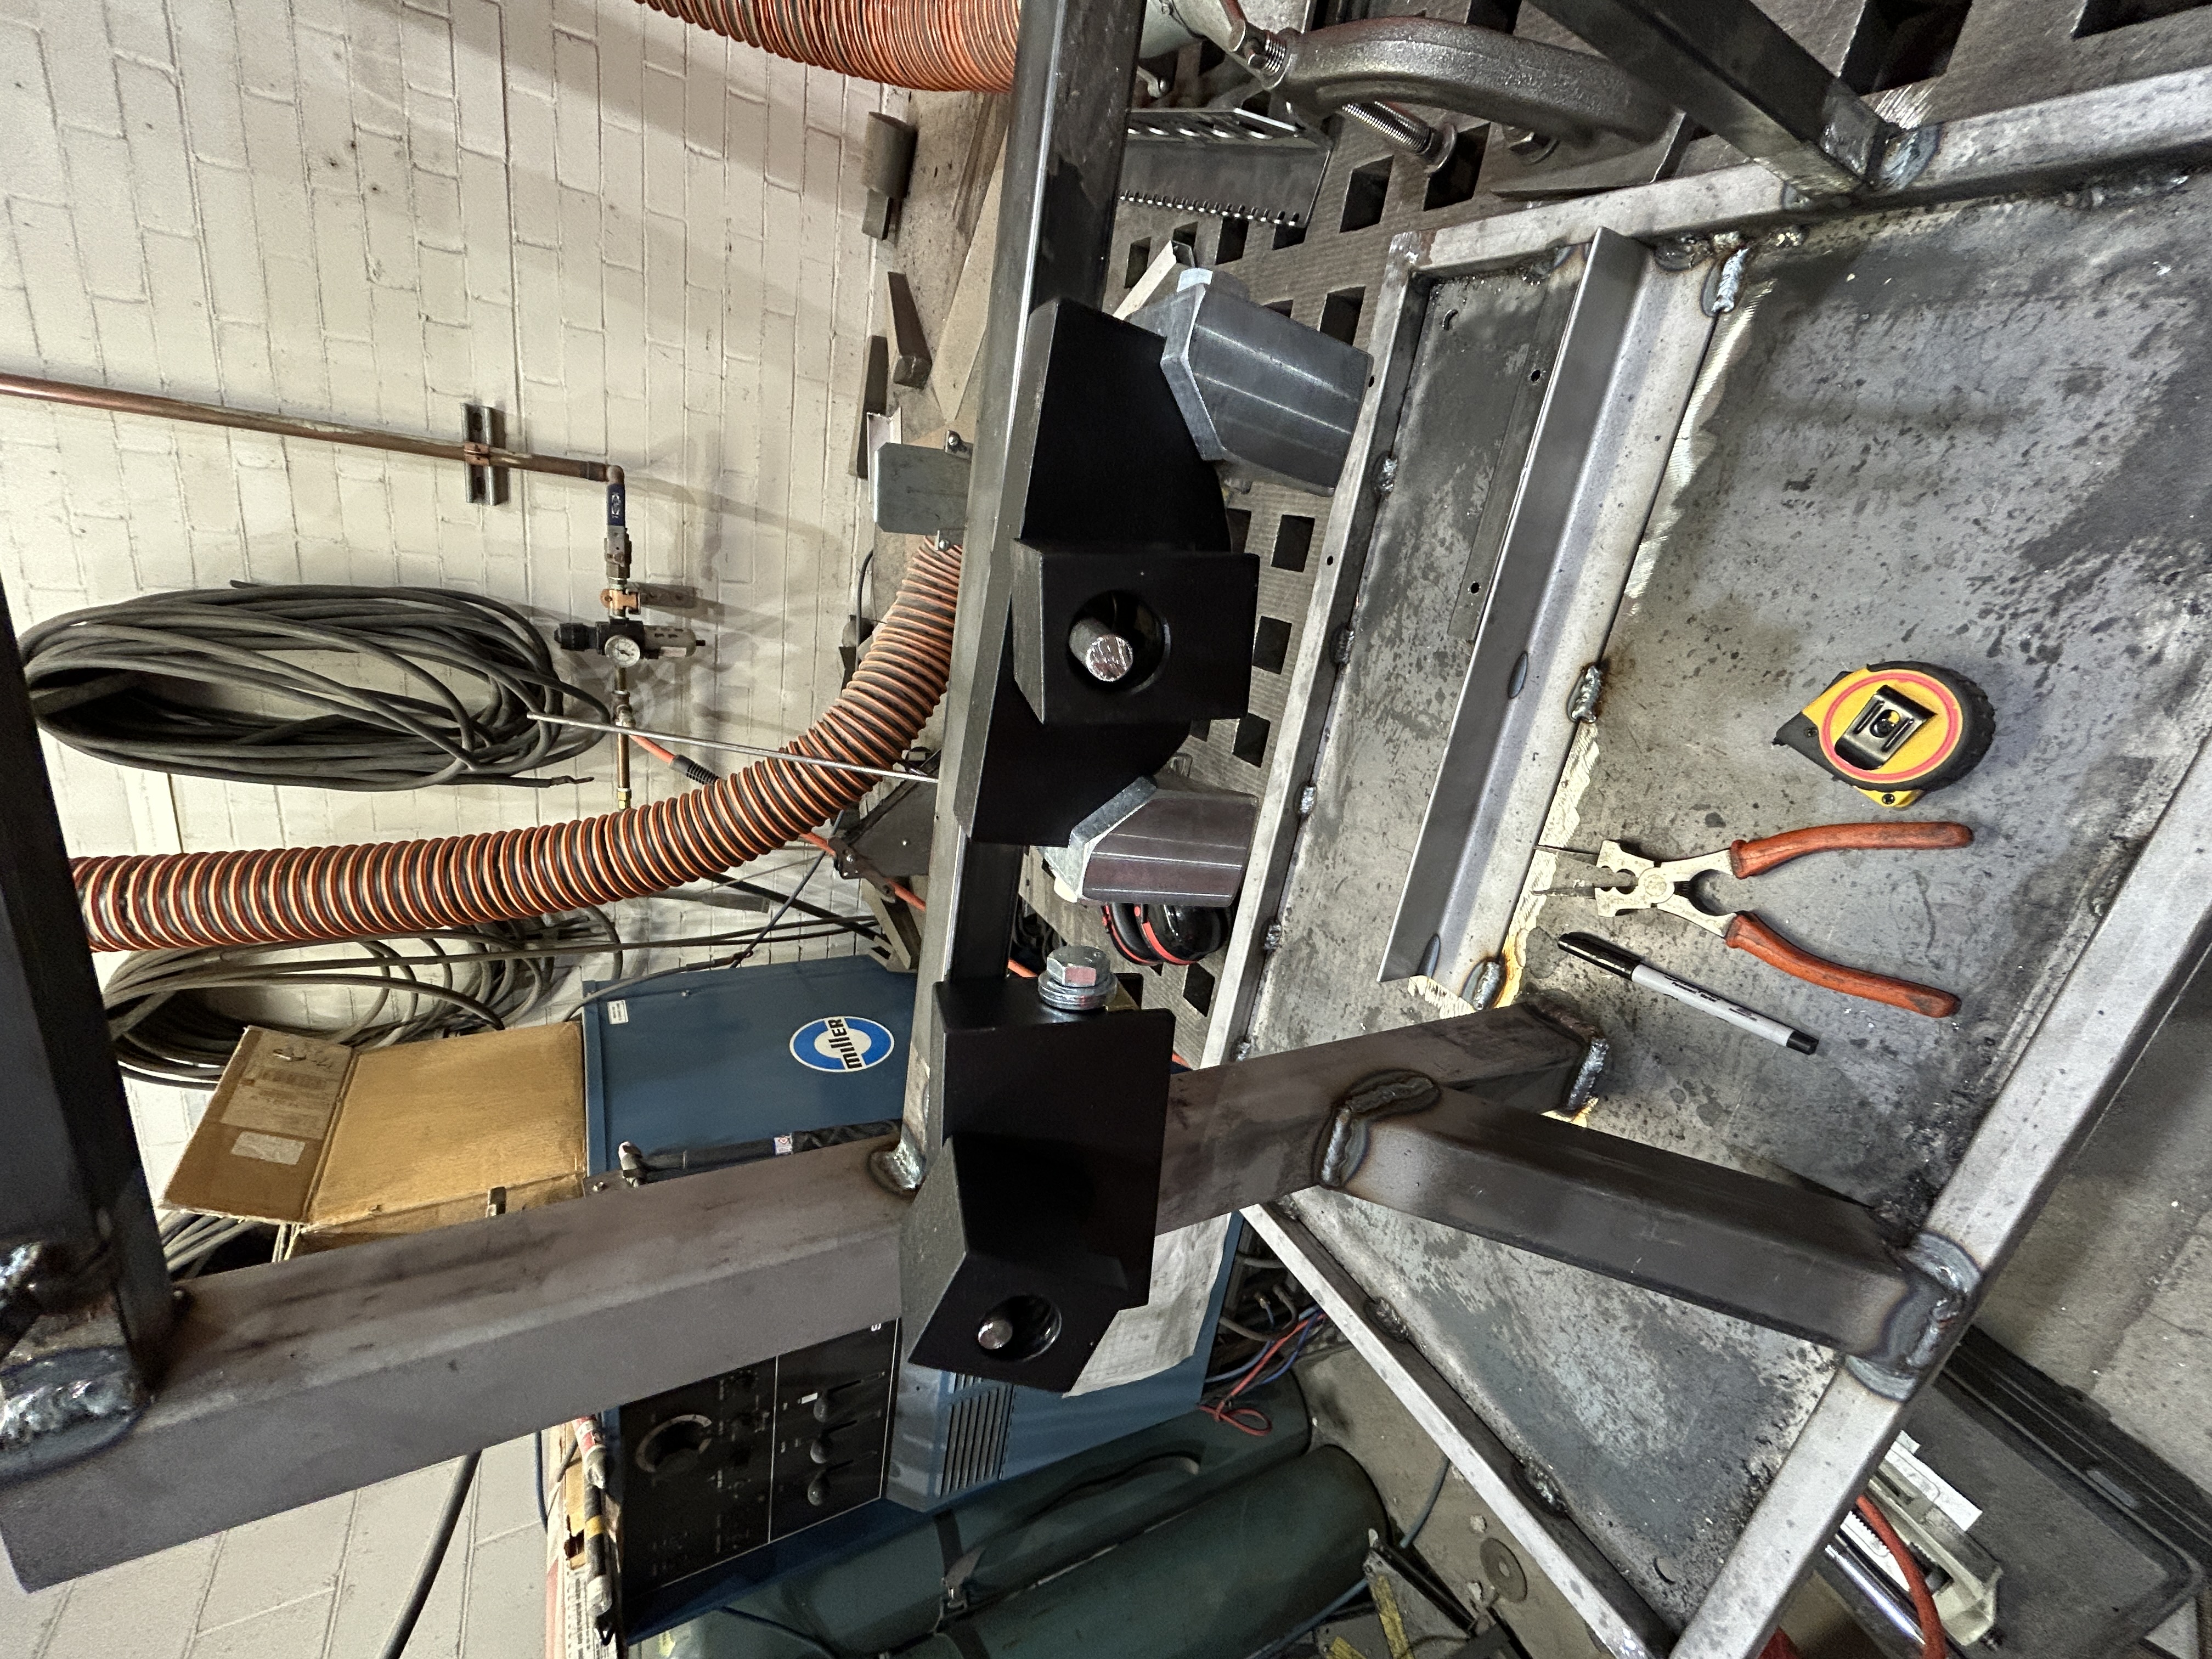
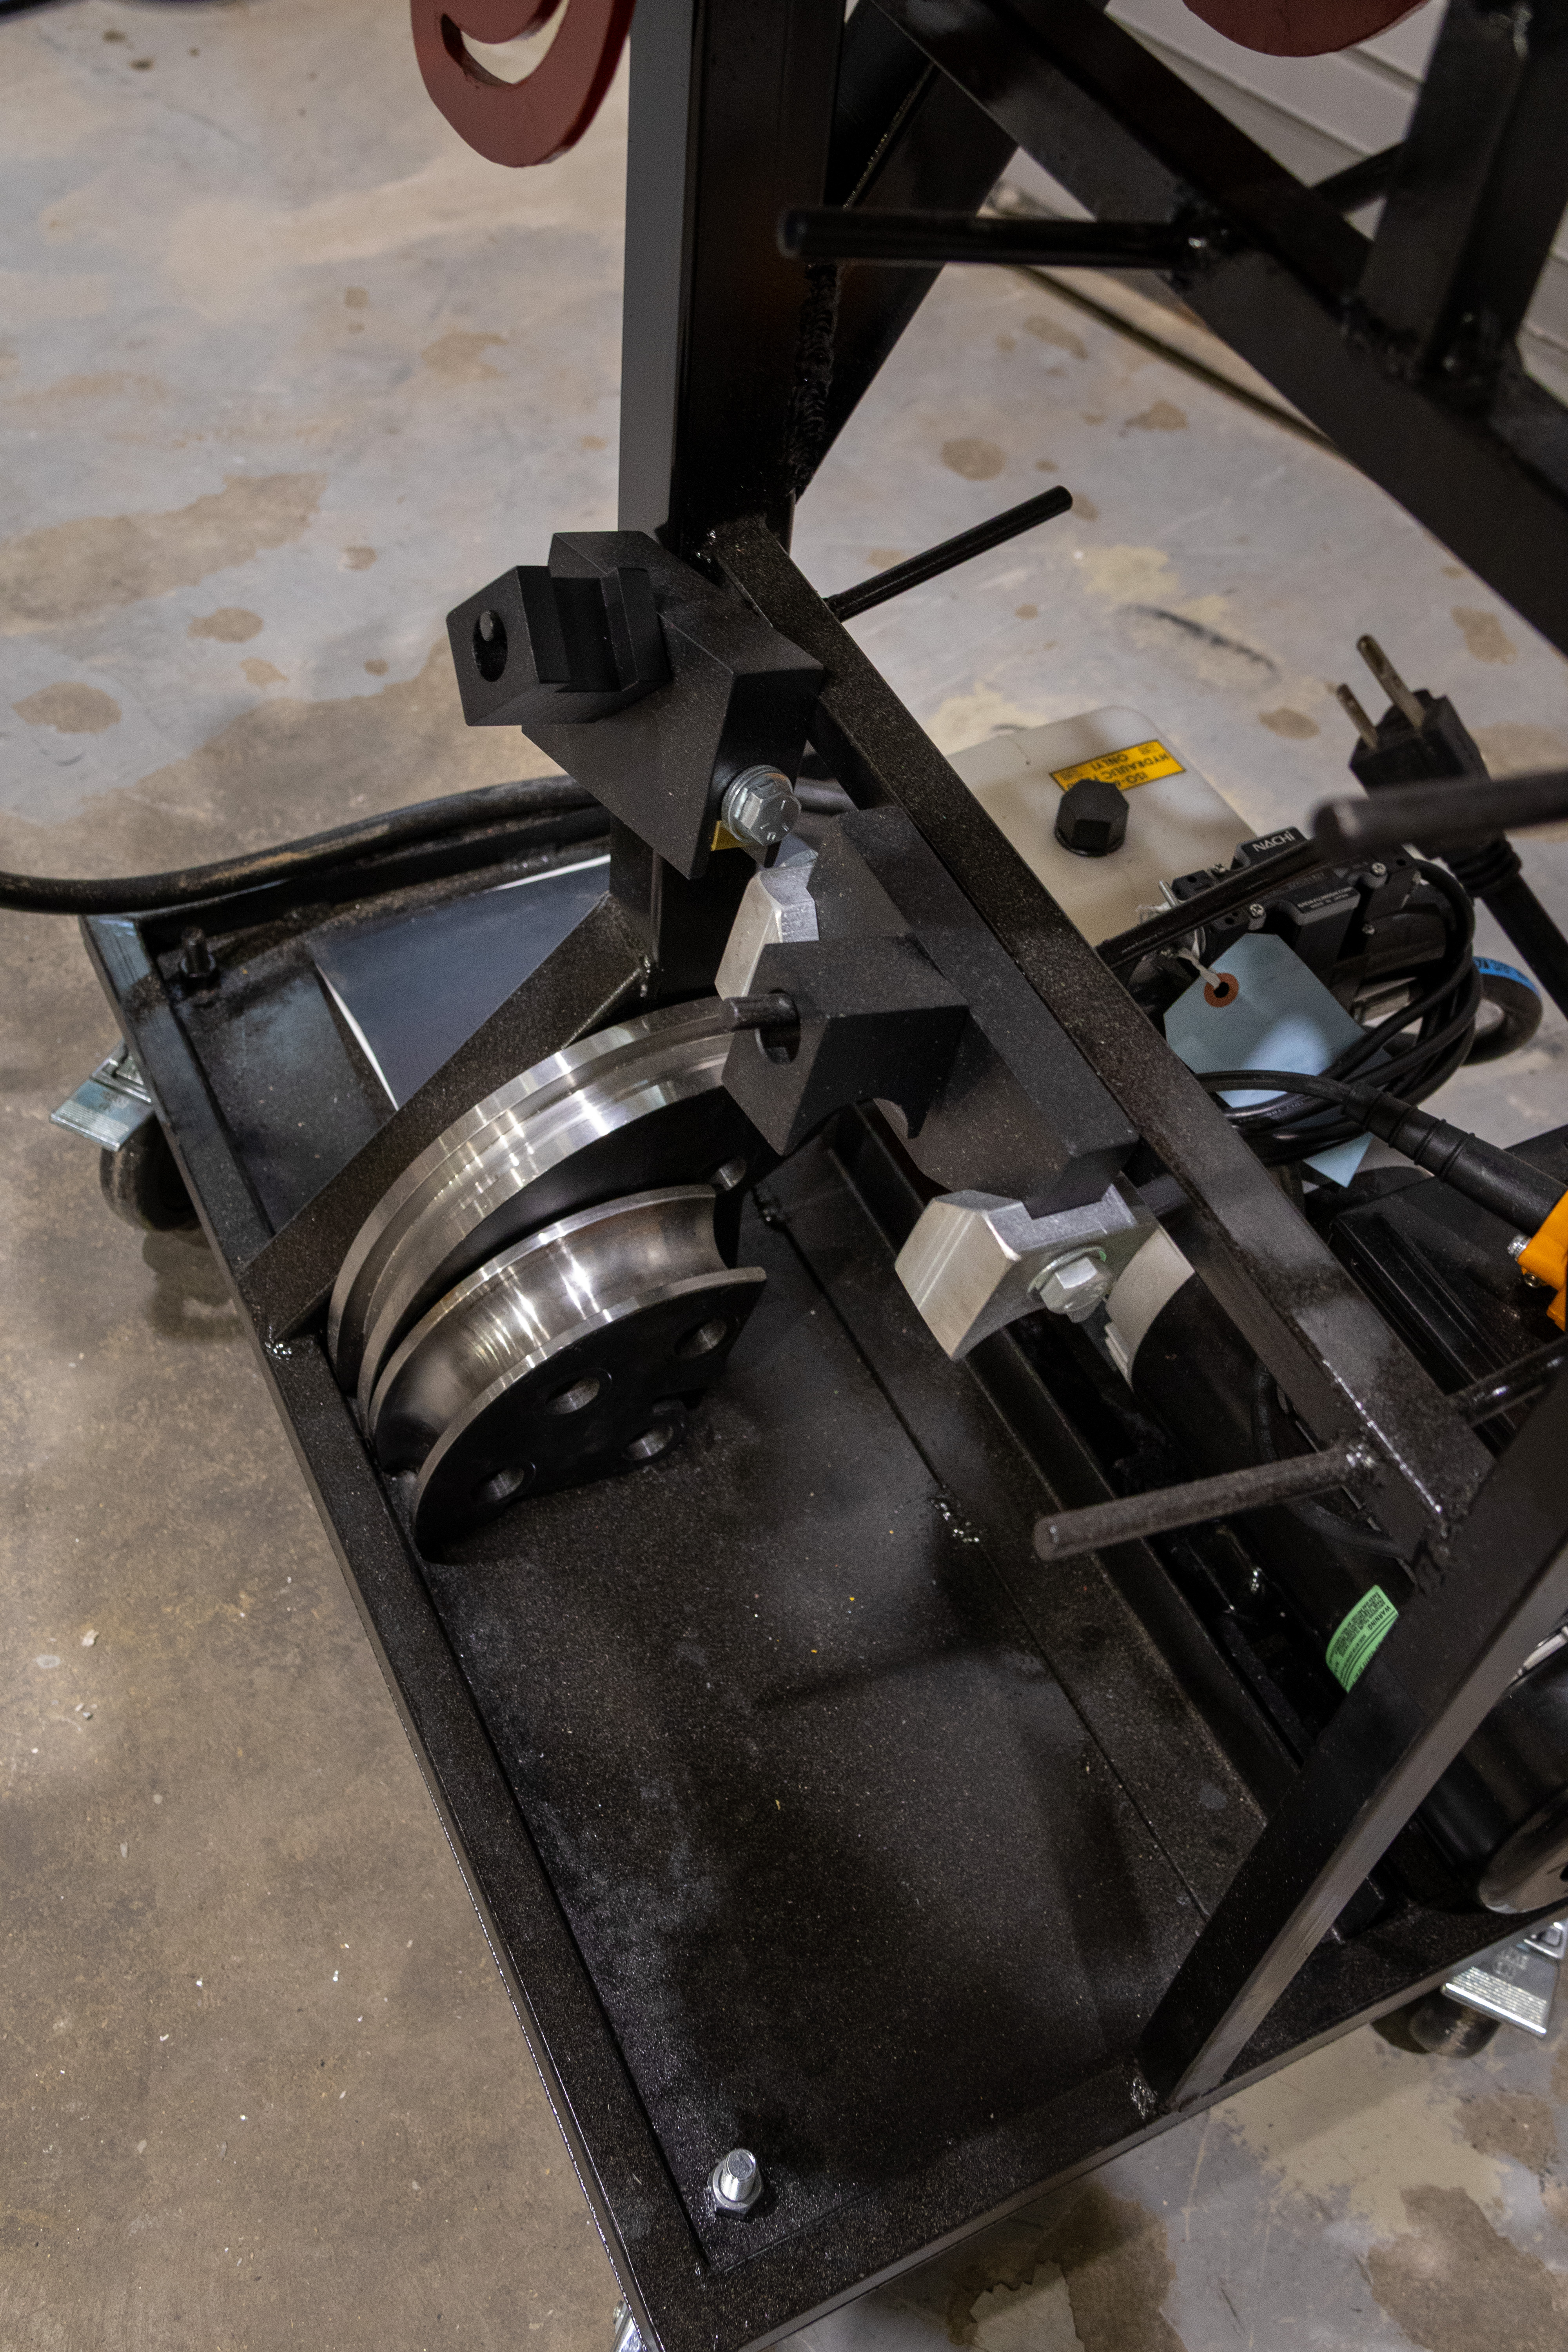
Tooling Rack
I used some more 1x1 inch square tube to make some horizontal bars so I could attached some angled 5" pegs of 3/8" steel rod. This created good storage spots for the differet tooling sets required for the bender.
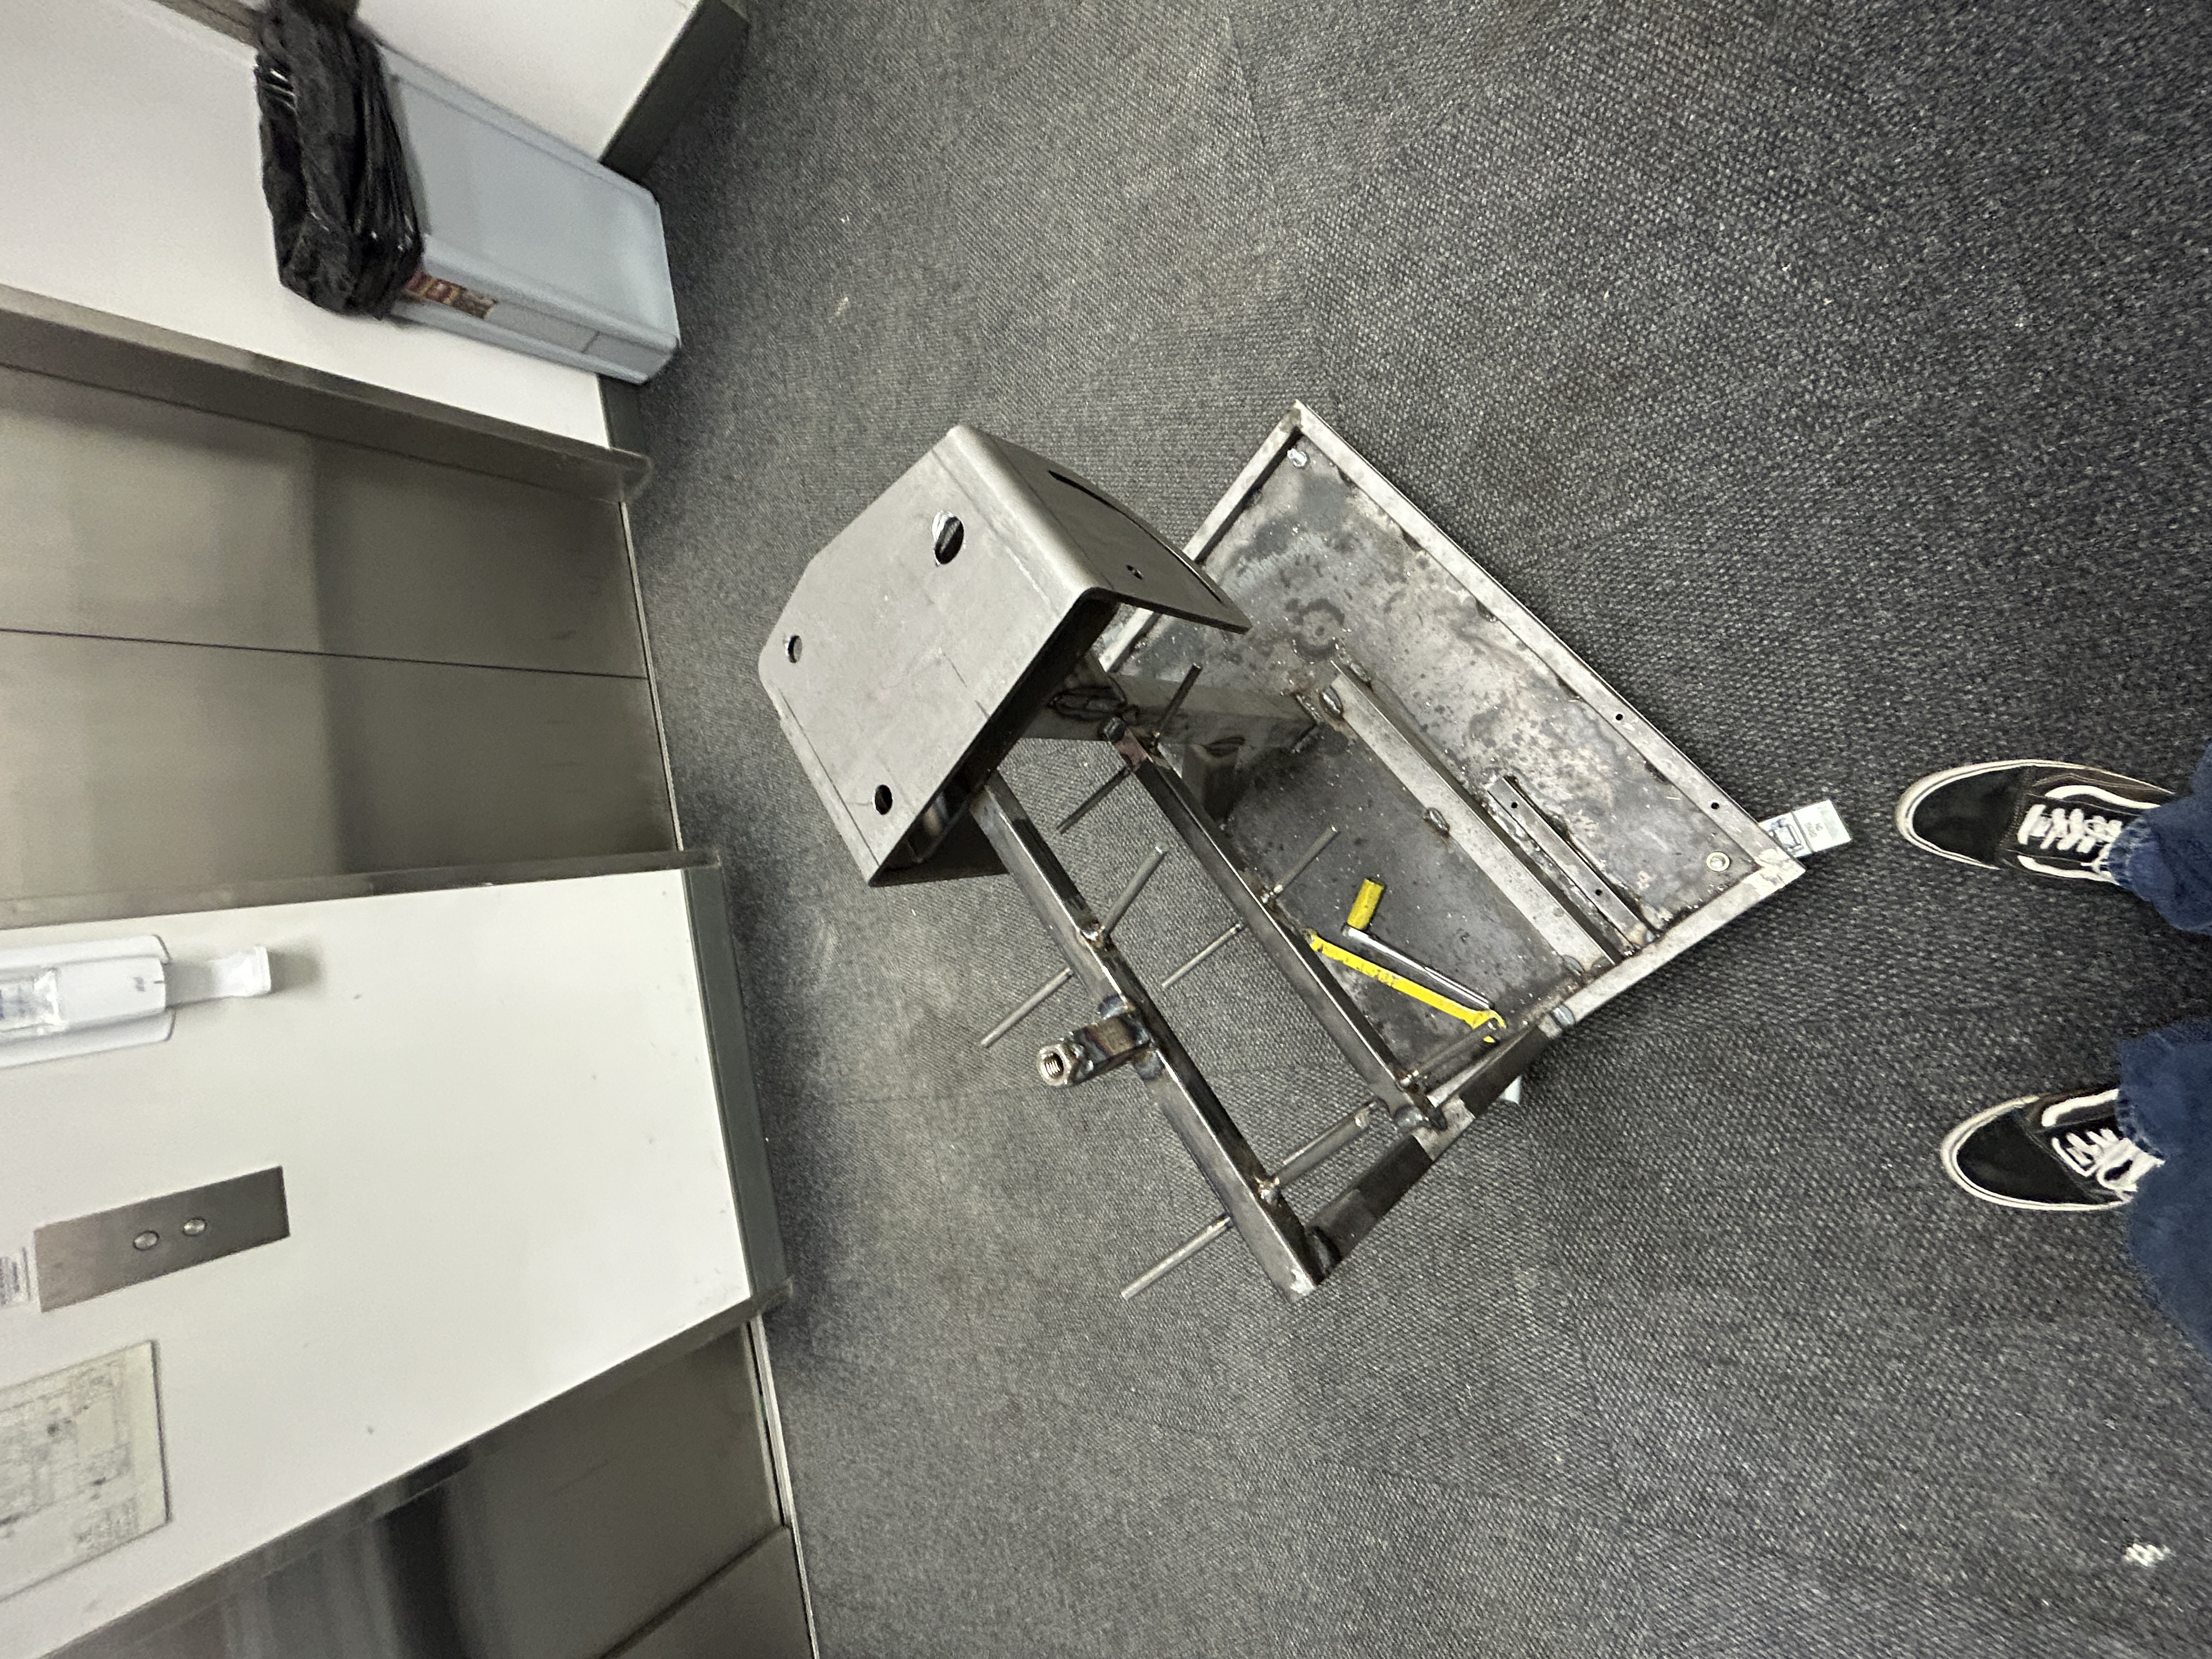
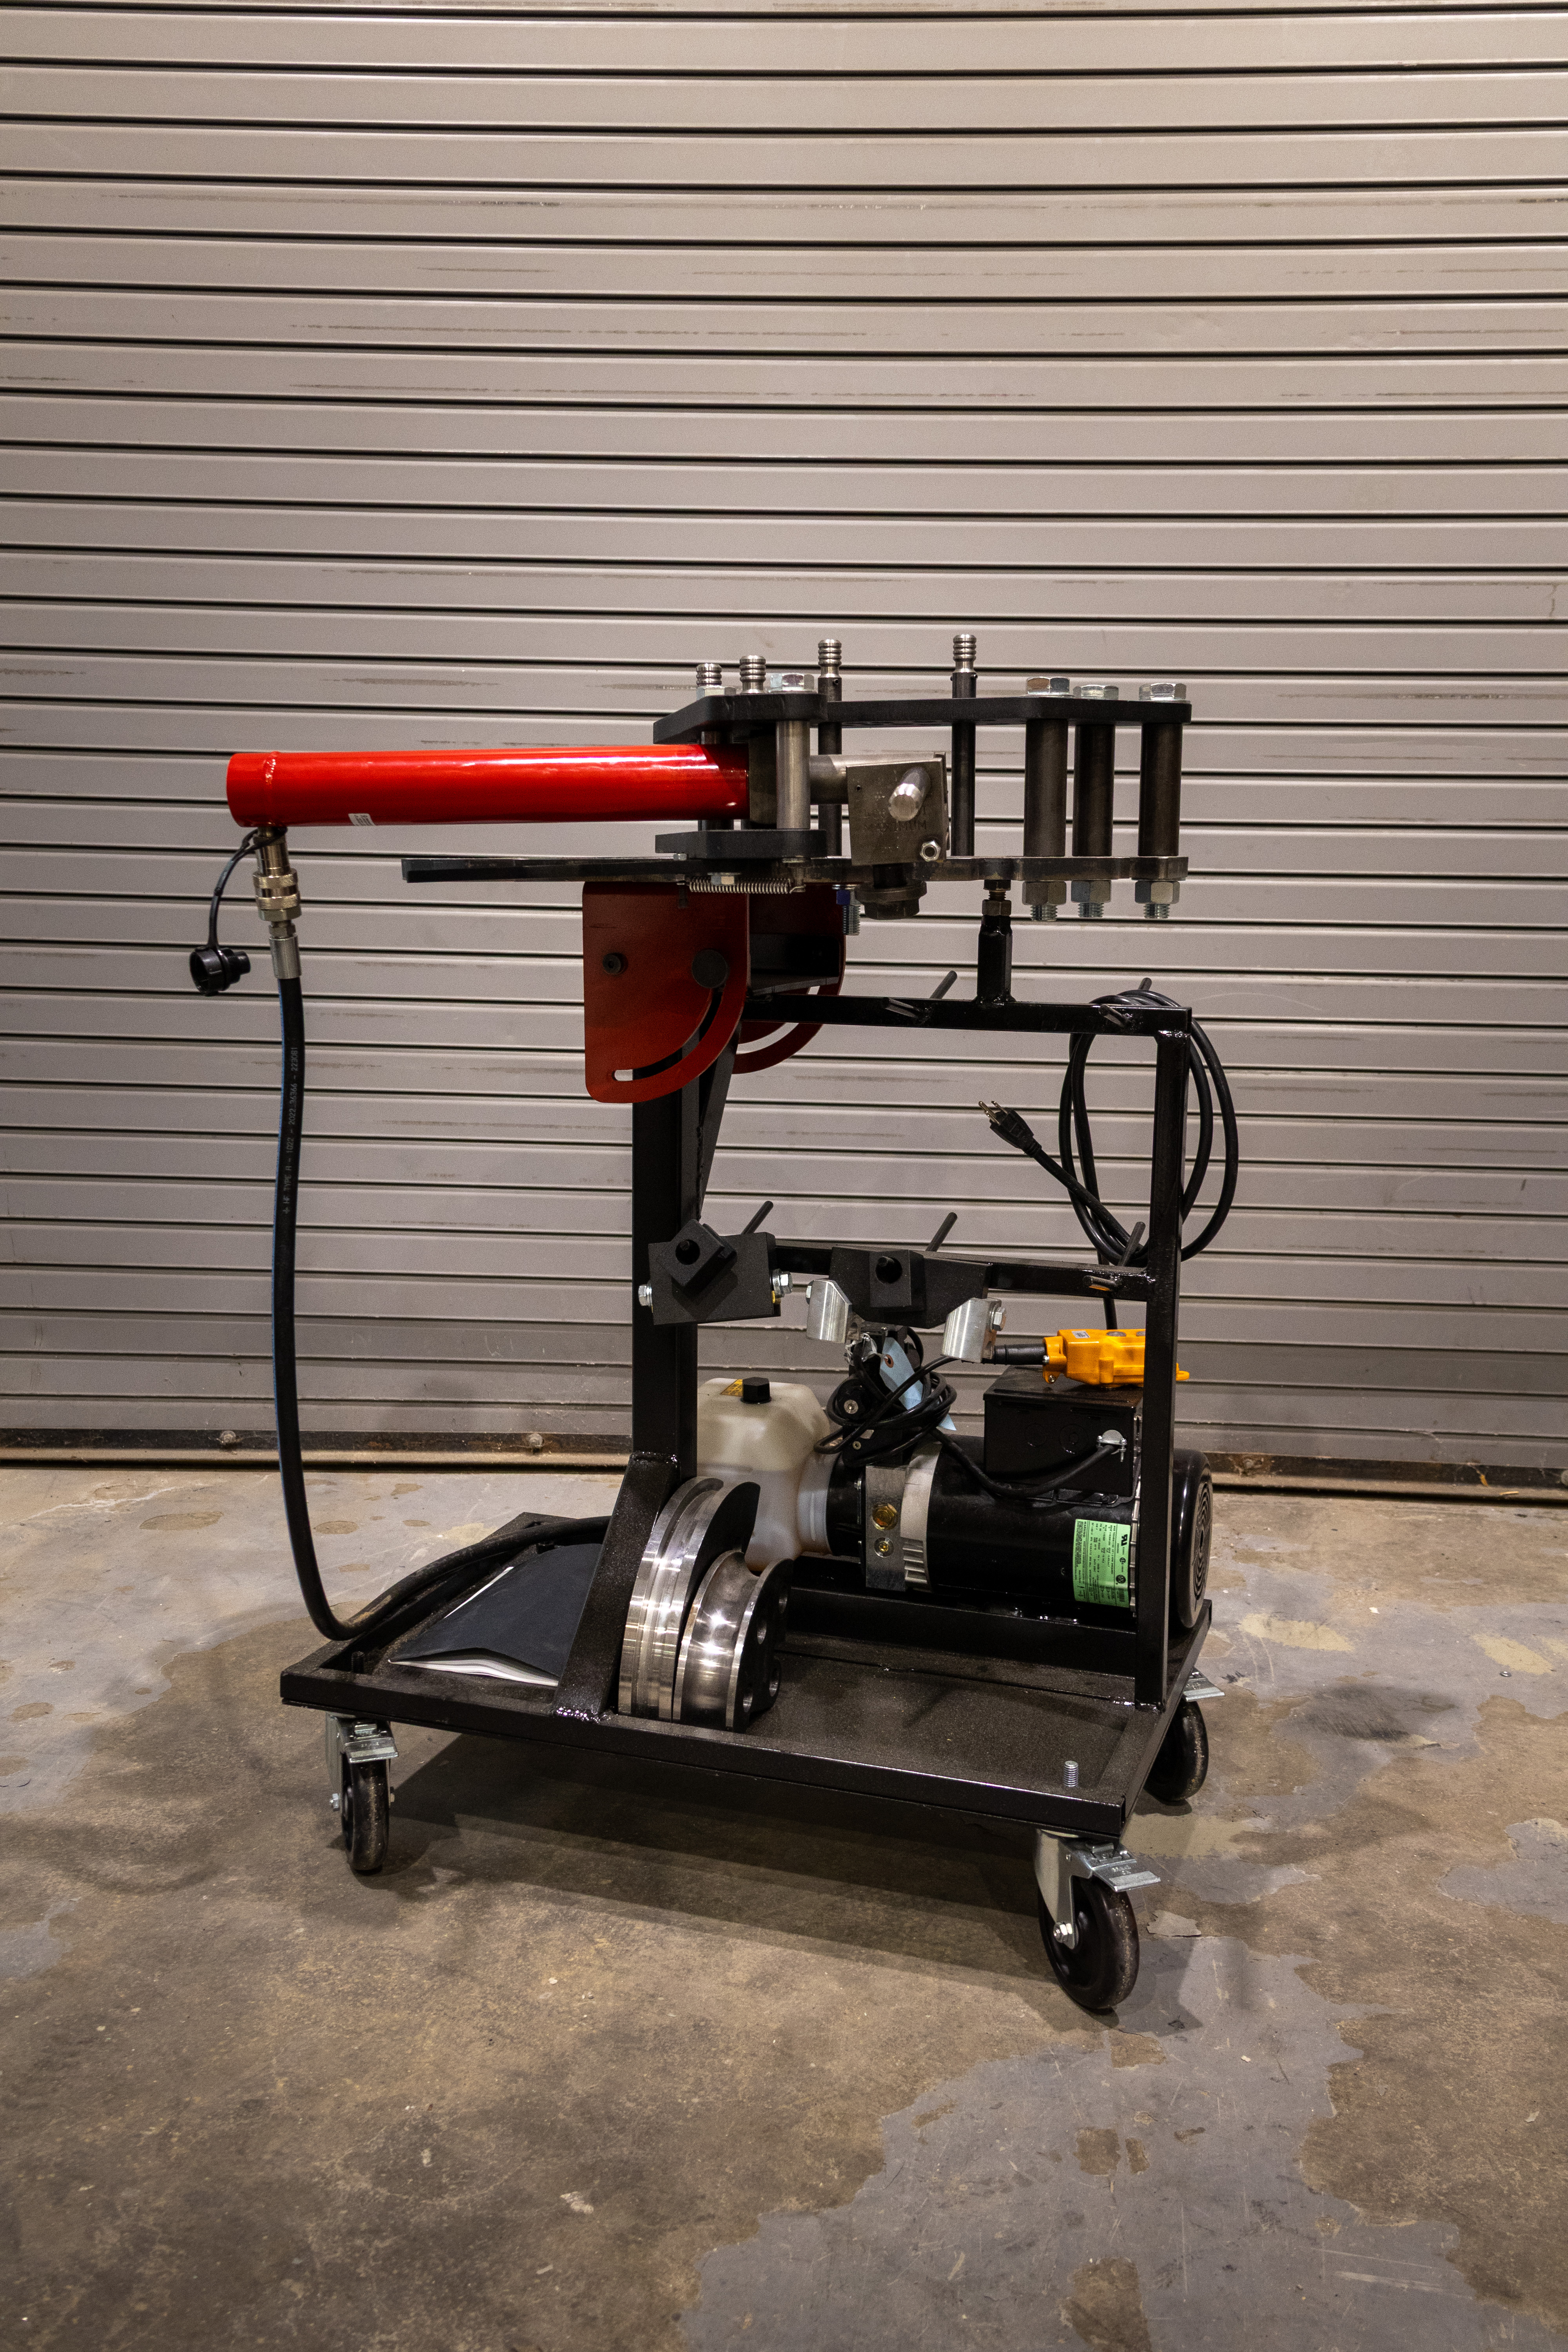
Final Product - Pre-Paint
All that was left after the tooling rack was to add the hinge mechanism that I designed in Fusion 360 and had manufactured by SendCutSend. Unfoutunatly, the company bent one of the peices backward (my own faut) so the bender ended up tilting the wrong way, but still useable. I also added a scew adjustment to the top off the frame to take the weight of the bender off of the pivot.
More Projects to come, this Webpage is WIP!