Iterative Design
On the first Saturday in January, FIRST provides us with a full new game with a 150 page rule book and no further instructions. It is our job to strategize, brainstorming, prototype, design, test, iterate, manufacture, and program our robot in about 2.5 months. Like any good engineering problem, it never works perfectly on the first try.
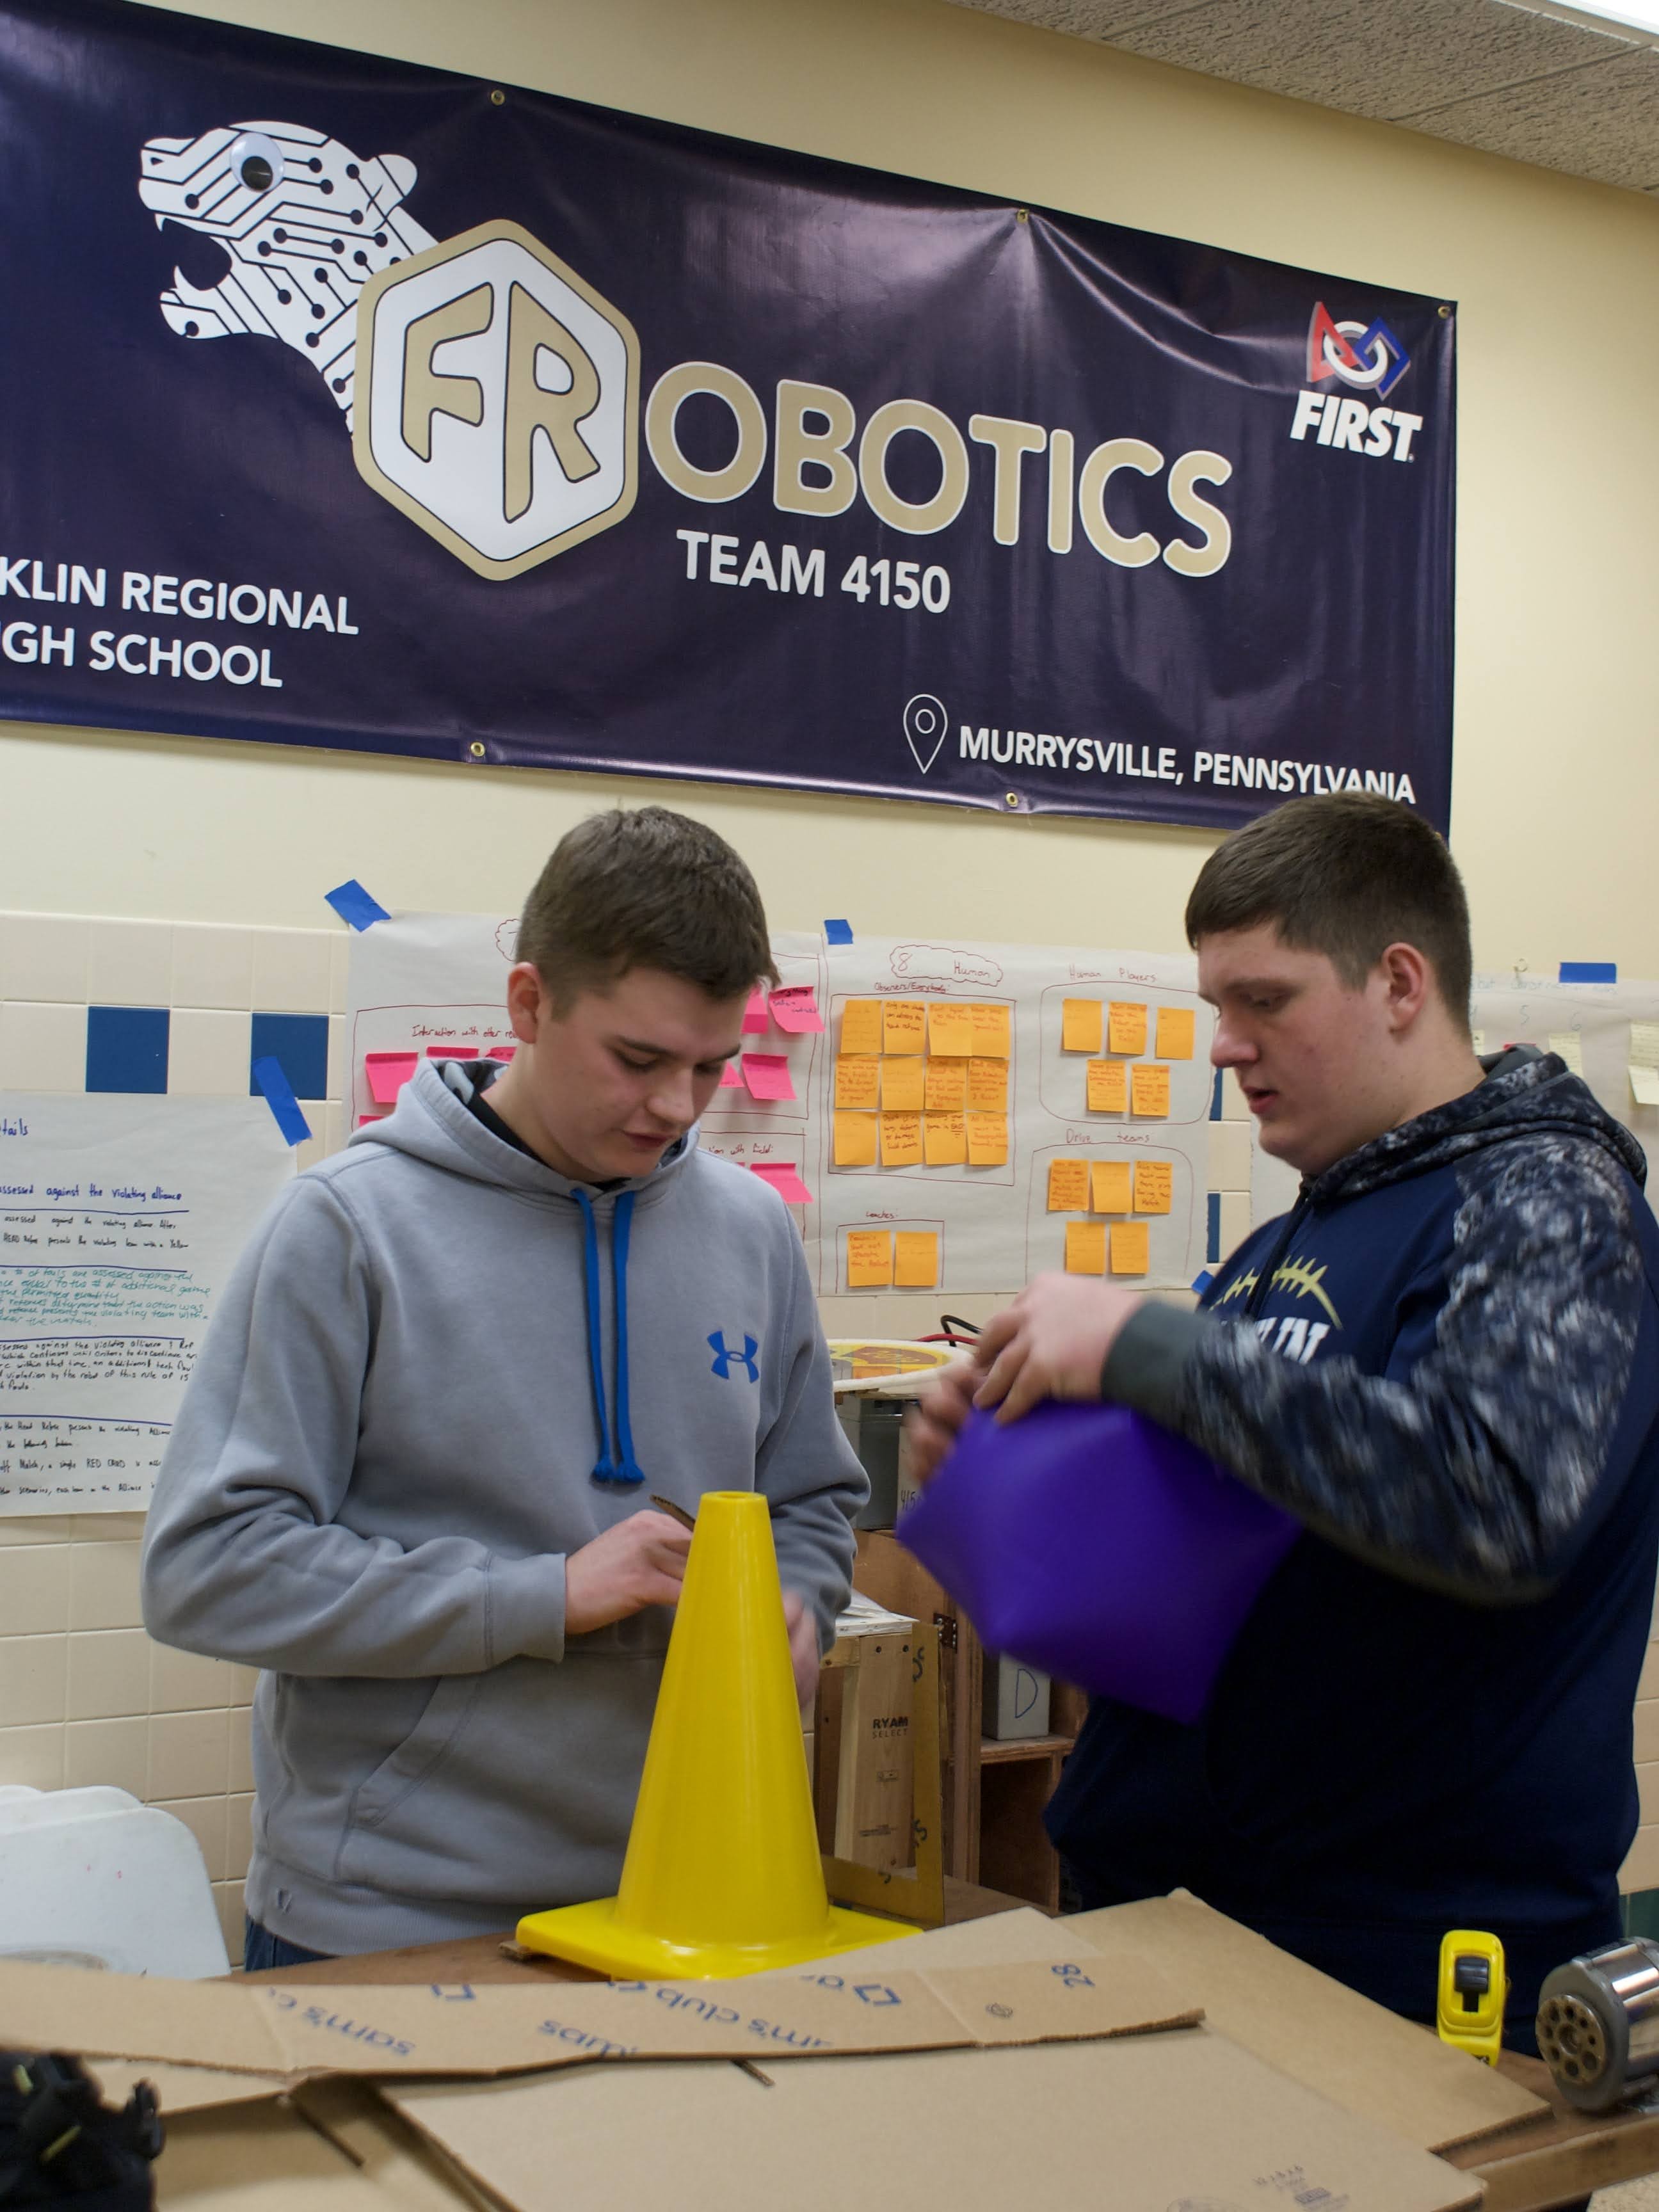
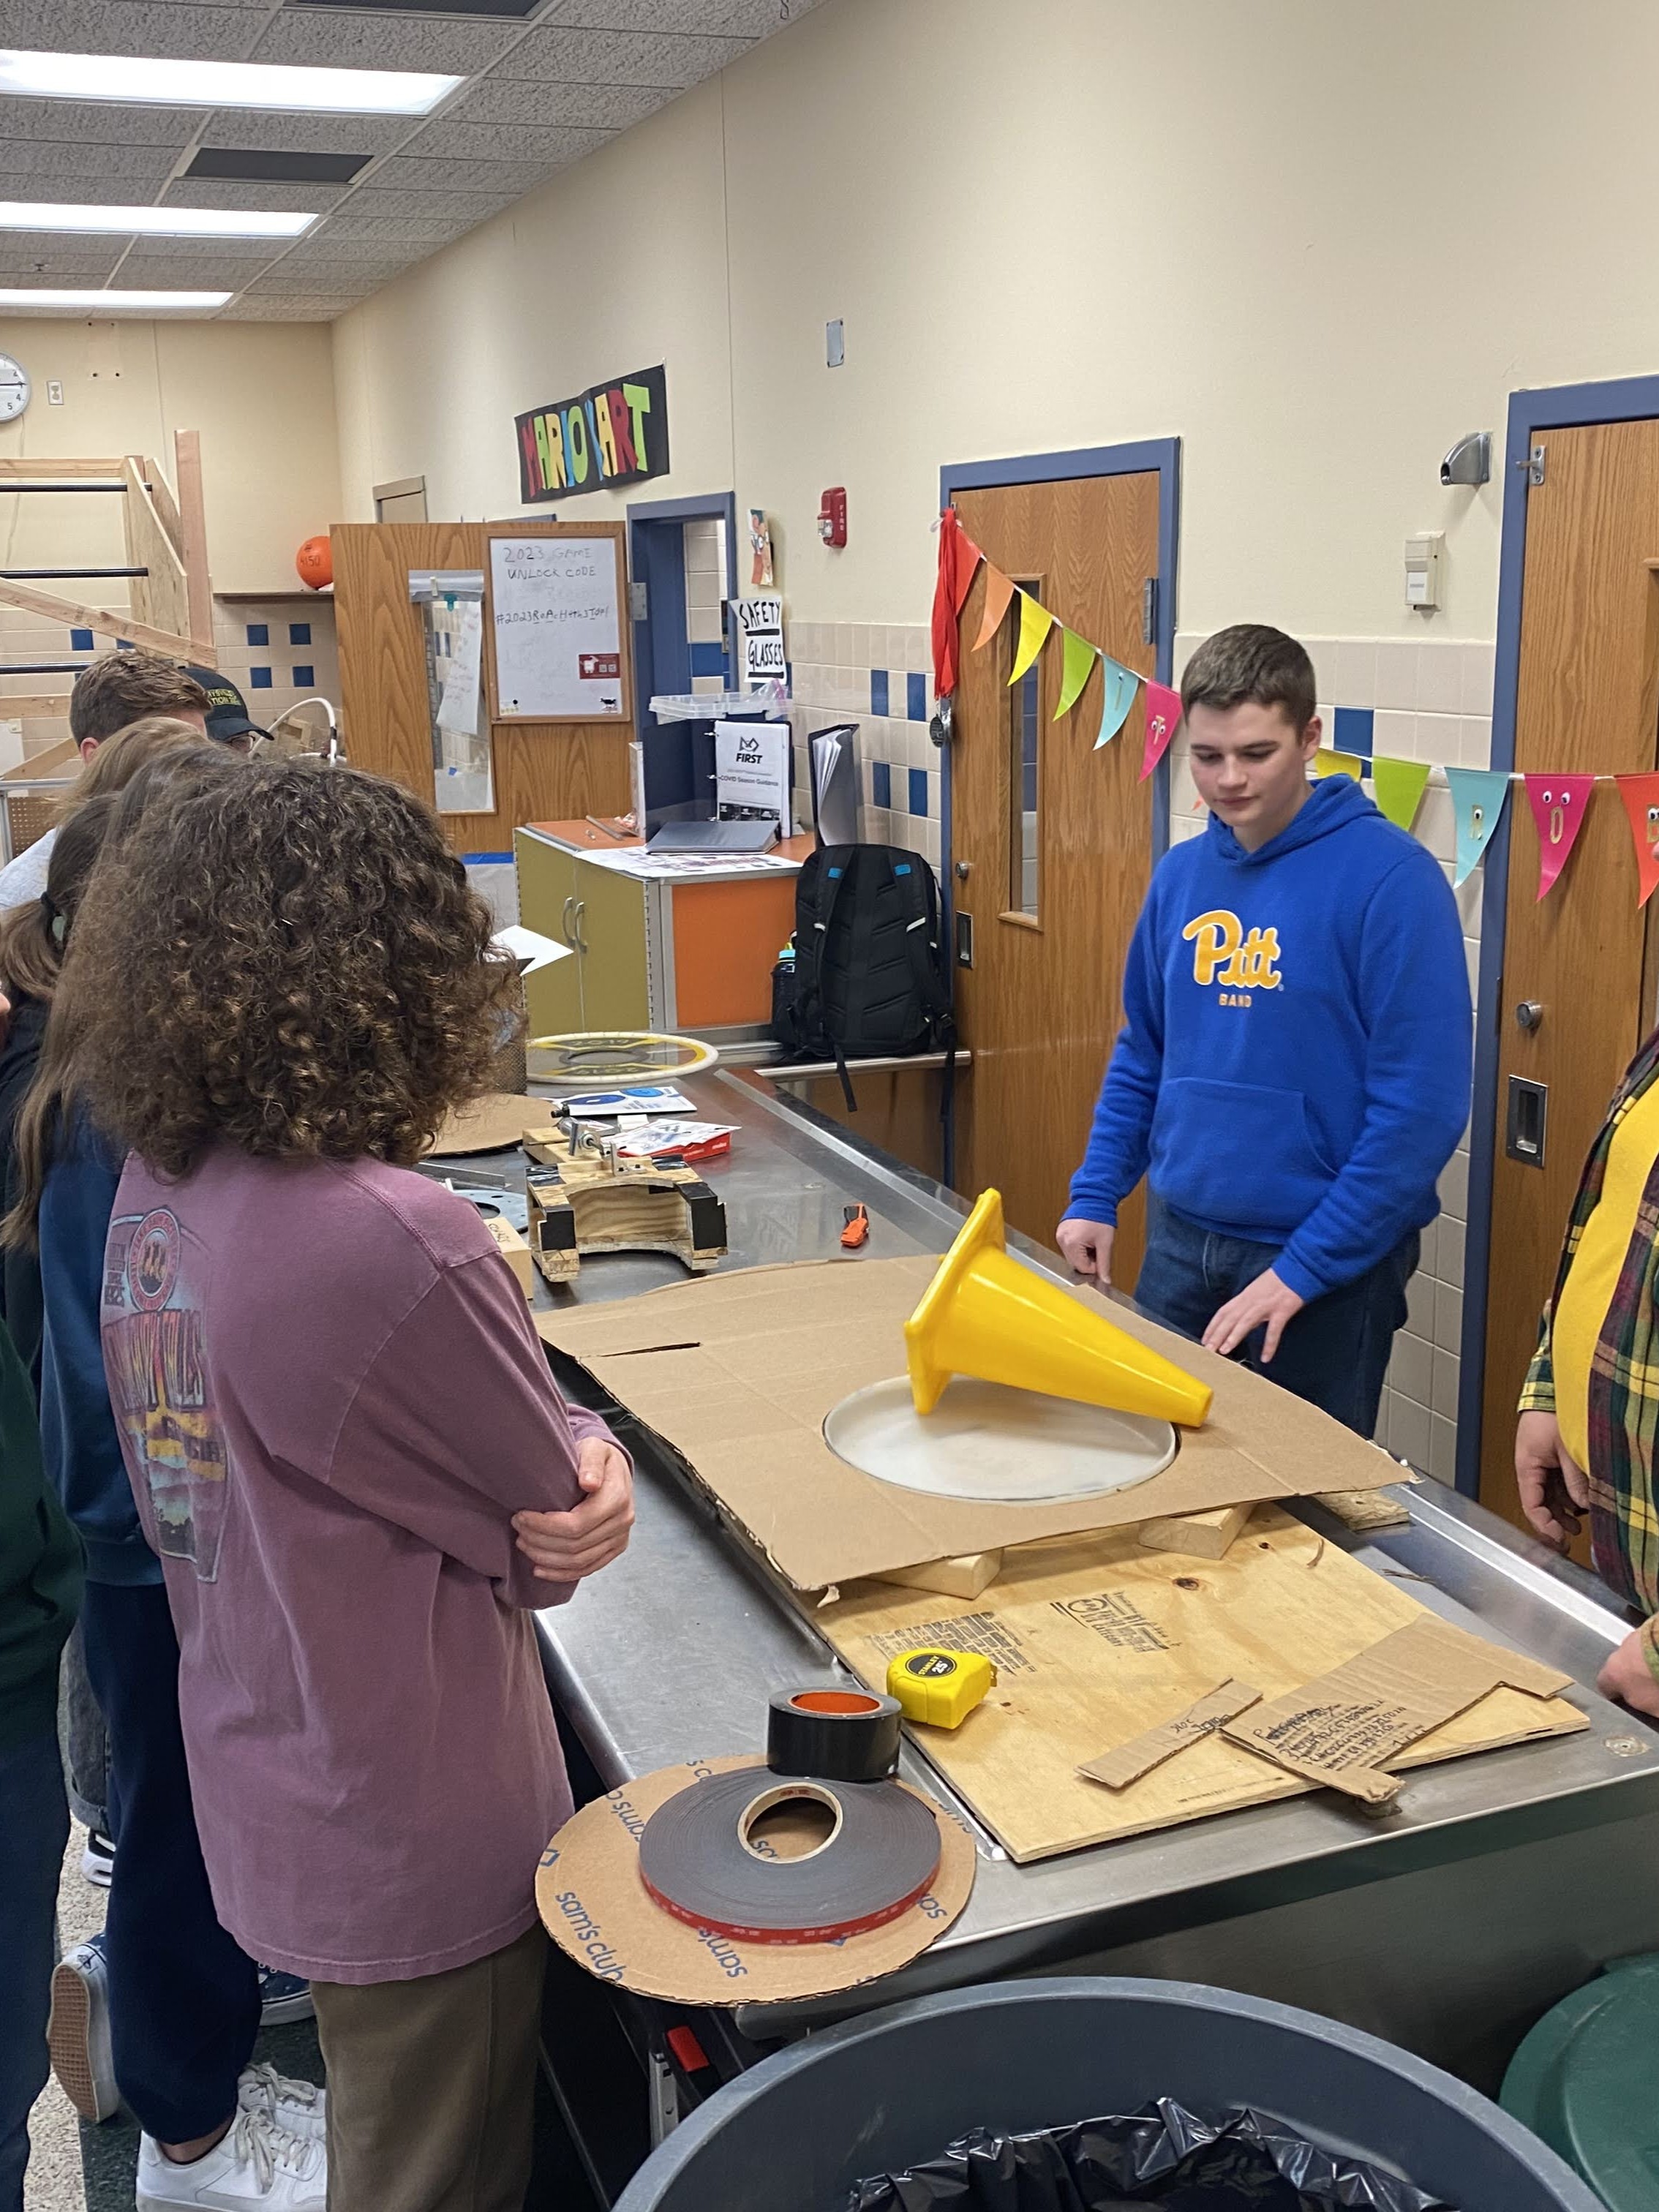
Brainstorming
The first few days of build season consistents of reading the rules and determining what we think the best strategy will be and if we can build a robot to execute on that strategy. The 2023 FRC game was "Charged Up," which challenged us to manipulate small yellow cones and inflatable purple cubes. Here we were brainstorming how we could overcome this challenge and work with these new game pieces.
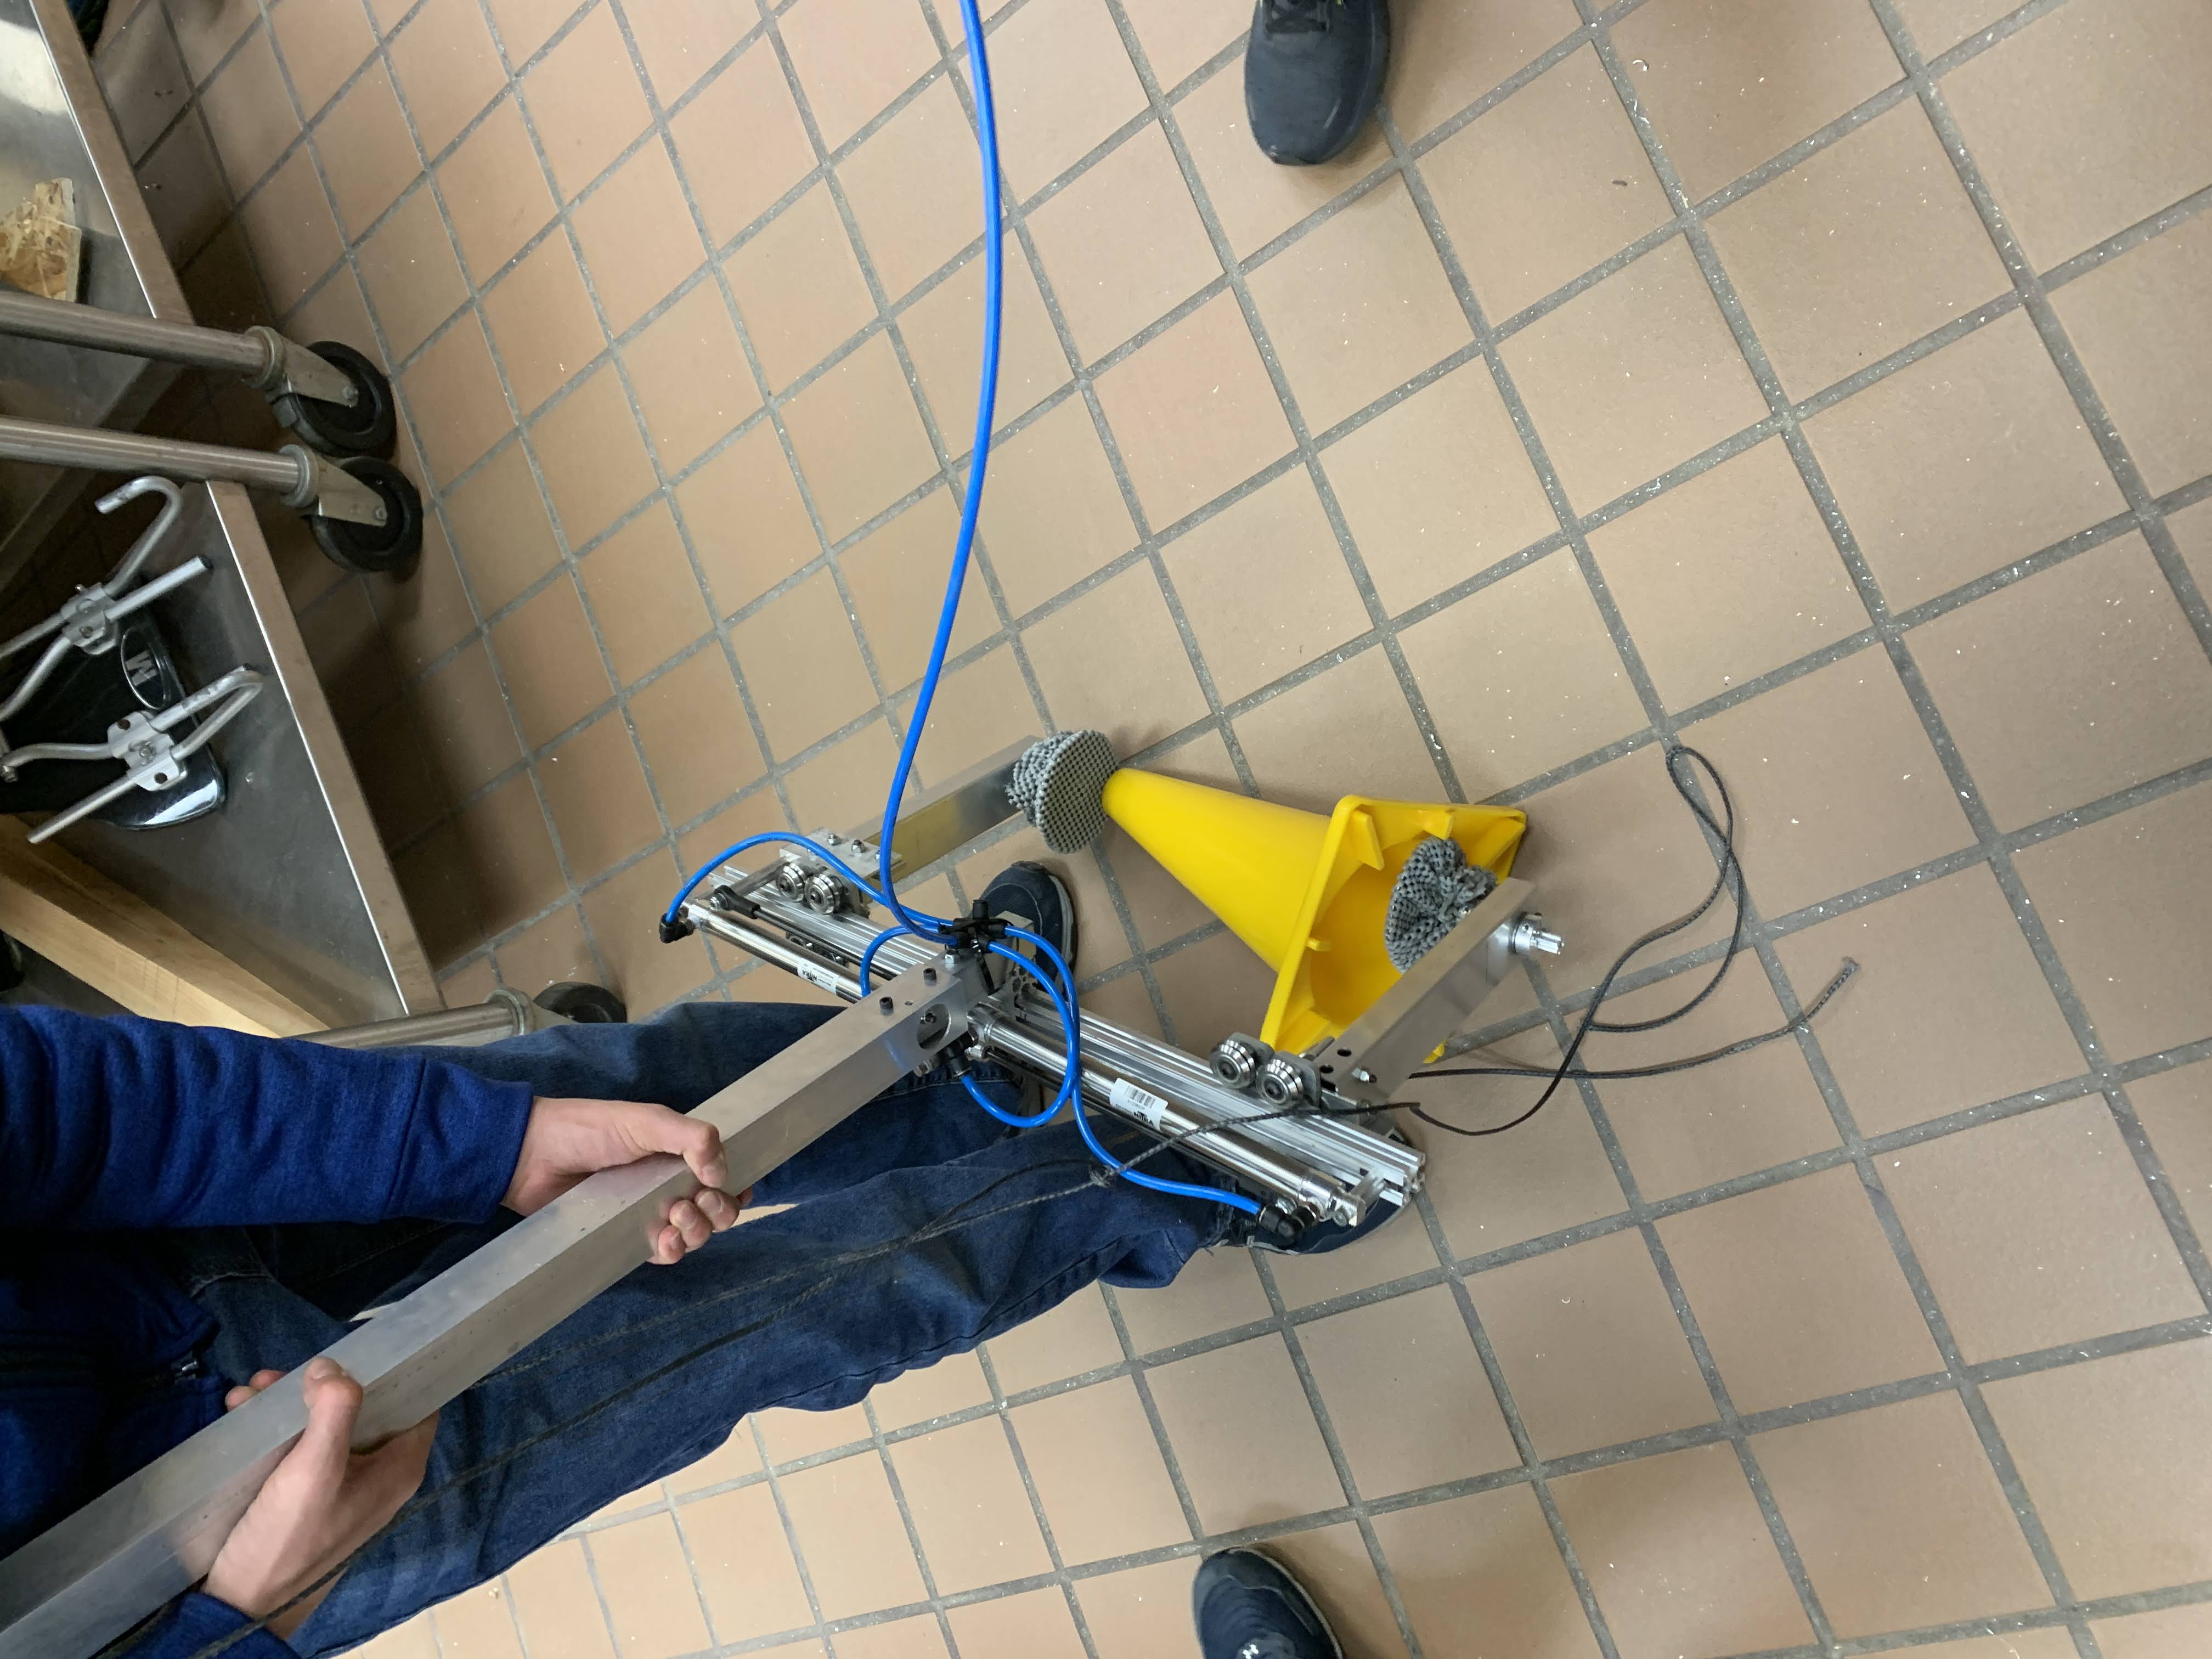
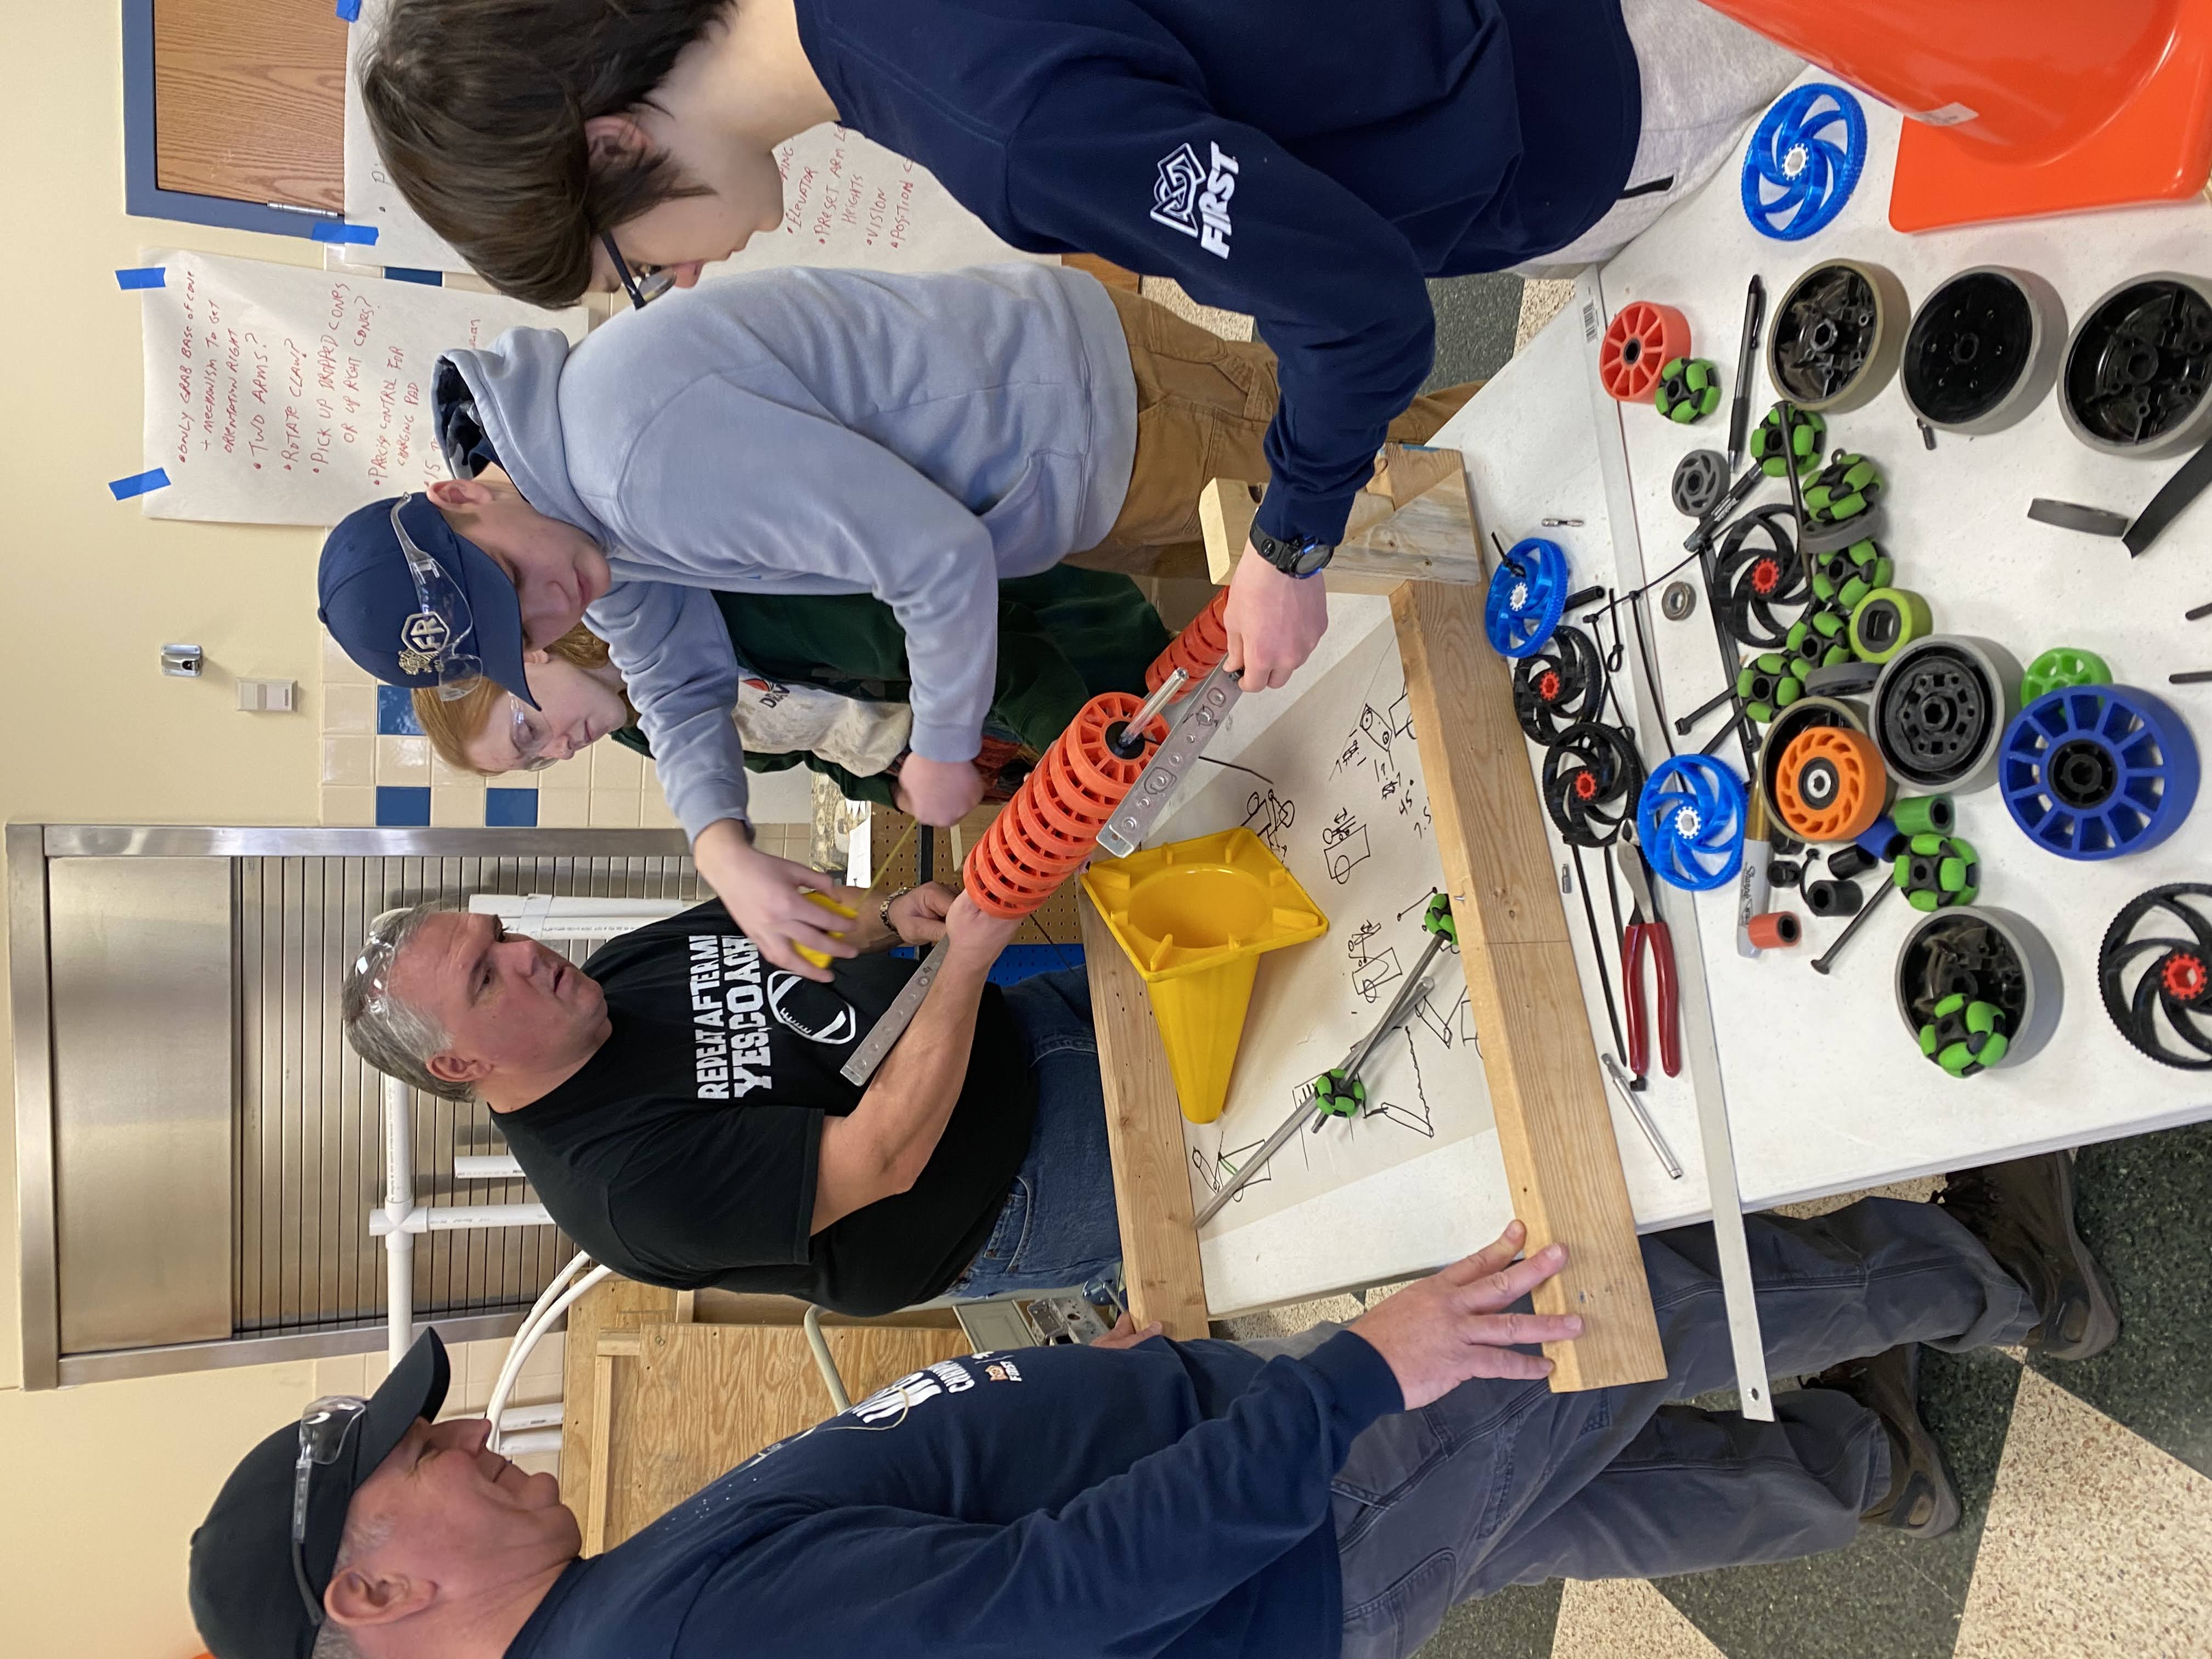
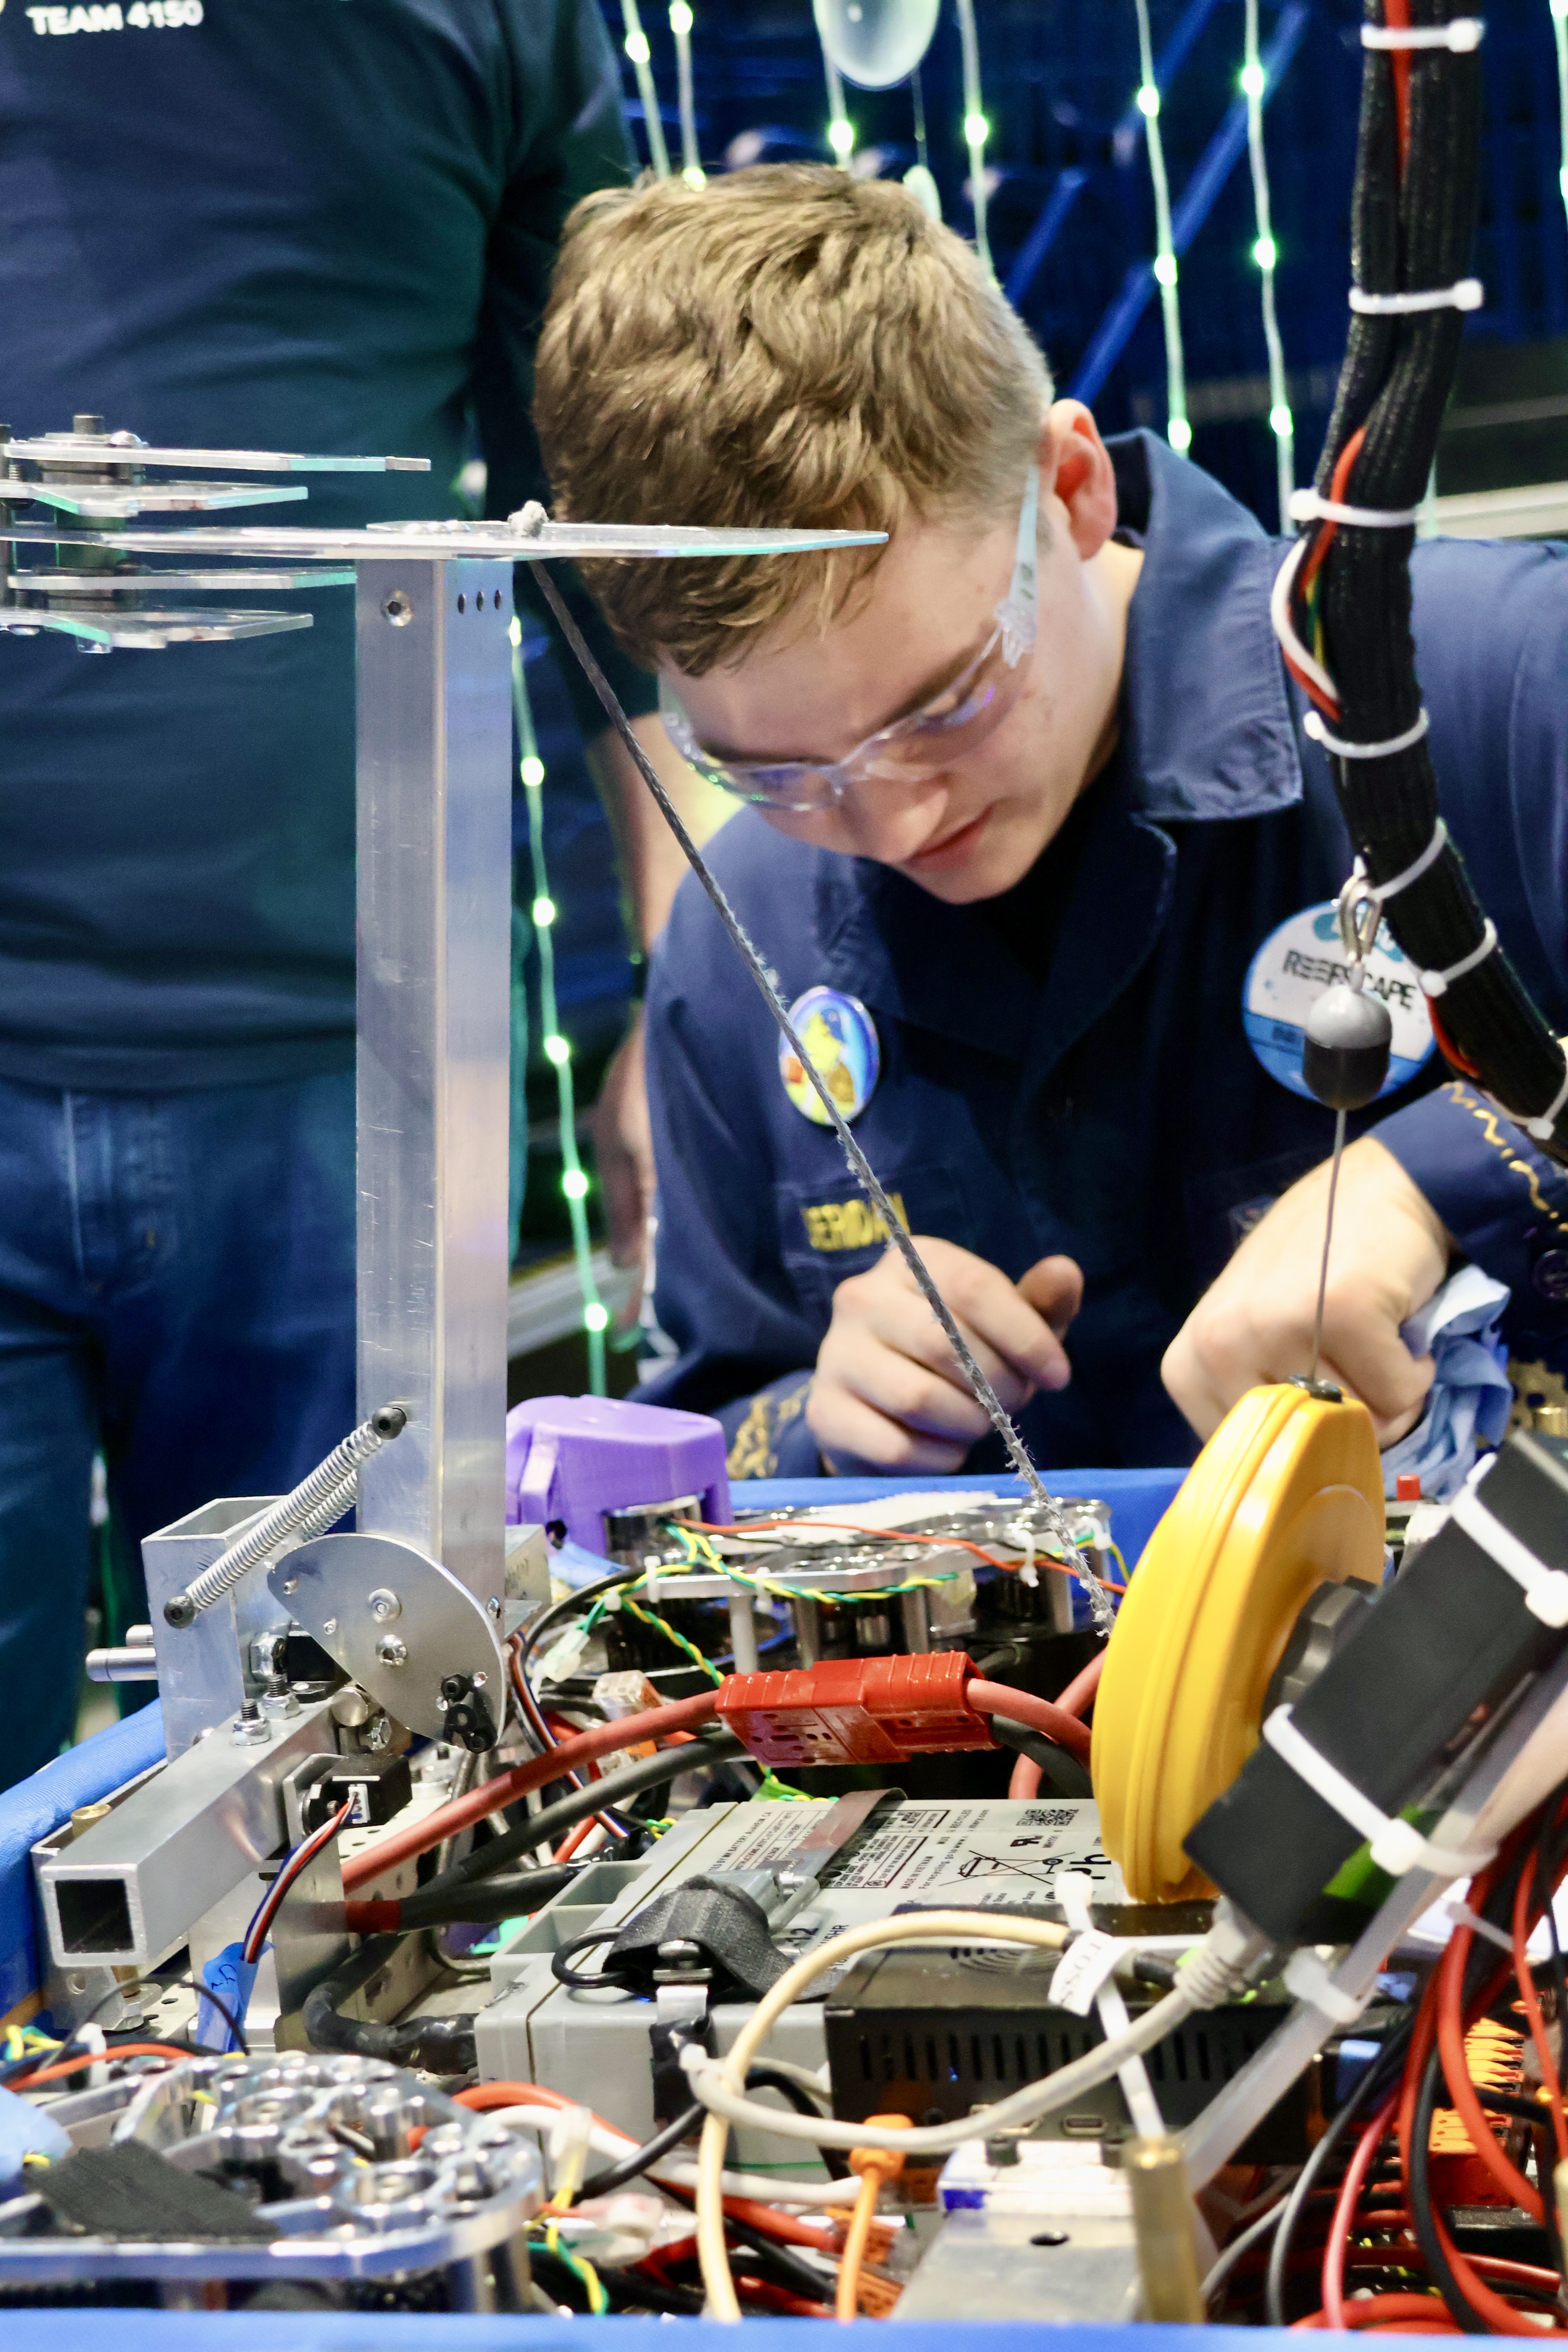
Prototyping
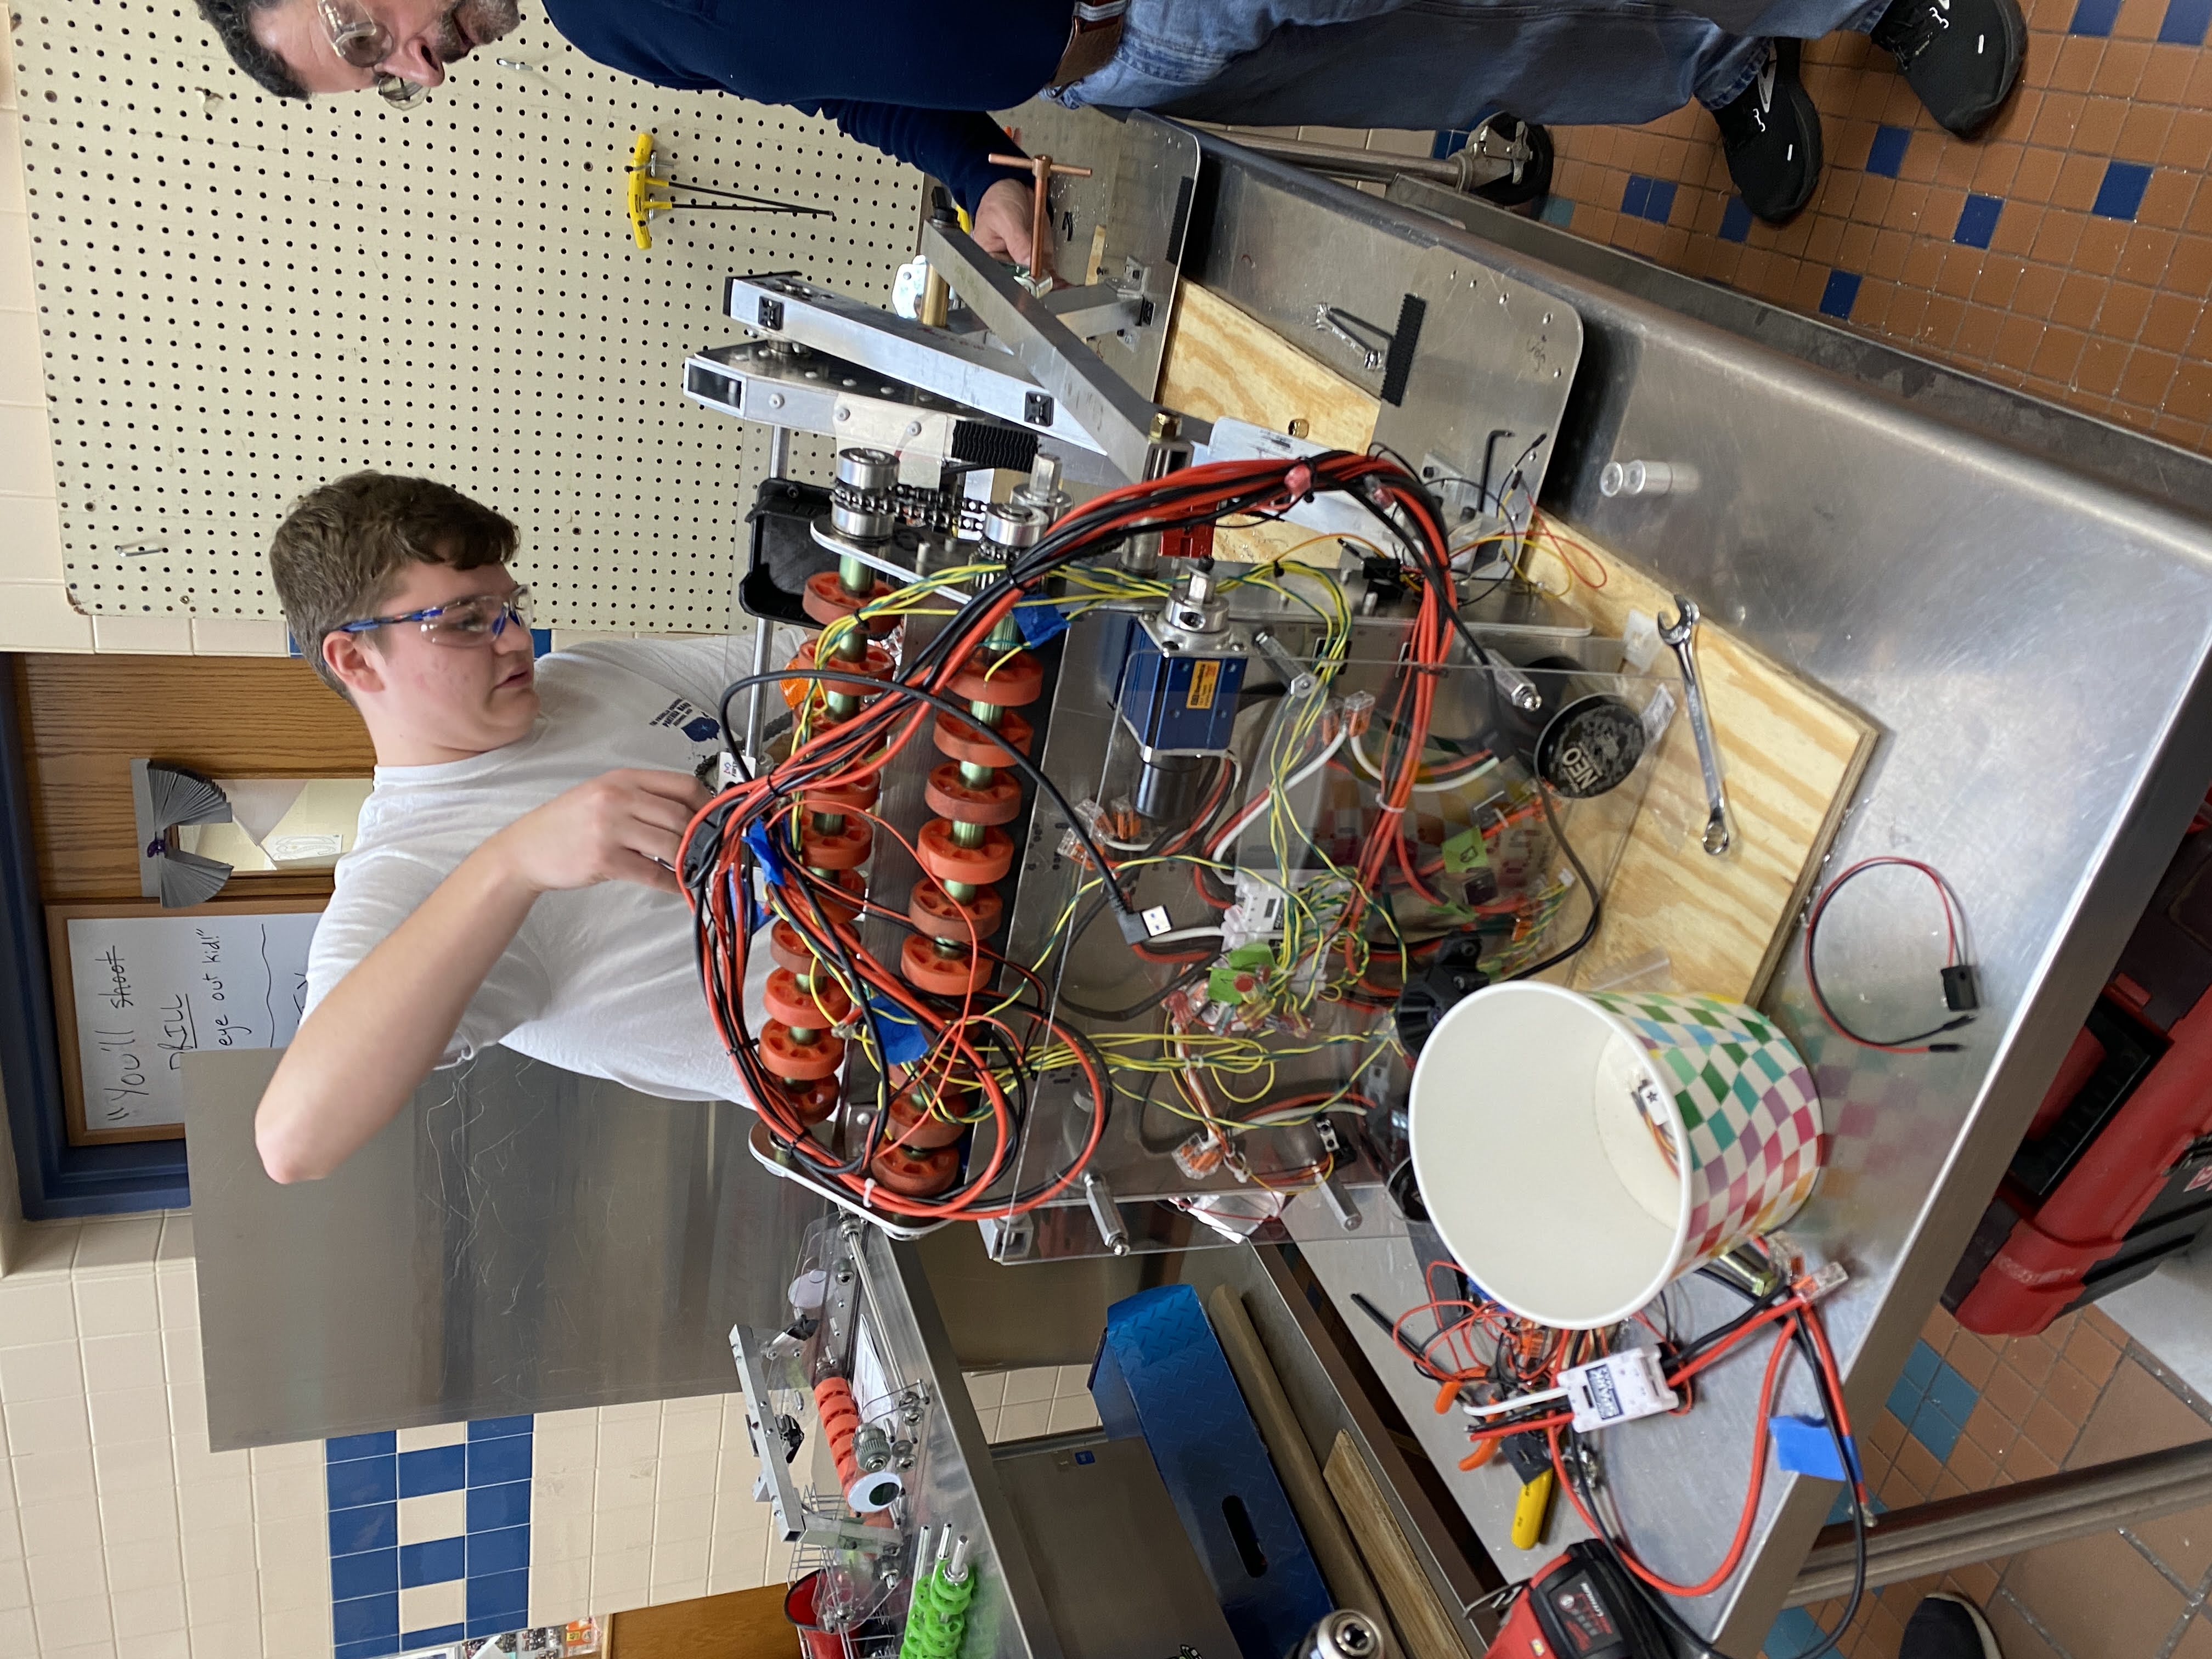
Starting with pizza boxes, plywood and 2x4s, and ending with testable mechanisms, prototyping is a crucial step in this process because it puts your ideas to the test and allows you to experimentally determine the best mechanism for the job.Shown in the pictures is me working with the team to test our prototype mechanisms for picking up and holding the Cones.
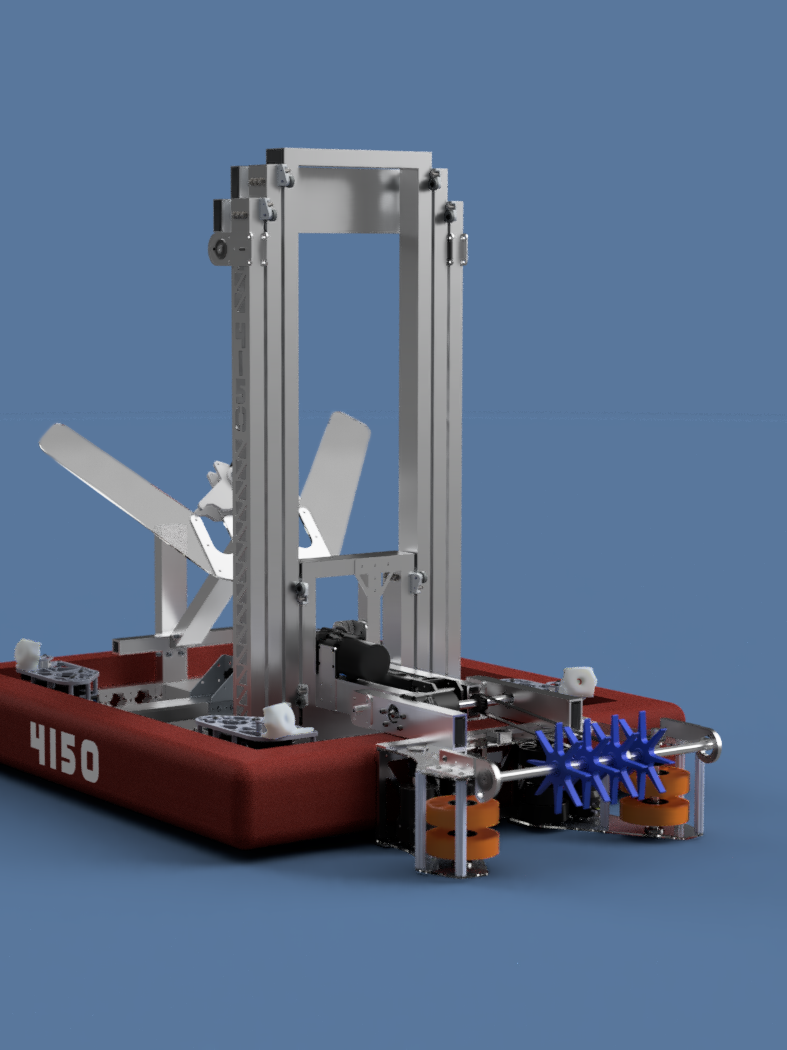
Design
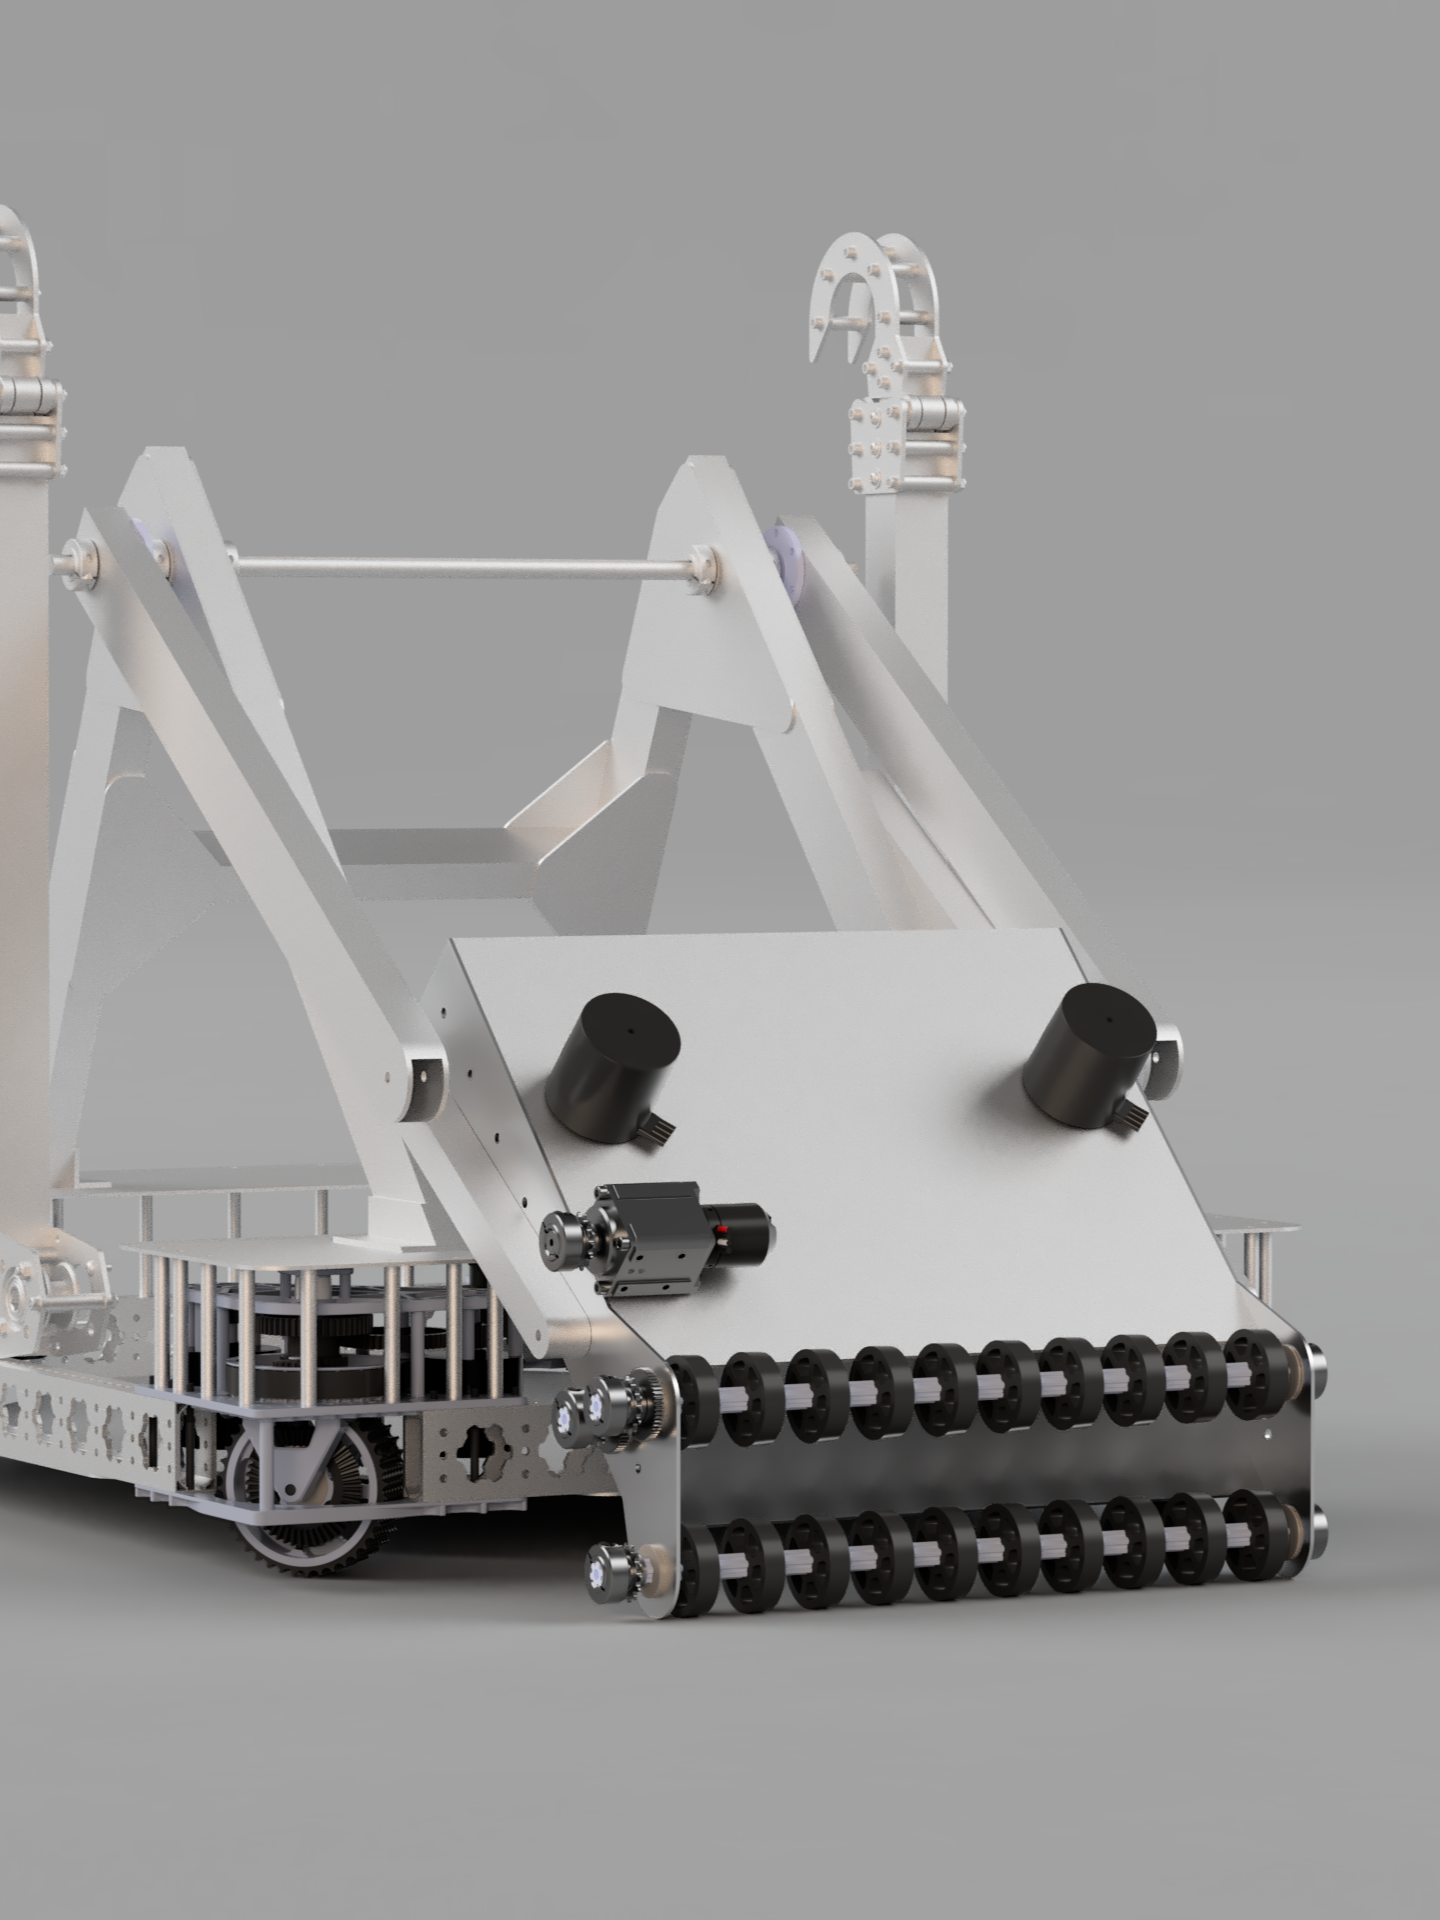
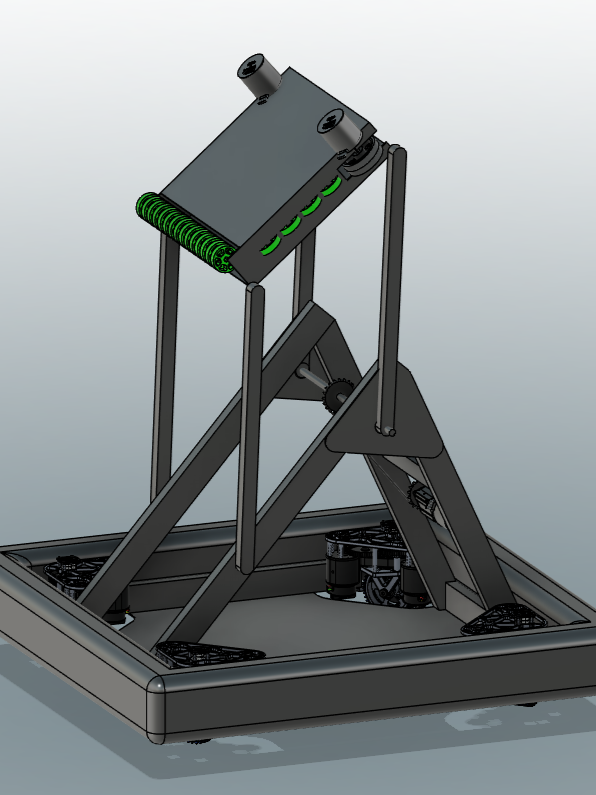
The deisgn phase includes taking the best prototypes and converting them a competition ready component made out of aluminum or plastic. We orginally build out robots in the "design as we go" mindset, but I helped intergrate using CAD before we start building. These are renders of my cad models from 2025 (blue) and 2024 (grey) which were the first 2 robots to have a full design in CAD before manufacturing.
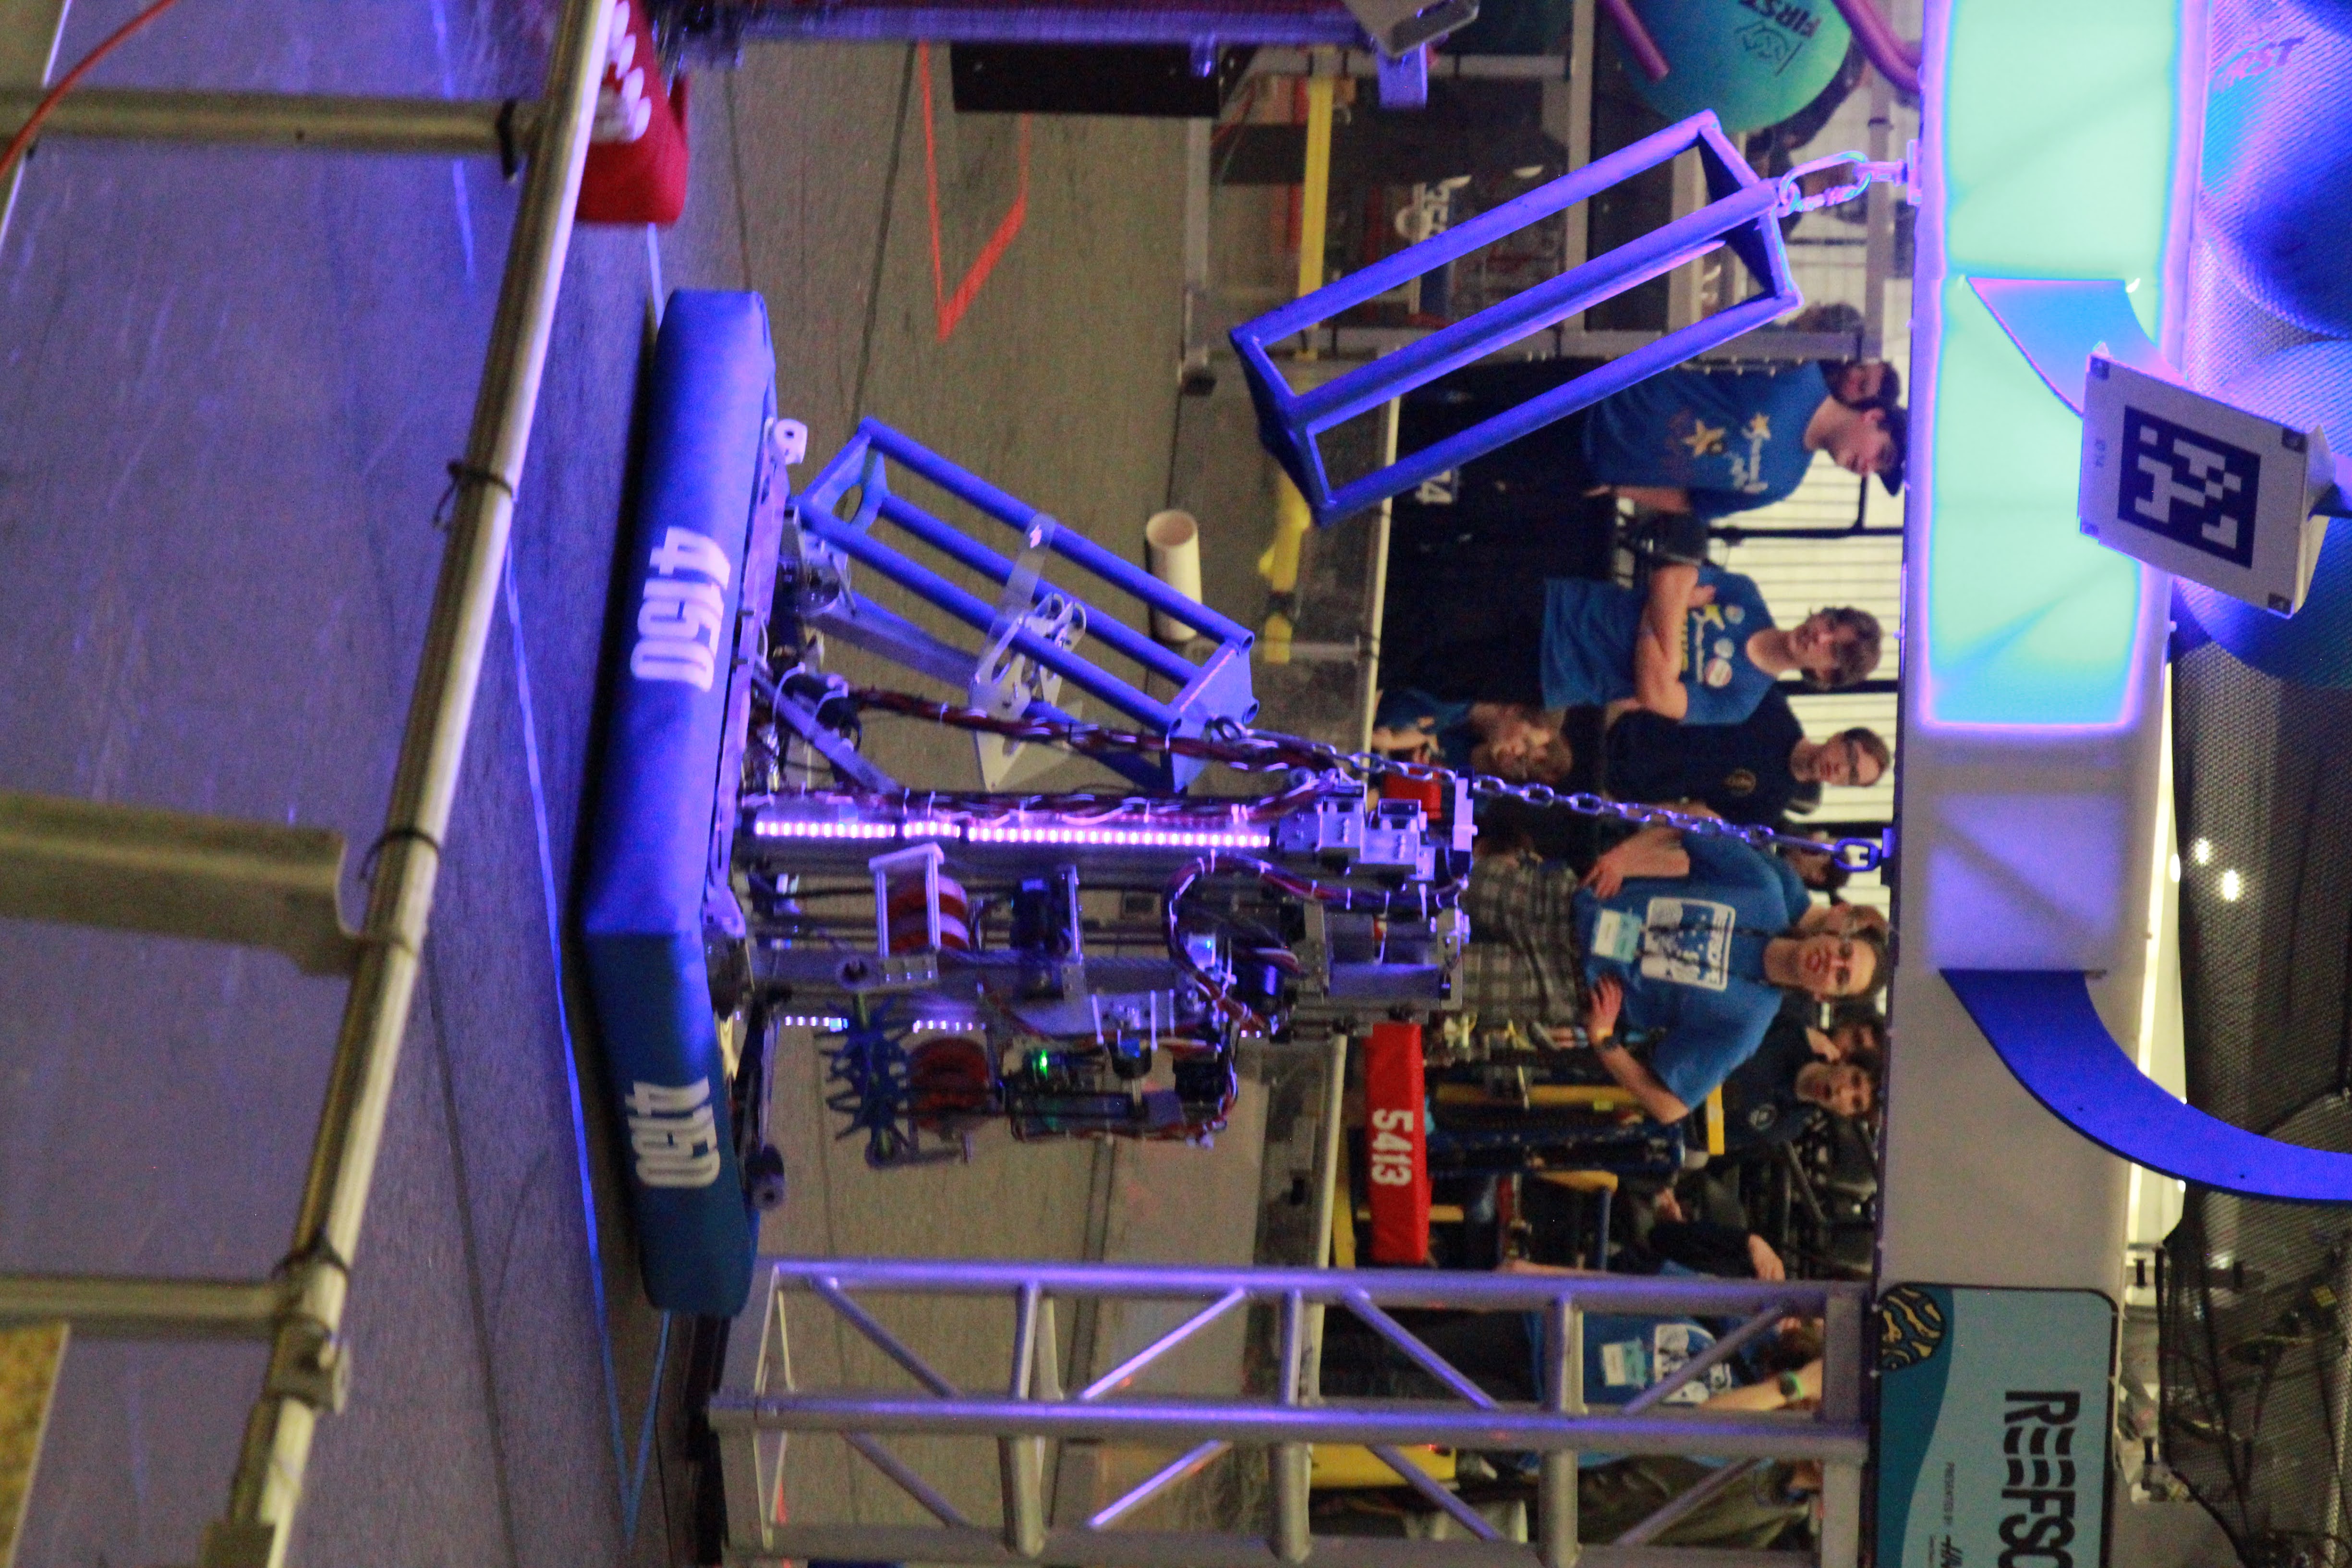
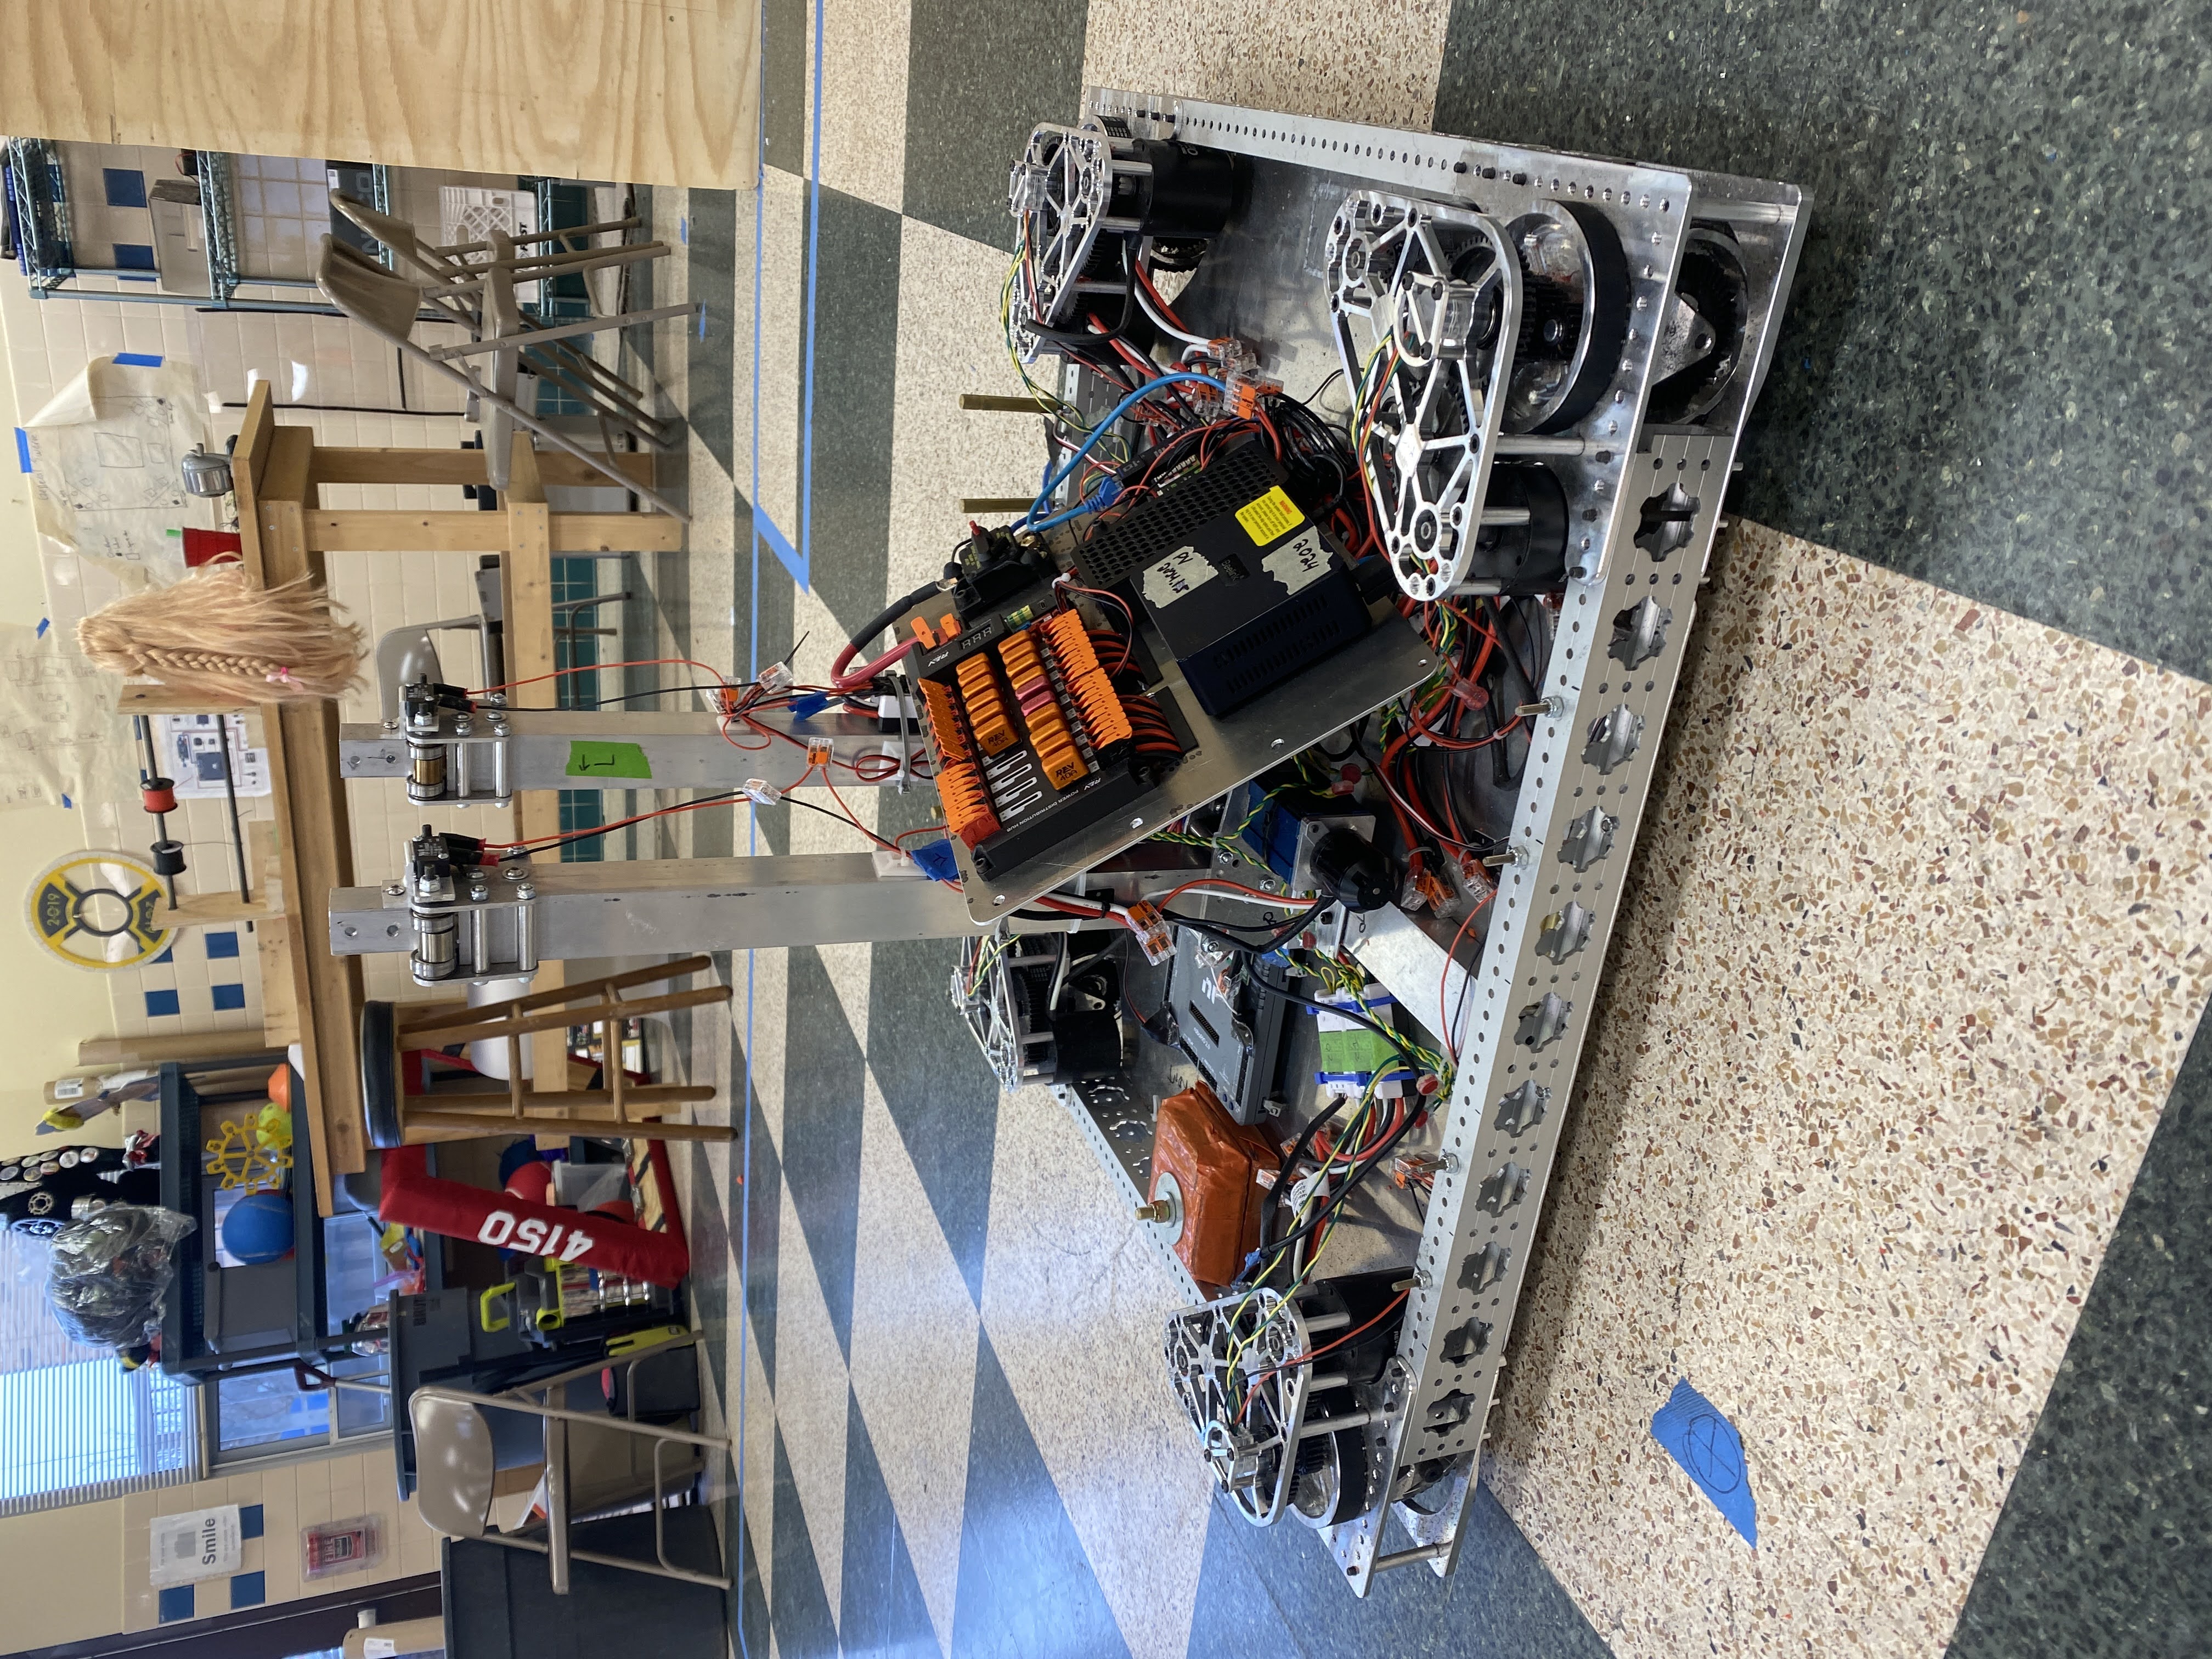
Test
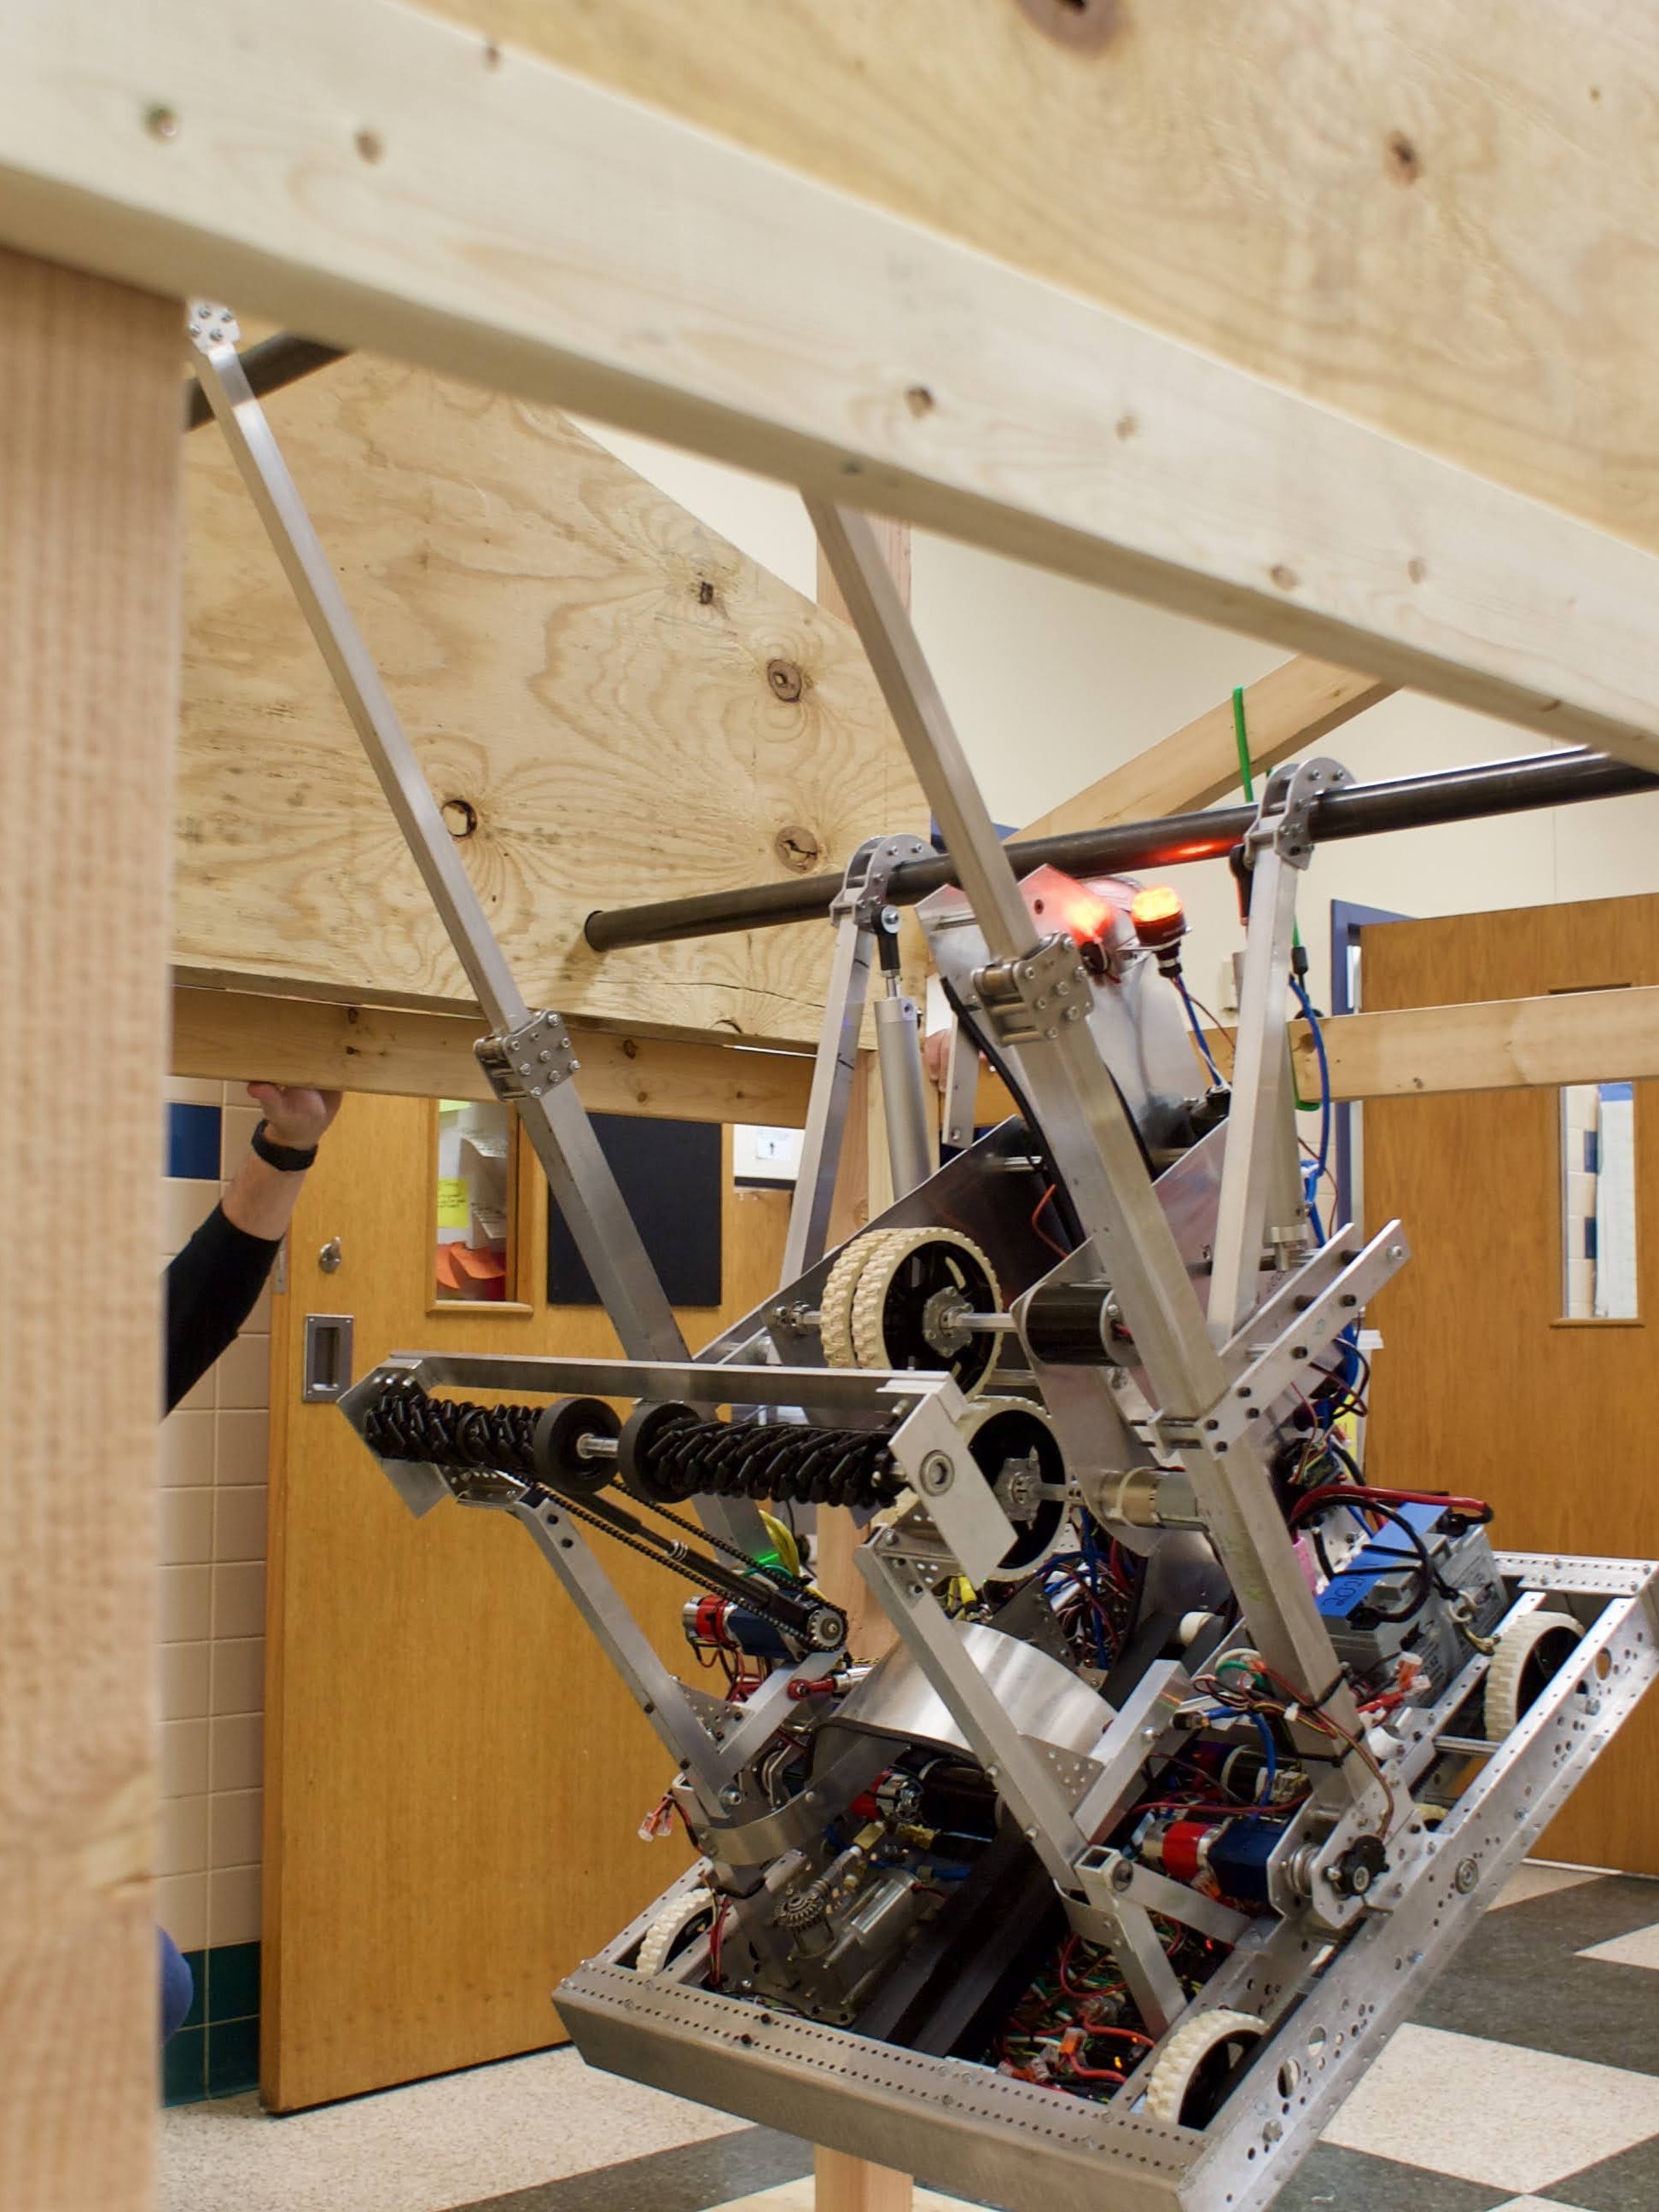
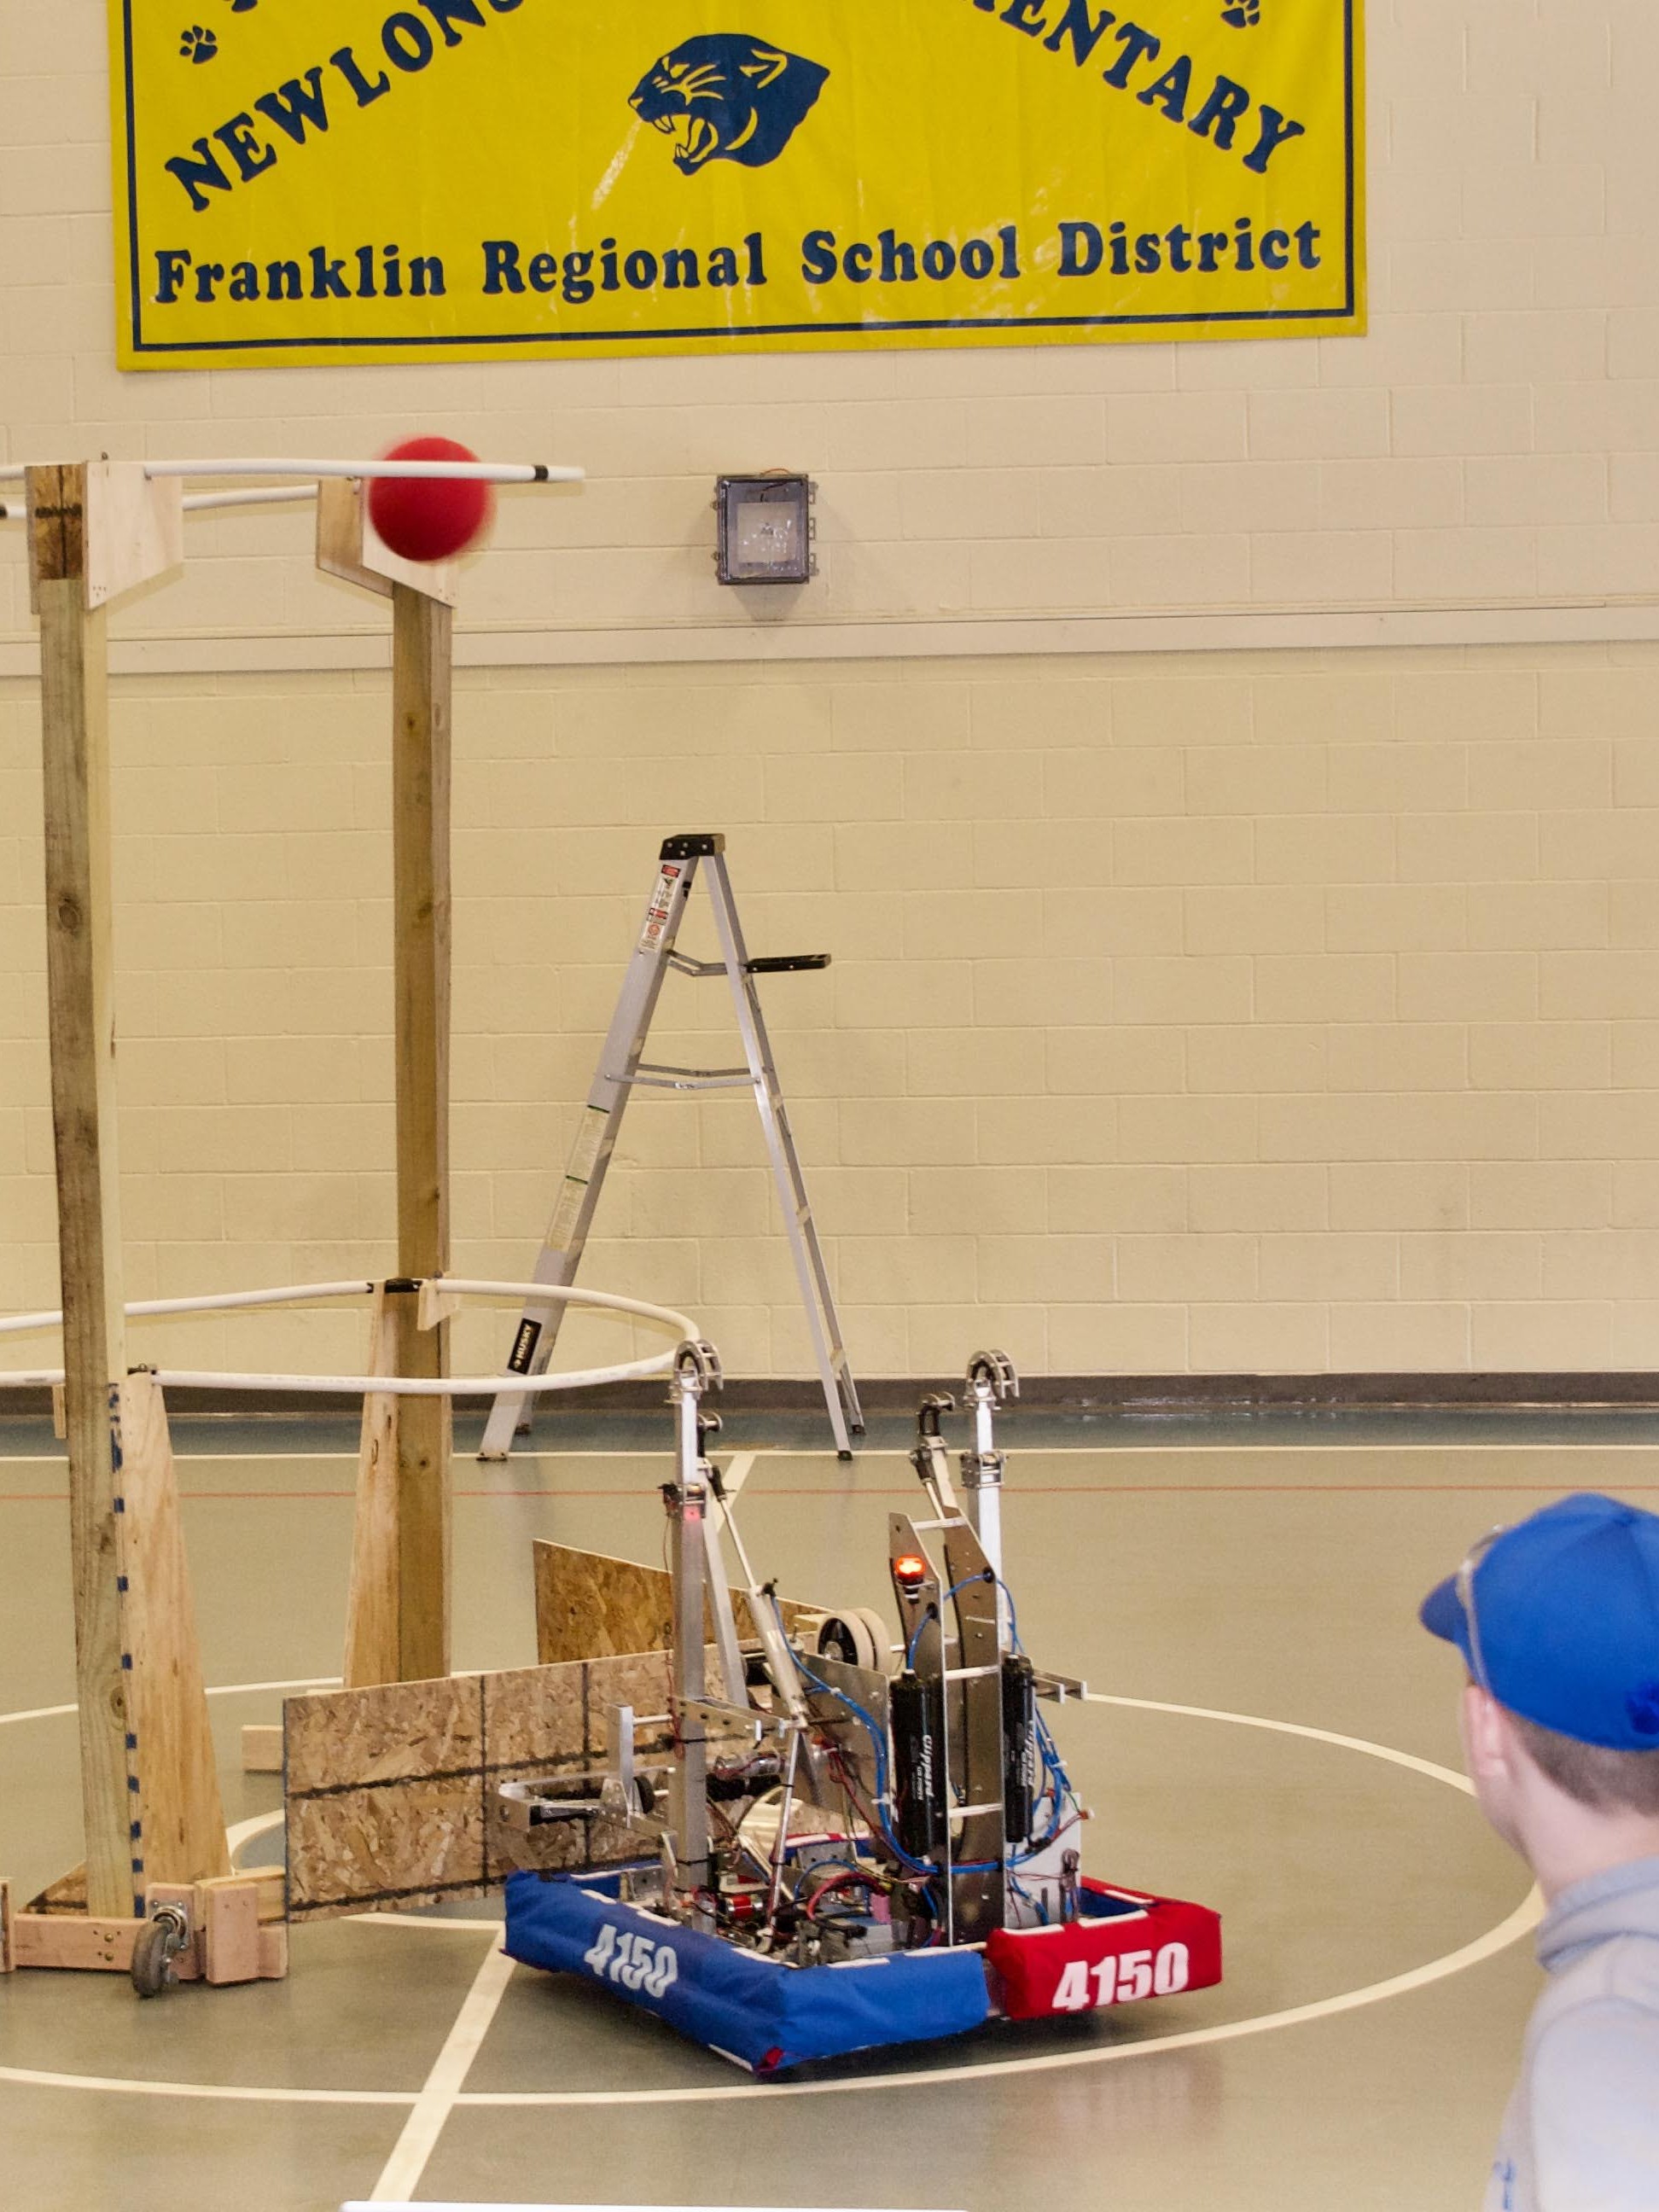
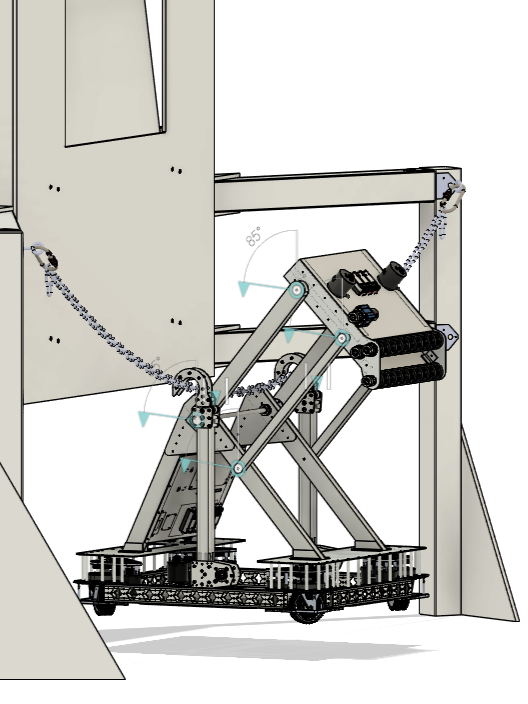
Testing is something that happens concurrently with every step of the process, but the most rigorus testing can happen once you have a full metal robot. This allows you to identify issues and potential improvements. The imaghes show testing our 2022 robot when both climbing and launching. We did this repeatedly throughout the season.
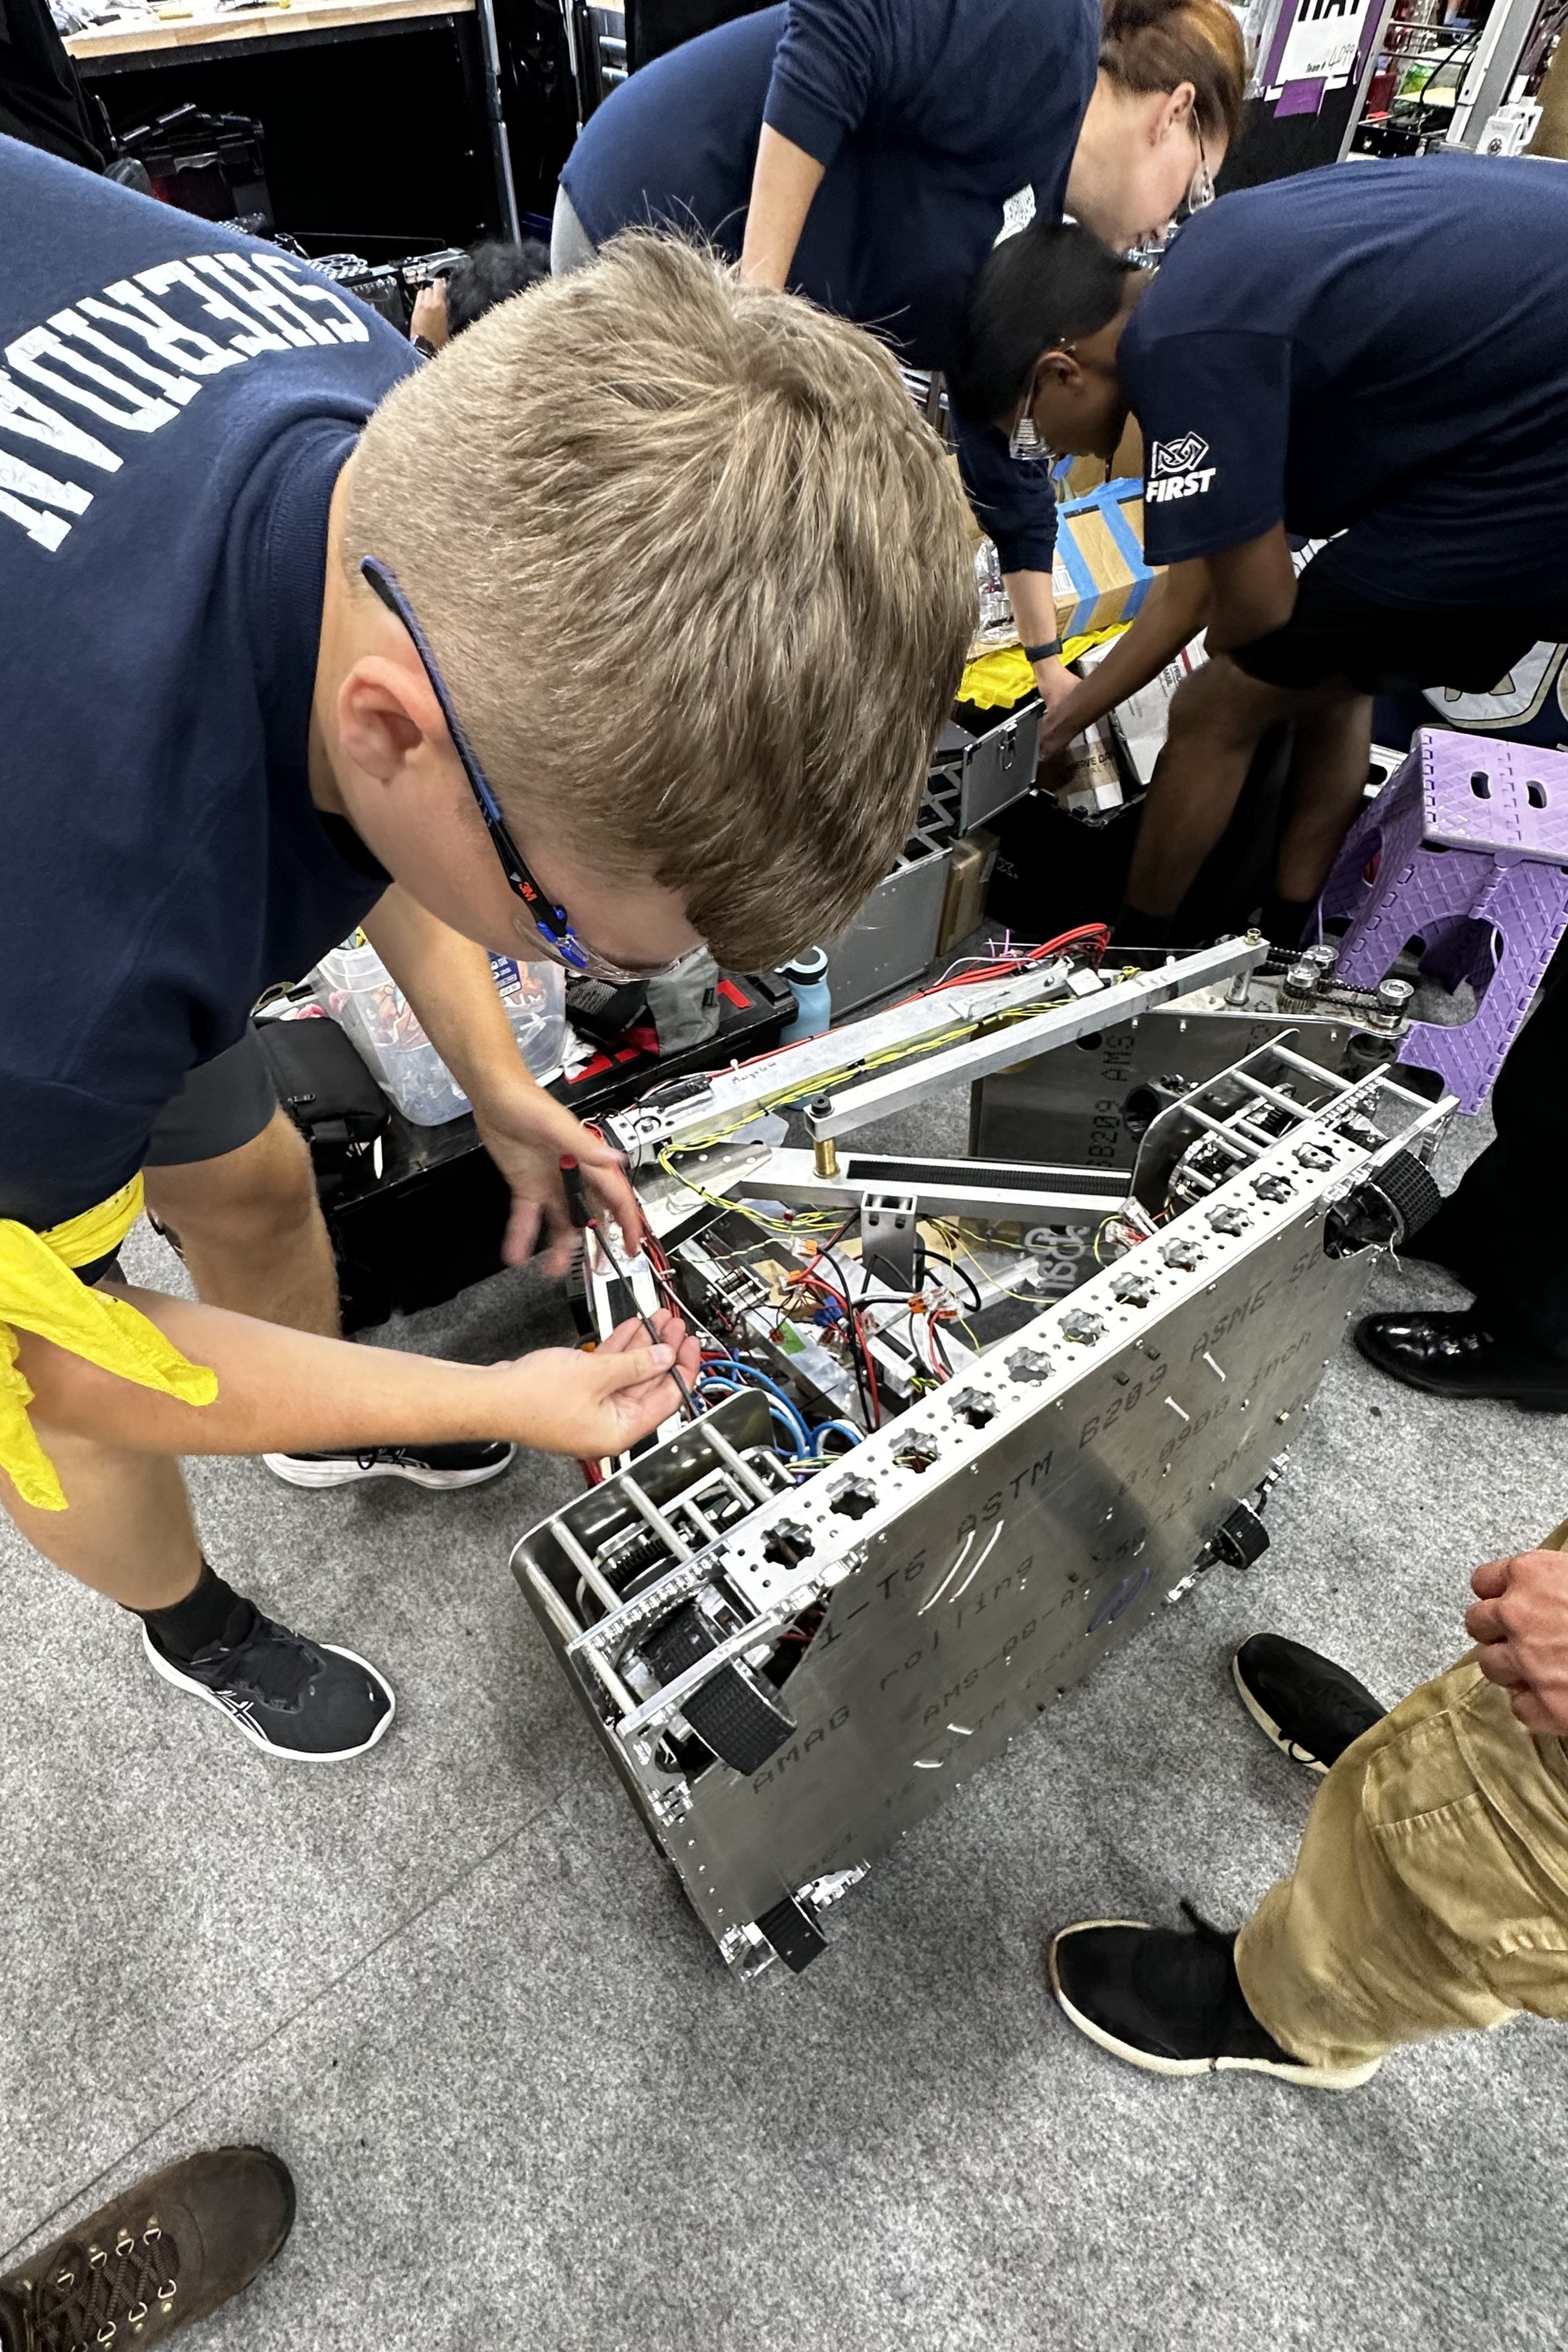
Iterate
Iterations also happen throughout this cycle, but really stick out when you make minor or major changes after the competition robot has been built.In the 2 weeks between competitions in 2024, we almost completely took our robot apart by spliting it into halves. We did this to make some changes to the main movement mechanisms to reduce slop and srength the frame.
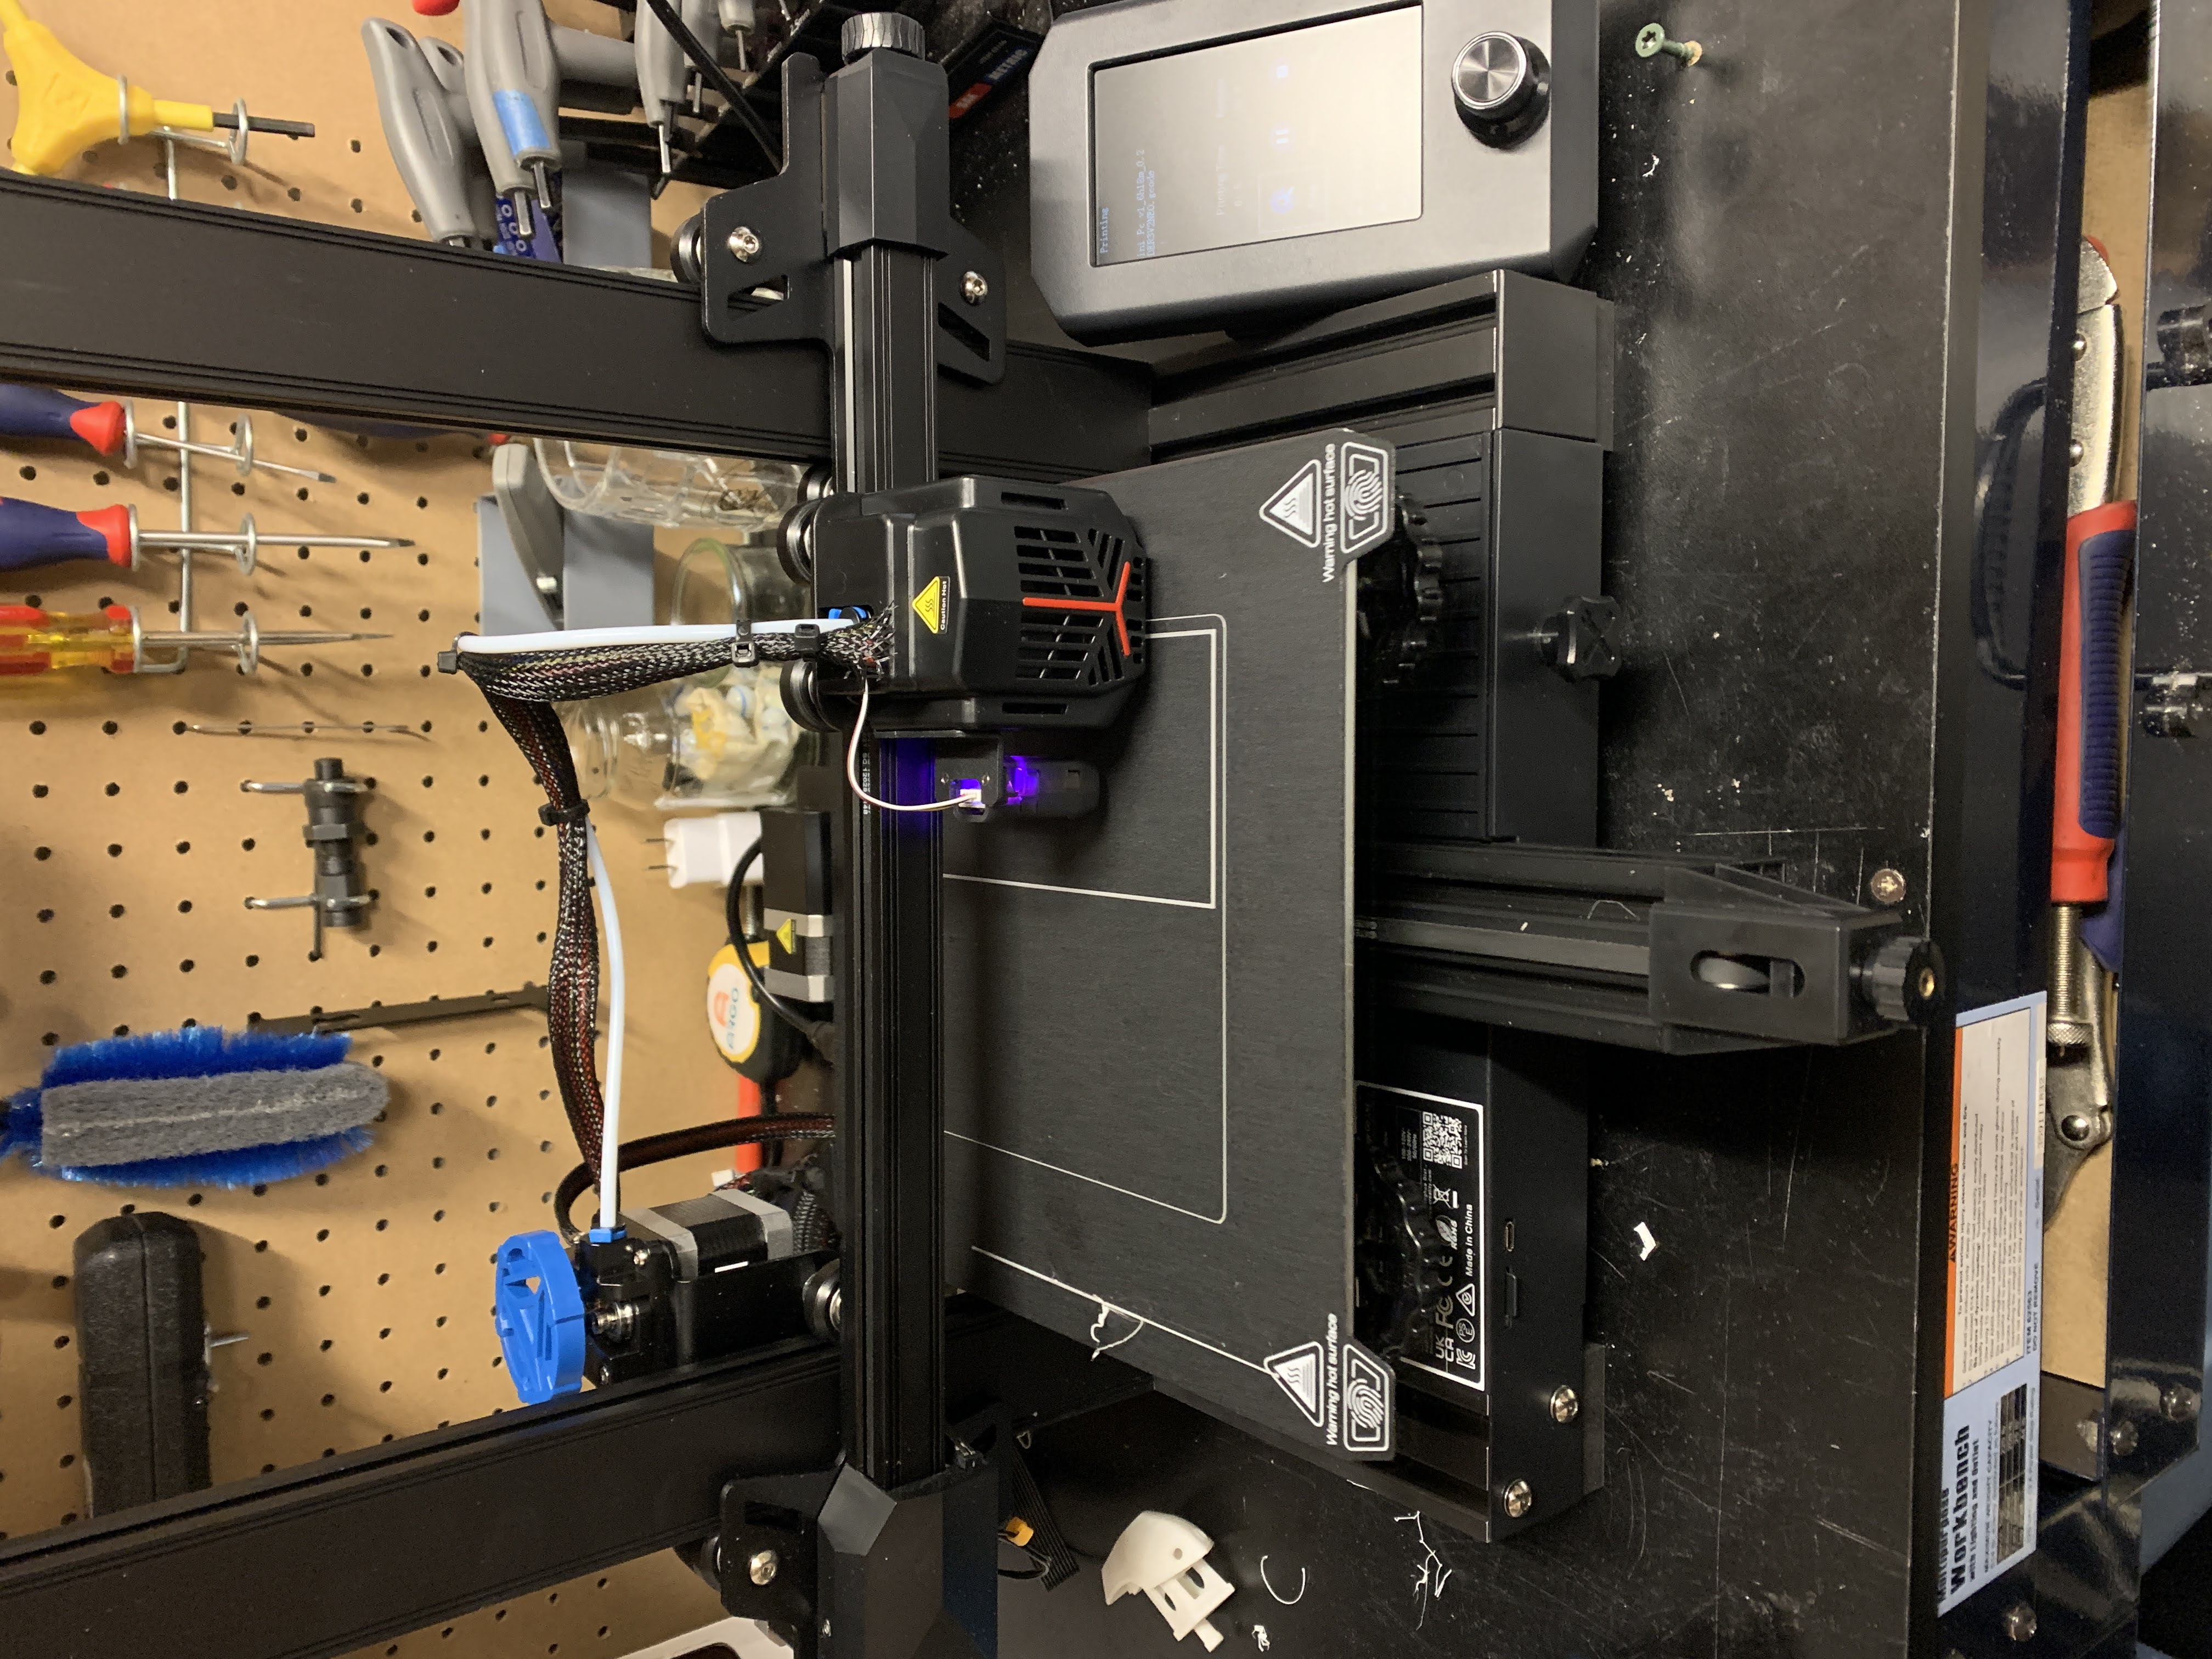
CAD and CNC
I've taken a hands-on approach to learning about additive manufacturing. In early 2023, I bought a beginner-level 3D printer and dove further into the world of engineering. To take full advantage of this digital design tool, I had to learn how to 3D model, so I downloaded Fusion 360 and started teaching myself how to CAD. I used Computer Aided Design to draw up and share video simulations of my competition robot concepts, which turned into complete CAD designs for two of the team's $8,000 robots.
Origins
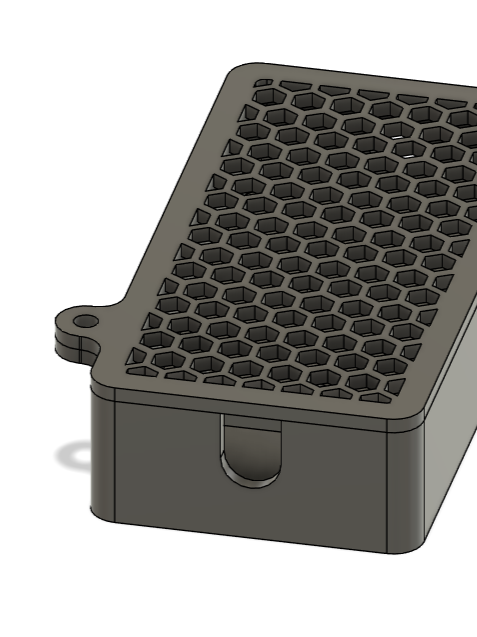
As soon as I got my first printer, I knew I needed to learn CAD. My 2nd print ever (after the benchy) was a part I modeled to hold and protect some electrical components. I was very simple, but it did the job for the season (with only a little help from duct tape.)Shown is that second ever print and one of the first instances of me using cad to describe my ideas to the team.
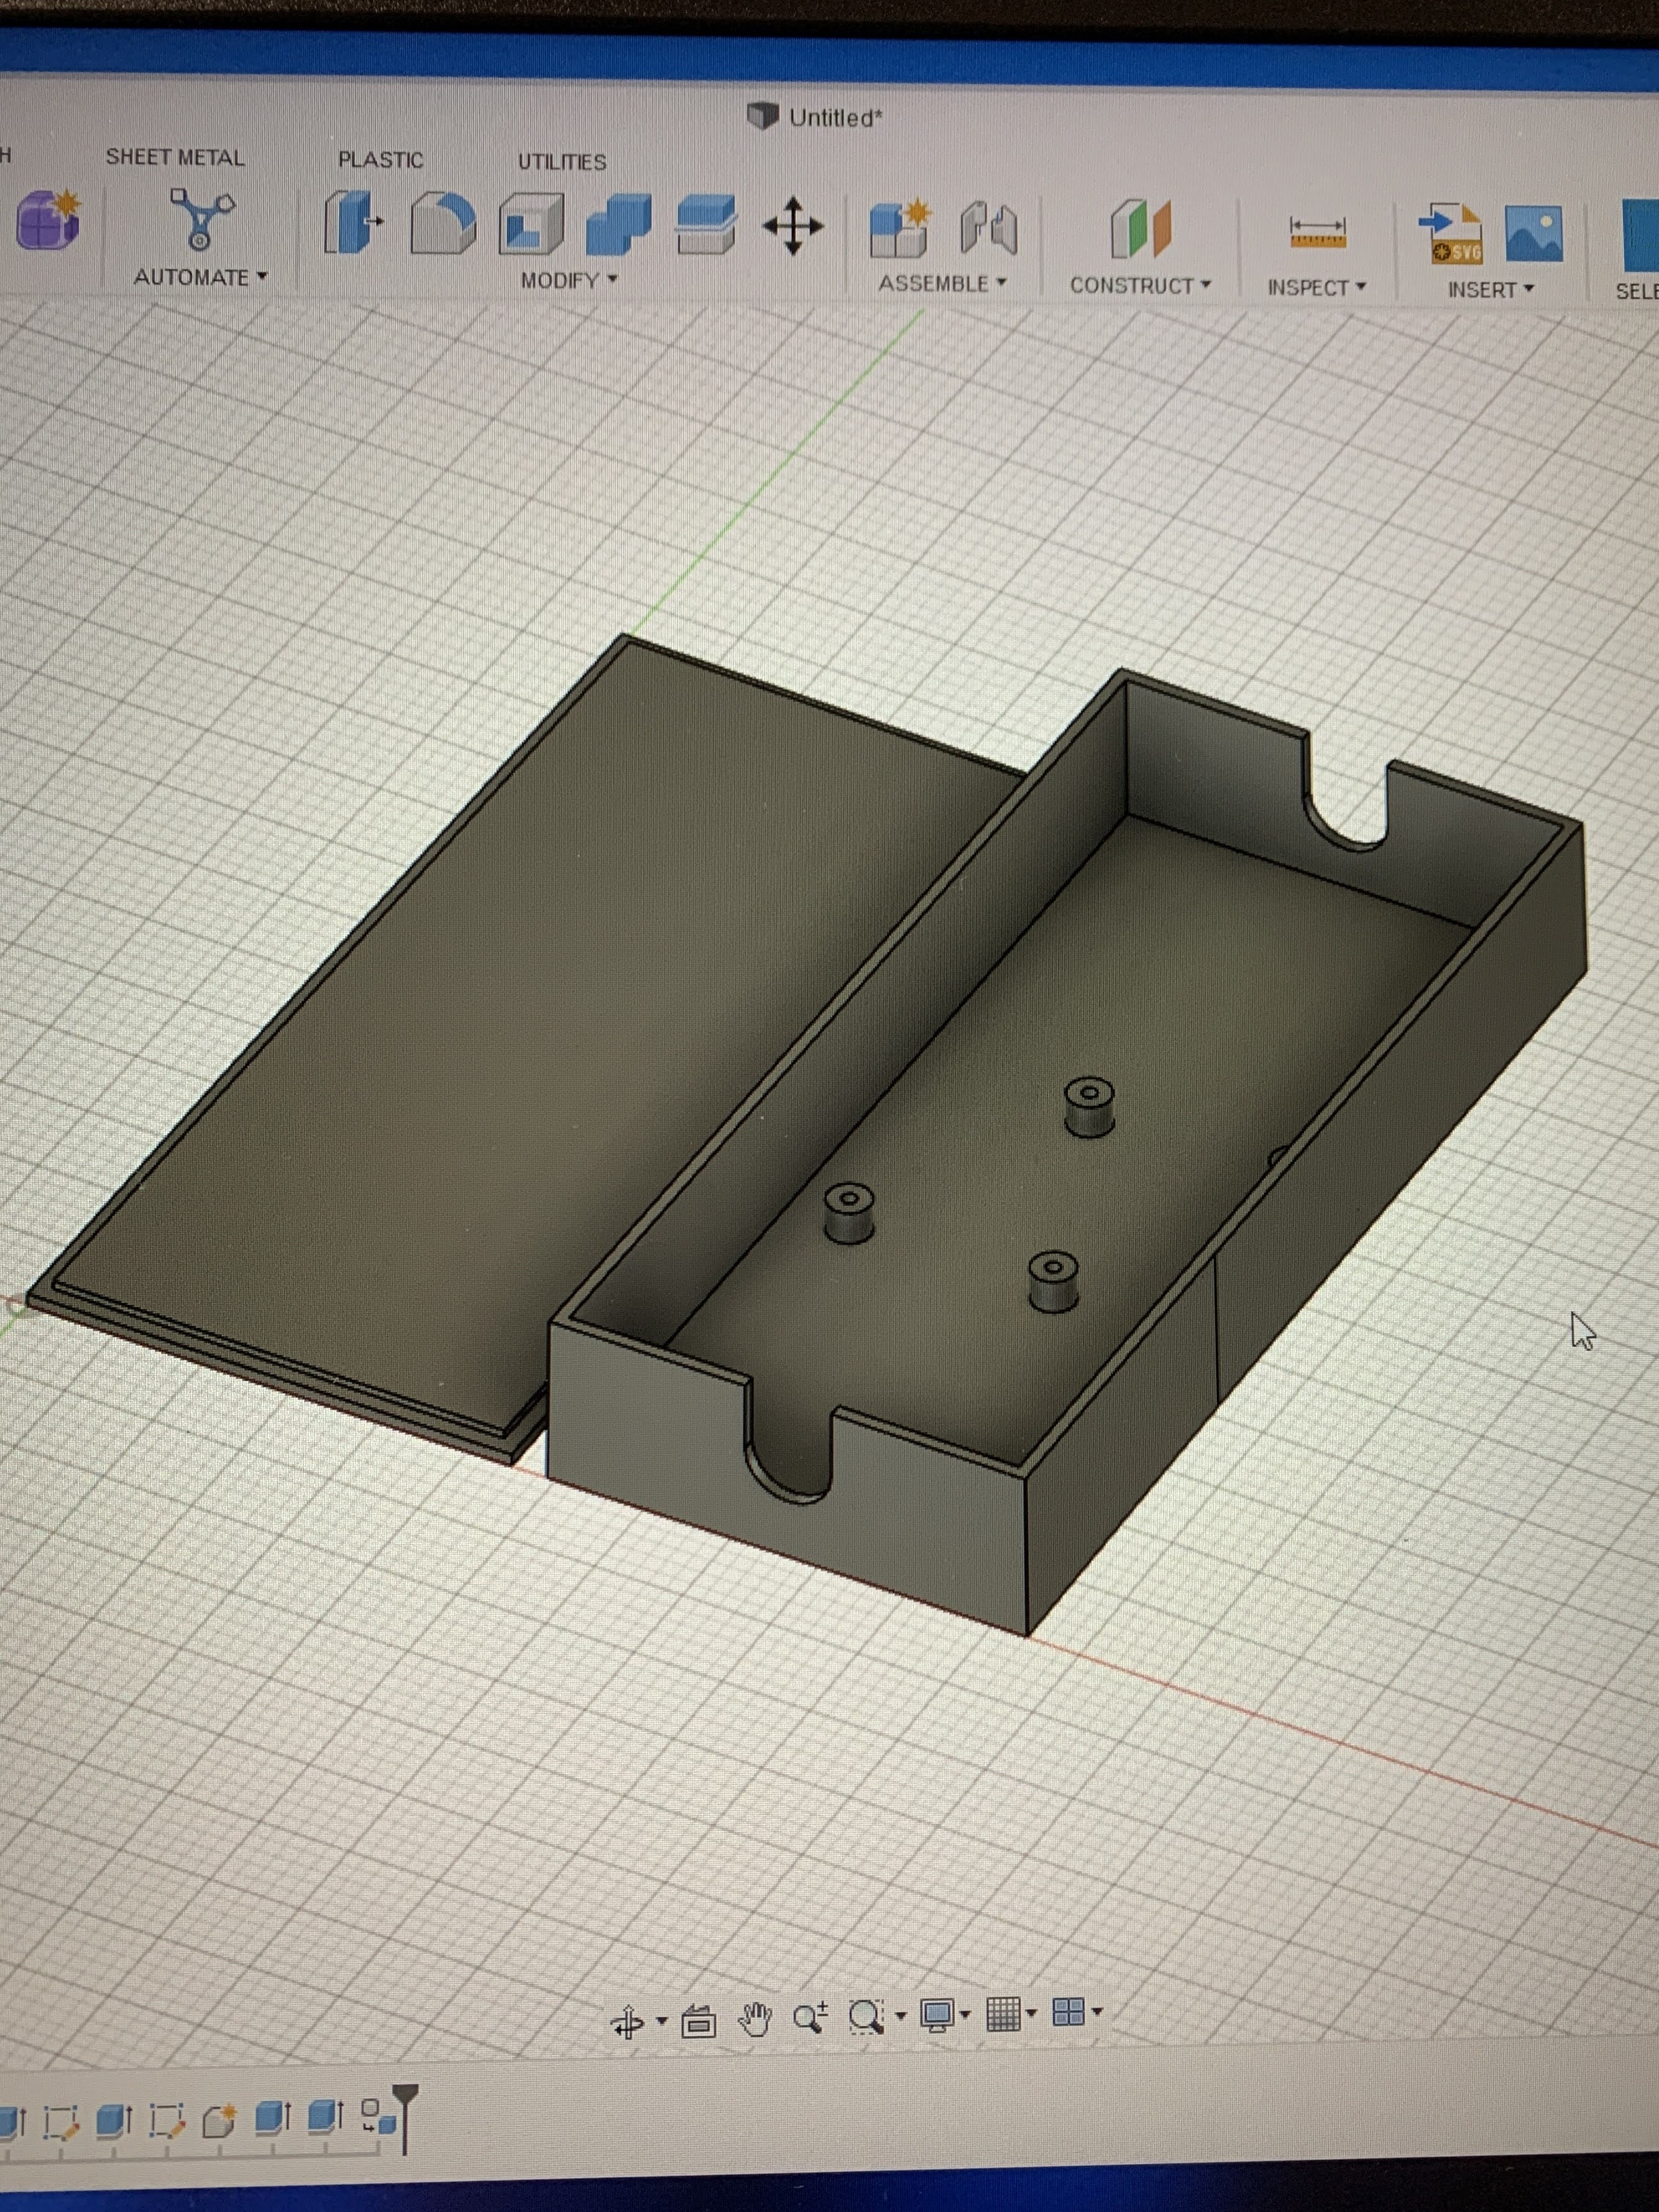
Progression
Over the past few years, I have gotten much better at CAD and desgining for 3d printing. When I started it would take me forever to make a simple boxy model, but now i can make way more complex items in less time.Shown on the left is the orginal electronics box that I talked about earlier and the right is one that I made 1 year later that was way better including lid mounts holes, the vent holes on the top and rounded edges for easier printing.
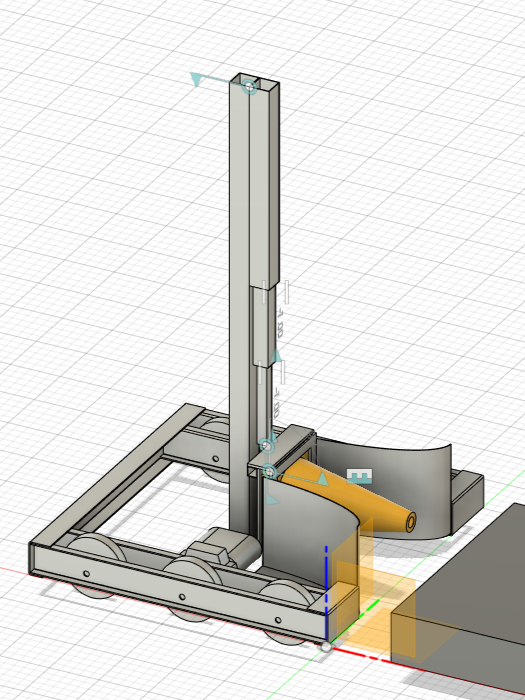
Communication
When I started making robot models, I mostly used them for communicating my ideas to my teammates. These are screenshots I took to send to the team to help describe what I was thinking.Both images are from the 2024 build season, the left images was a very primitive concept and the right was more complete testing scale with the field elements
Image Gallery
Webpage is WIP! Contact me for more info!
 - Full.png)